

Spiced Cookie Delight How to Bake Them
There’s something about a slice of zucchini cake that just feels like home, doesn’t it? I remember my grandma baking this during summer weekends, filling the house with that unforgettable smell of warm spice and fresh produce. It’s funny – zucchini always gets a bad rap as just a vegetable you toss in salads or sneak into burgers, but when baked into this moist, tender cake? It’s a total game-changer. And the best part? You get to enjoy a healthy veggie disguised as a sweet treat. Honestly, this cake is my little secret weapon—perfect for when you want something sweet but don’t want to go overboard. I’ve made this countless times, and every time I pull it out of the oven, my family asks, “Is this really zucchini?” as if I magically created dessert from thin air. Trust me on this one—once you try it, you’ll wonder how you ever lived without this cozy, comforting slice.
What is Zucchini cake?
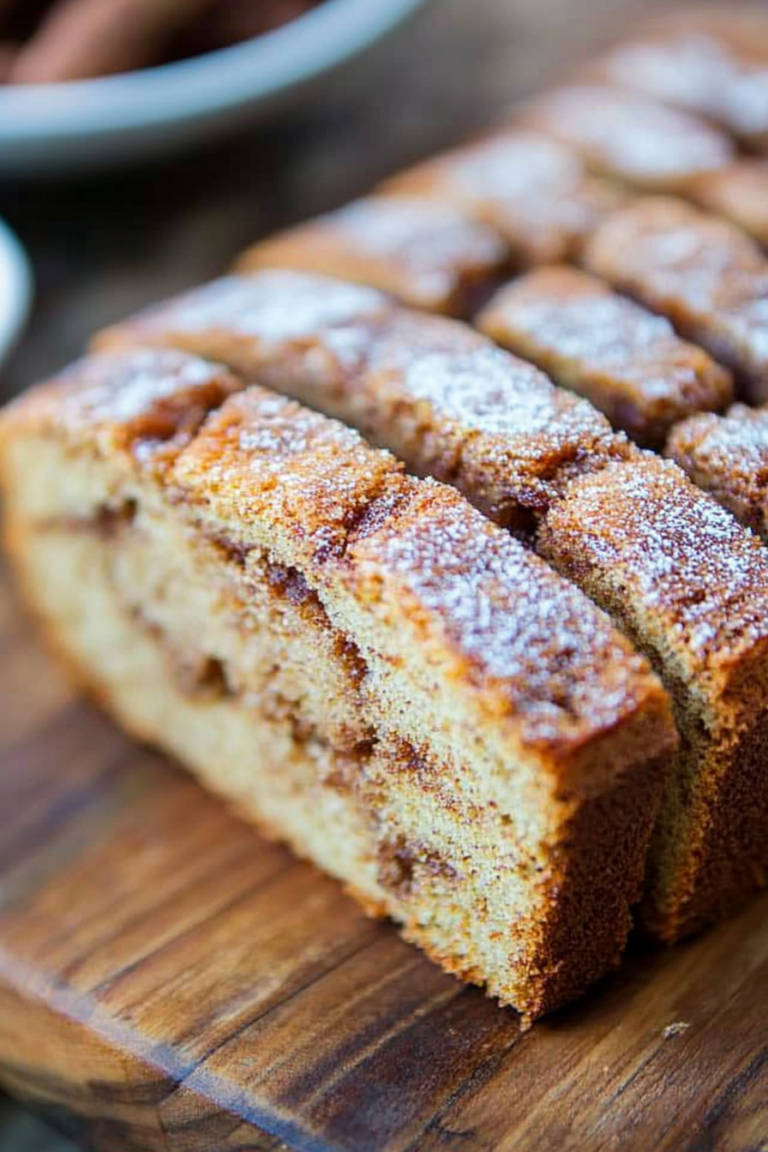
Think of zucchini cake as a tender, almost bread-like dessert with a hint of sweetness and a delicate spice kick. It’s essentially a moist sponge filled with grated zucchini—think of it as the vegetable’s hidden superpower. The name “zucchini cake” might sound fancy, but I promise, it’s simple to whip up. This cake has roots in family traditions, especially in summer when zucchinis are practically a backyard bounty. The batter is usually like a thick pancake mix—easy to fold but sturdy enough to hold lots of grated zucchini. It’s not overly sweet, which makes it perfect for breakfast, brunch, or a cozy afternoon snack. And if you’re feeling adventurous, the glaze adds a zesty lemon punch that balances the sweetness perfectly. Honestly, once you make this once, it’s like having a secret stash of happiness—a slice waiting in the fridge whenever you need it.
Why you’ll love this recipe?
What I love most about this zucchini cake is how forgiving and adaptable it is—you really can’t go wrong. The flavor? Oh, it’s got that warm, homey aroma—cloves, cinnamon, a hint of vanilla—that makes my entire kitchen smell like a bakery. Plus, it’s got just enough sweetness to satisfy that craving without feeling sugary. And because it’s made with humble ingredients like flour, eggs, and zucchinis, it’s super budget-friendly—perfect for those afternoons when you’re trying to stretch your grocery budget but still want a treat. This cake is also surprisingly versatile. You can add walnuts, chocolate chips, or even shredded coconut if that’s your thing. I’ve tested this with almond milk, and honestly, it made the batter even creamier—try it! It’s also one of those recipes that works whether you’re rushing on a weeknight or planning a laid-back brunch. And hey, I swear kids love it—they ask for seconds every time!
How do I make Zucchini cake?
Quick Overview
This cake comes together in just a few straightforward steps. Grate your zucchinis, whip up a simple batter, fold in your add-ins if you like, then layer everything in a baking dish and let the oven work its magic. The trick is to keep it moist and not overmix—trust me, overmixing is the enemy of fluffy, tender cakes. Once baked, a quick cooling and a drizzle of zingy lemon glaze take it to the next level. The best part? You’ll have this cozy, sweet smell filling your home and that satisfying feeling of having made something from scratch that everyone loves.
Ingredients
For the Main Batter:
- 2 cups grated zucchini (about 2 medium zucchinis) with excess moisture squeezed out
- 1 1/2 cups all-purpose flour (or almond flour for gluten-free)
- 1 teaspoon baking powder
- 1/2 teaspoon baking soda
- 1 teaspoon cinnamon
- 1/2 teaspoon ground cloves (optional but recommended)
- 1/4 teaspoon salt
- 1/2 cup sugar (adjust to taste)
- 1/2 cup brown sugar or honey
- 1/2 cup vegetable oil or melted coconut oil
- 2 large eggs
- 1 teaspoon vanilla extract
For the Filling:
- Your favorite chopped walnuts or chocolate chips (optional, but I love the added texture)
For the Glaze:
- 1 cup powdered sugar
- 2-3 tablespoons fresh lemon juice
- Zest of 1 lemon (for extra punch)
- Optional: a splash of milk to thin out the glaze
Step-by-Step Instructions
Step 1: Preheat & Prep Pan
Set your oven to 350°F (175°C). Grease a 9-inch round cake pan or line it with parchment paper. If you’re making a loaf, a standard loaf pan works too. I always do this first so I don’t forget once things get busy. Grate the zucchinis, then squeeze out excess moisture using a clean dish towel or cheesecloth. This step is crucial—too much moisture, and the cake gets soggy. This little trick keeps everything nice and tender.
Step 2: Mix Dry Ingredients
In a large bowl, whisk together the flour, baking powder, baking soda, cinnamon, cloves, and salt. Doing this first evenly distributes all those lovely spices and helps prevent clumps later. I always make sure to get a good mix—trust me, no one likes uneven spice bursts in their piece!
Step 3: Mix Wet Ingredients
In a separate bowl, whisk together the sugar, brown sugar, eggs, oil, and vanilla until combined. I like to do this until everything looks smooth and slightly fluffy. If you’re using almond milk or a dairy-free alternative, go ahead and swap it here—you might need a tiny splash more to get the batter to the right consistency.
Step 4: Combine
Pour the wet mixture into the dry ingredients and fold gently. Overmixing is the biggest mistake here—just stir until everything is moistened. The batter will be thick but ladle-able. Fold in the grated zucchini and optional nuts or chips—this is your chance to make it personalized.
Step 5: Prepare Filling
If you’re using nuts or chocolate chips, sprinkle them into the batter and fold gently. Alternatively, you can scatter some on top before baking. This way, every bite gets a little surprise crunch or melty goodness. I love a handful of walnuts—they add a lovely earthy flavor that pairs perfectly with the spices.
Step 6: Layer & Swirl
Pour the batter into your prepared pan. If you want a marbled effect, dollop spoonfuls of extra batter on top and swirl gently with a chopstick or toothpick. You don’t need perfection—this cake’s charm is its rustic look and homey feel.
Step 7: Bake
Pop it into your preheated oven and bake for 40-45 minutes. Check doneness with a toothpick—if it comes out clean, it’s ready. Every oven is different, so start checking at 38 minutes. If it browns too quickly, cover loosely with foil and keep baking. The smell alone will keep your kitchen cozy.
Step 8: Cool & Glaze
Allow the cake to cool in the pan for at least 15 minutes, then transfer to a wire rack. Meanwhile, whisk together the powdered sugar, lemon juice, and zest for the glaze. Once the cake is just warm (not hot), drizzle it generously over the top. The glaze adds a bright, fruity contrast that lifts the entire dish.
Step 9: Slice & Serve
Let the glaze set for about 10 minutes, then slice and serve. I love cutting this into thick squares—trust me, it’s just as good cold as warm. A dollop of whipped cream or a scoop of vanilla ice cream makes it even better. Bonus points if you sprinkle a little extra lemon zest on top!
What to Serve It With
This zucchini cake is incredibly versatile—no wonder I often make it on lazy weekend mornings or on cozy family brunch tables. For breakfast, pair it with a strong black coffee or a vanilla latte—both complement the spice and citrus beautifully. It also makes a lovely afternoon snack with a glass of cold milk or a cup of herbal tea. My kids love it after school, especially when I add choc chips or walnuts for extra texture. And as a dessert, it’s perfect with a scoop of vanilla ice cream or a drizzle of caramel sauce. I’ve even taken leftovers in lunch boxes—trust me, this cake is a good one to keep around. It tastes just as delicious the next day, especially if wrapped tightly—though I warn you, it doesn’t last long in my house!
Top Tips for Perfecting Your Zucchini Cake
Nothing’s more frustrating than a cake that’s either dry or soggy. Here are some of my tried-and-true tips that help me get it just right every time:
- Zucchini Prep: Always squeeze out excess moisture—residual water is the enemy of a tender crumb. I use a microplane to grate, then an old kitchen towel to wring out every drop.
- Mixing Advice: Overmixing is an amateur mistake I learned the hard way. Mix just until ingredients are combined to keep it light and fluffy.
- Swirl Customization: For a beautiful marbled look, add a few dollops of extra batter and swirl gently with a skewer. It makes your cake look dreamy without much effort.
- Ingredient Swaps: Gluten-free flour blends work well—just add a teaspoon of xanthan gum if your blend doesn’t contain it. Swapping brown sugar for maple syrup gives a different flavor but keeps it moist.
- Baking Tips: Keep an eye on it as the edges tend to brown quickly. If you see that, tent loosely with foil to prevent burning. My go-to trick is to test with a toothpick—if it comes out moist but clean, you’re golden.
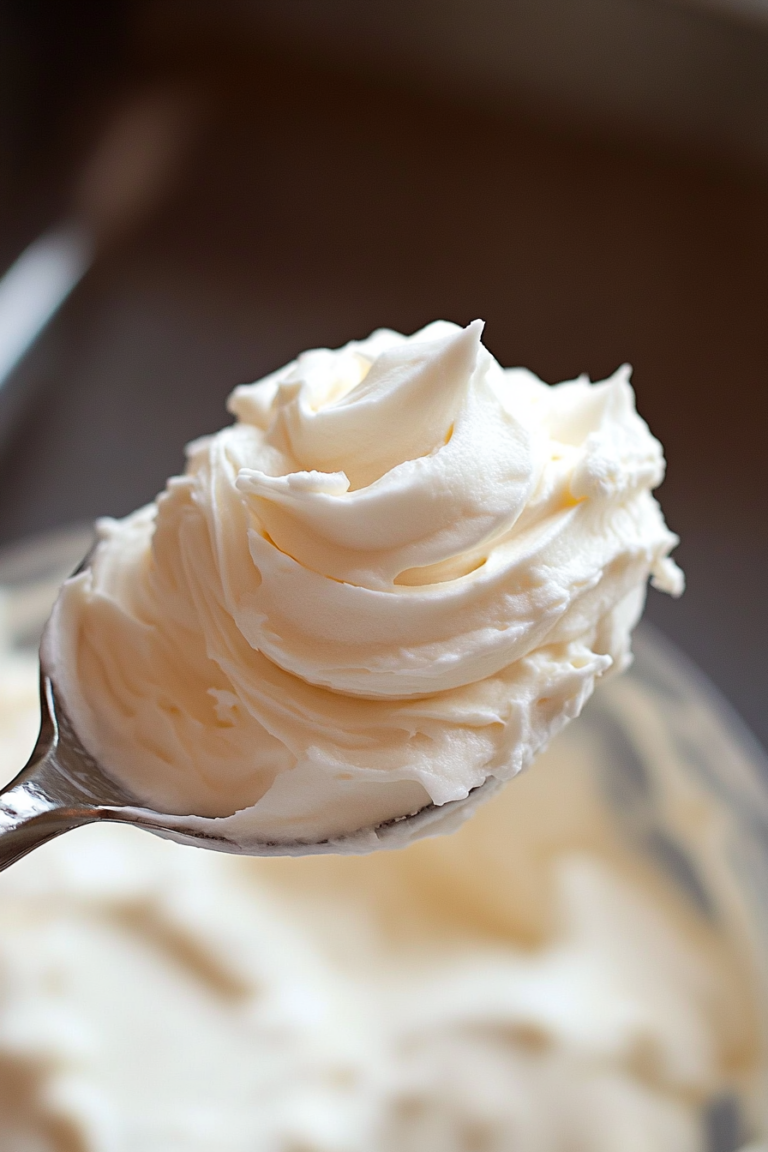
- Glaze Variations: Want a richer glaze? Mix in a splash of heavy cream or some softened cream cheese. Or top with fresh berries for a colorful, fruity finish.
Through trial and error, I found that patience and gentle mixing are my best friends in the kitchen. Plus, making small ingredient swaps keeps it interesting—sometimes I add a pinch of cardamom or swap lemon for orange zest. Just trust your nose and taste buds, and don’t be afraid to experiment. That’s how I’ve made this recipe truly my own, and I hope you love it as much as my family does.
Storing and Reheating Tips
This cake keeps nicely for up to 3 days at room temperature if you cover it tightly with foil or a cake dome. I usually pop leftovers into an airtight container—trust me, it stays moist and delicious. In the fridge, it lasts about 5 days, but I’d recommend bringing it back to room temperature or giving it a quick lap in the microwave to really enjoy that soft, warm texture. If you want to freeze it, wrap slices individually in plastic wrap and store in a zip-top bag—thaw at room temperature or in the microwave for a quick treat. Just be sure to add the glaze after thawing if you want that glossy finish. I’ve found that glazing before freezing can sometimes make the glaze tacky, so I usually do it fresh. The secret is keeping the cake wrapped tightly to prevent it from drying out. If you’re trying to stash some for later, a quality container is your best friend.
Frequently Asked Questions
Final Thoughts
This zucchini cake has truly become a staple in my home—not just because it tastes incredible, but because it brings back so many warm memories of lazy summer weekends and happy family gatherings. I love how versatile it is; you can tweak the spices, add chocolate, or top it with fresh fruit, making each batch uniquely yours. It’s one of those recipes that you make once and then keep returning to because it’s just that comforting. The smell alone is enough to make everyone come running, and I guarantee it will disappear from the plate faster than you can imagine. So, give it a try—trust your instincts, have fun mixing, and don’t be surprised if this becomes your go-to when you need a little sweetness in your life. I can’t wait to hear how yours turns out! Feel free to share your riffs in the comments—happy baking!
ginger cookies
Ingredients
Method
- Pre-heat oven to 375°F. Line baking sheet with parchment paper and set aside.
- Combine butter and brown sugar in a large mixing bowl. Beat until fluffy. Add egg and beat until smooth. Add molasses and beat until well combined.
- Add flour, baking soda, cinnamon, ginger, cloves, and salt. Mix until combined.
- Using a medium cookie scoop (about 2 tablespoons), roll dough into a ball. Mix granulated sugar and cinnamon in a bowl. Roll dough balls in cinnamon sugar, place on prepared baking sheet about 2 inches apart.
- Bake for 7 to 8 minutes until edges are firm. Cool on pan for 2 minutes, then transfer to a wire rack to cool completely.
- Melt white chocolate wafers according to package directions. Dip half of each cooled cookie into chocolate and place on parchment paper. Let set.


So comforting! I love how baking these cookies brings back such warm memories — the spices really make them feel cozy and special.
This recipe brings back so many warm memories—the smell alone takes me back to summer afternoons with my grandma.
I love this recipe—it reminds me of cozy afternoons with my grandma too! The scent of spiced cookies baking is pure comfort.