
Easy Mediterranean Salad Recipe
If I had to pick one comfort-food recipe that feels like a warm hug from my grandma, it’s gotta be my banana zucchini bread. Every time I make it, the smell alone seems to fill the whole house—think sweet bananas mingling with the earthy aroma of fresh zucchini, all baked into this tender, moist loaf. It’s honestly one of those recipes I turn to on lazy weekend mornings or when I need a little pick-me-up in the afternoon. My kids ask for this all the time, especially when they know I’ve got an extra ripe banana or two sitting around, waiting to be put to good use. Honestly, it’s a lifesaver on busy nights when I want something comforting but don’t want to spend ages in the kitchen. I’ve tested this with almond milk, coconut oil, and even added a sprinkle of cinnamon—trust me, it’s versatile and forgiving enough for all your little tweaks. Plus, it’s kinda funny how something so simple can smell and taste so amazing. That warm, homey scent? It’s what makes this banana zucchini bread more than just a snack—it’s a memory in the making, a little slice of happiness every time.
What is banana zucchini bread?
Think of banana zucchini bread as a delightful mash-up of that classic banana bread you’ve loved forever and the humble zucchini that often gets a bad rap. It’s essentially a moist, flavorful loaf that combines ripe bananas—those sweet, soft, almost caramel-like flavors—with shredded zucchini, which adds moisture and a slight chewiness without overpowering the taste. The name might sound a little odd at first, but once you taste it, you’ll realize it’s like a hidden treasure—sweet, wholesome, and satisfying. The zucchini, when grated and drained properly, melts into the batter, making each bite super tender. This’s a recipe I’ve adapted over the years—my own cozy version of a quick bread that’s perfect for breakfast, a snack, or even a light dessert. Think of it as your new go-to when you want something easy, healthyish, and totally addictive. It’s like the lovechild of banana bread and a veggie-forward snack—think guilt-free indulgence with a side of nostalgia. And yes, it’s totally kid-approved too!
Why you’ll love this recipe?
Honestly, I always do this when I need a little baking therapy—whip up a batch of my banana zucchini bread, and suddenly everything feels just a bit brighter. Here’s what I love most about this recipe:
- Flavor:Is it sweet, warm, and cozy without being overly sugary?
- Simplicity: No fancy ingredients or techniques here. It’s just a straightforward one-bowl batter mixed up in minutes. I always keep some shredded zucchini in the freezer for those nights when I crave this—or I just grab a fresh one from the fridge. Honestly, the most time-consuming part is grating zucchini, but even that is quick if you have a good box grater (and a little patience!).
- Cost-effective: Ingredients are super budget-friendly—ripe bananas, zucchini, flour, a bit of sugar, and baking powder. No fancy add-ons needed. Plus, it’s a great way to use up bananas that are too ripe to eat and those leftover zucchinis before they go bad.
- Versatility: You can tweak this bread in so many ways. Add a handful of chocolate chips, swap in whole wheat flour, or sprinkle some walnuts or blueberries into the batter. It’s a blank canvas that always turns out delicious.
What I really love is how this just makes sense—the kind of recipe I’ve made dozens of times and never fails. Every slice is a little reminder that simple, honest ingredients can turn into something so comforting. Plus, it’s perfect when you’re craving a sweet treat at 10pm but don’t want to go all out baking a cake. Just slice, maybe add a smear of butter or a drizzle of honey, and you’re in heaven. This banana zucchini bread isn’t just a recipe; it’s a little piece of my kitchen, and I promise, once you try it, it’ll be one of yours too.
How to Make Banana Zucchini Bread
Quick Overview
This bread comes together in three easy steps: mash the bananas, grate and drain the zucchini, then mix everything into a smooth batter. Pour it into a loaf pan and bake until it’s golden and a toothpick comes out clean. No fancy step, no overthinking—perfect for a quick baking fix. The magic lies in how all the flavors blend so naturally—sweet bananas paired with the subtle crunch and moisture of zucchini. I always do this when I want something homemade that the whole family will love, and it’s honestly pretty hard to mess up. Plus, once it’s baked, the smell alone will have everyone gathering in the kitchen before it’s even cooled down. This one’s a real crowd-pleaser, and the leftovers (if you can resist!) keep well for a couple of days in a covered container.
Ingredients
For the Main Batter:
– 3 ripe bananas, mashed (the riper, the better for flavor and sweetness)
– 1 1/2 cups all-purpose flour (or whole wheat for a healthier twist)
– 1/2 cup sugar (or honey/maple syrup if you prefer natural sweetness)
– 1 teaspoon baking powder
– 1/2 teaspoon baking soda
– 1/4 teaspoon salt
– 1 teaspoon vanilla extract
– 1/4 cup vegetable oil (or melted coconut oil for extra flavor)
– 2 large eggs, beaten
– 1 cup shredded zucchini, drained well (squeezed out moisture is key!)
For the Filling (Optional):
– Chocolate chips, blueberries, or chopped nuts—whatever your hearts desire! I love a handful of walnuts for crunch.
For the Glaze (Optional):
– A simple dusting of powdered sugar or a quick cream cheese frosting; or even a drizzle of honey or maple syrup for a little extra sweetness and shine.
Step-by-Step Instructions
Step 1: Preheat & Prep Pan
Set your oven to 350°F (175°C). Grease a standard loaf pan with butter or non-stick spray—trust me, this keeps the bread from sticking, especially if you’re using a glass pan. Line it with parchment for extra ease if you want—nothing worse than trying to wrestle out a hot loaf stuck to the pan! Let it sit while you prepare the batter.
Step 2: Mix Dry Ingredients
In a large bowl, whisk together the flour, baking powder, baking soda, salt, and sugar. This step is important to evenly distribute everything before the wet ingredients hit the mix. The texture should look a little grainy but combined thoroughly. I’ve learned that sifting isn’t necessary, but I do make sure everything is well blended—clumps can mess with the rise.
Step 3: Mix Wet Ingredients
In a separate bowl, mash those bananas until they’re nice and smooth—think creamy, with just small lumps for texture. Whisk in the eggs, oil, vanilla, and a splash of milk if you want it extra moist. I tested with almond milk and it actually made it creamier without adding any coconut flavor—that’s a pro tip for you! Once everything’s combined, pour the mixture into the dry ingredients.
Step 4: Combine
Using a spatula or wooden spoon, gently fold the wet into the dry ingredients. Resist the urge to overmix—blending until just combined is perfect, because overmixing can make the bread dense instead of tender. Some streaks of flour are fine; just make sure everything is moistened.
Step 5: Prepare Filling
If you’re adding extras like chocolate chips or nuts, fold them into the batter now. If you want to keep it simple, just skip this step. For blueberries, gently fold them in to avoid bursting and coloring the batter too much.
Step 6: Layer & Swirl
Pour half the batter into the pan. Add your filling (if using), then top with remaining batter. To get that lovely marbled effect, use a toothpick or skewer to swirl through the batter—go slow and make gentle zig-zags. This creates the gorgeous marbling you see in the photos and keeps the loaf looking interesting.
Step 7: Bake
Pop it into the oven and bake for 50-60 minutes. Check for doneness with a toothpick inserted in the center—if it comes out clean, you’re good. Everyone’s oven is slightly different, so start checking at 50 minutes. If the top gets too dark, tent with foil to keep it from burning. My trick is to rotate the loaf halfway through baking—I find it helps it bake evenly.
Step 8: Cool & Glaze
Let the bread cool in the pan for about 10 minutes, then transfer to a wire rack. This helps it set and prevents sogginess. Once cool enough to handle, drizzle with your favorite glaze or sprinkle powdered sugar—whatever makes you happy. I often just leave it plain because the bread itself is sweet enough, but a scoop of whipped cream or dollop of mascarpone on the side isn’t a bad idea either.
Step 9: Slice & Serve
Use a serrated knife to cut neat slices—this bread is soft, so gentle sawing works best. Serve warm or at room temperature, with coffee, tea, or a glass of cold milk. I like to heat up a slice in the microwave for 10-15 seconds—trust me, it’s cozy and melts in your mouth. It disappears in minutes at my house, I swear. And leftovers? They’re just as good the next day—if they last that long!
What to Serve It With
This banana zucchini bread is so versatile, I practically have a dozen ways I serve it. For breakfast, a simple smear of butter and a cup of coffee are perfect. It’s great for brunch when you want something sweet but not too heavy—try serving it with Greek yogurt and fresh berries on the side, and maybe a mimosa or two for the grown-ups. As a dessert, it pairs beautifully with a scoop of vanilla ice cream or a drizzle of caramel sauce. On busy mornings, it’s a lifesaver—slice a piece and throw it in a to-go container for a quick breakfast on the run. I even love to toast a slice and spread with peanut butter for that nostalgic, hearty snack. It’s those little extras that make it special. Truly, this bread feels like a warm hug, and my family always asks for seconds.
Top Tips for Perfecting Your Banana Zucchini Bread
Over the years, I’ve learned a few tricks to make sure your loaf turns out perfect every time:
- Zucchini Prep: Drain and squeeze out excess moisture—don’t skip this or you’ll end up with a soggy loaf. Use a clean kitchen towel or paper towels to get rid of any wetness, especially if you’re shredding in advance.
- Mixing Advice: Gentle is key. Overmixing will develop gluten and make your bread tough, so fold and combine just until the flour disappears. If you see flour streaks, stop mixing!
- Swirl Customization: For fancy patterns, drag a skewer in zig-zags, circles, or whatever fun designs you like. It makes the bread look pretty, but the real reward is when you get that first bite—the marbled look is just a bonus!
- Ingredient Swaps: Whole wheat flour adds nuttiness, and natural sweeteners like honey or maple syrup bring a deeper flavor. I tested with coconut oil, which added a slight tropical note that I loved, but vegetable oil keeps it classic and neutral.
- Baking Tips: Center racks and oven fans can affect baking time. Keep an eye on the clock, and start testing with a toothpick at 50 minutes. It’s better to check early than overbake!
- Glaze Variations: A lemon glaze adds zing, while cream cheese frosting makes it feel like a special treat. You can also skip the glaze altogether and just dust with powdered sugar—you get that beautiful finish with minimal effort.
Honestly, each time I bake this, I find a new little tweak—adding cinnamon, tossing in chocolate chips, or even sneaking a handful of oats—because it’s so forgiving. Plus, the smell alone makes the house feel cozy, especially on chilly mornings or rainy afternoons. Once you get the hang of it, you’ll be making this bread without even thinking—like a warm, baking instinct that’s just… part of you.
Storing and Reheating Tips
This bread stays fresh surprisingly well. I usually store it in an airtight container at room temperature for 2-3 days. Just make sure it’s covered loosely with a towel or stored in a bread box—moisture is your enemy here, especially with zucchini involved. When the family asks for a second slice, I usually pop it into a toaster for a quick 10 seconds or microwave it for 10-15 seconds—so good! If I want to keep it longer, I slice it up and freeze individual pieces wrapped tightly in plastic wrap and foil. Thaw at room temp or pop in the toaster straight from the freezer. A quick reheat and it’s as good as freshly baked. Just avoid glazing before freezing—wait until you’re ready to serve, or the glaze might get soggy or melt.
Frequently Asked Questions
Final Thoughts
I’ve been making this banana zucchini bread for years, and each time, it feels like I’m doing something a little special—yet so simple. It’s one of those recipes that instantly warms your kitchen and your heart. The kids love it, my friends always ask for the recipe, and honestly, it’s become part of my little baking rituals on weekends. The best part? You can customize it endlessly—add chocolate chips, swap in different flours, or top with nuts or berries. It’s just that versatile and forgiving. Whenever life feels busy, I trust this bread to bring a little comfort and sweetness—sometimes all you need is a slice and a quiet moment. I hope you give it a try, and I’d love to hear how yours turns out! Happy baking, and enjoy every bite!
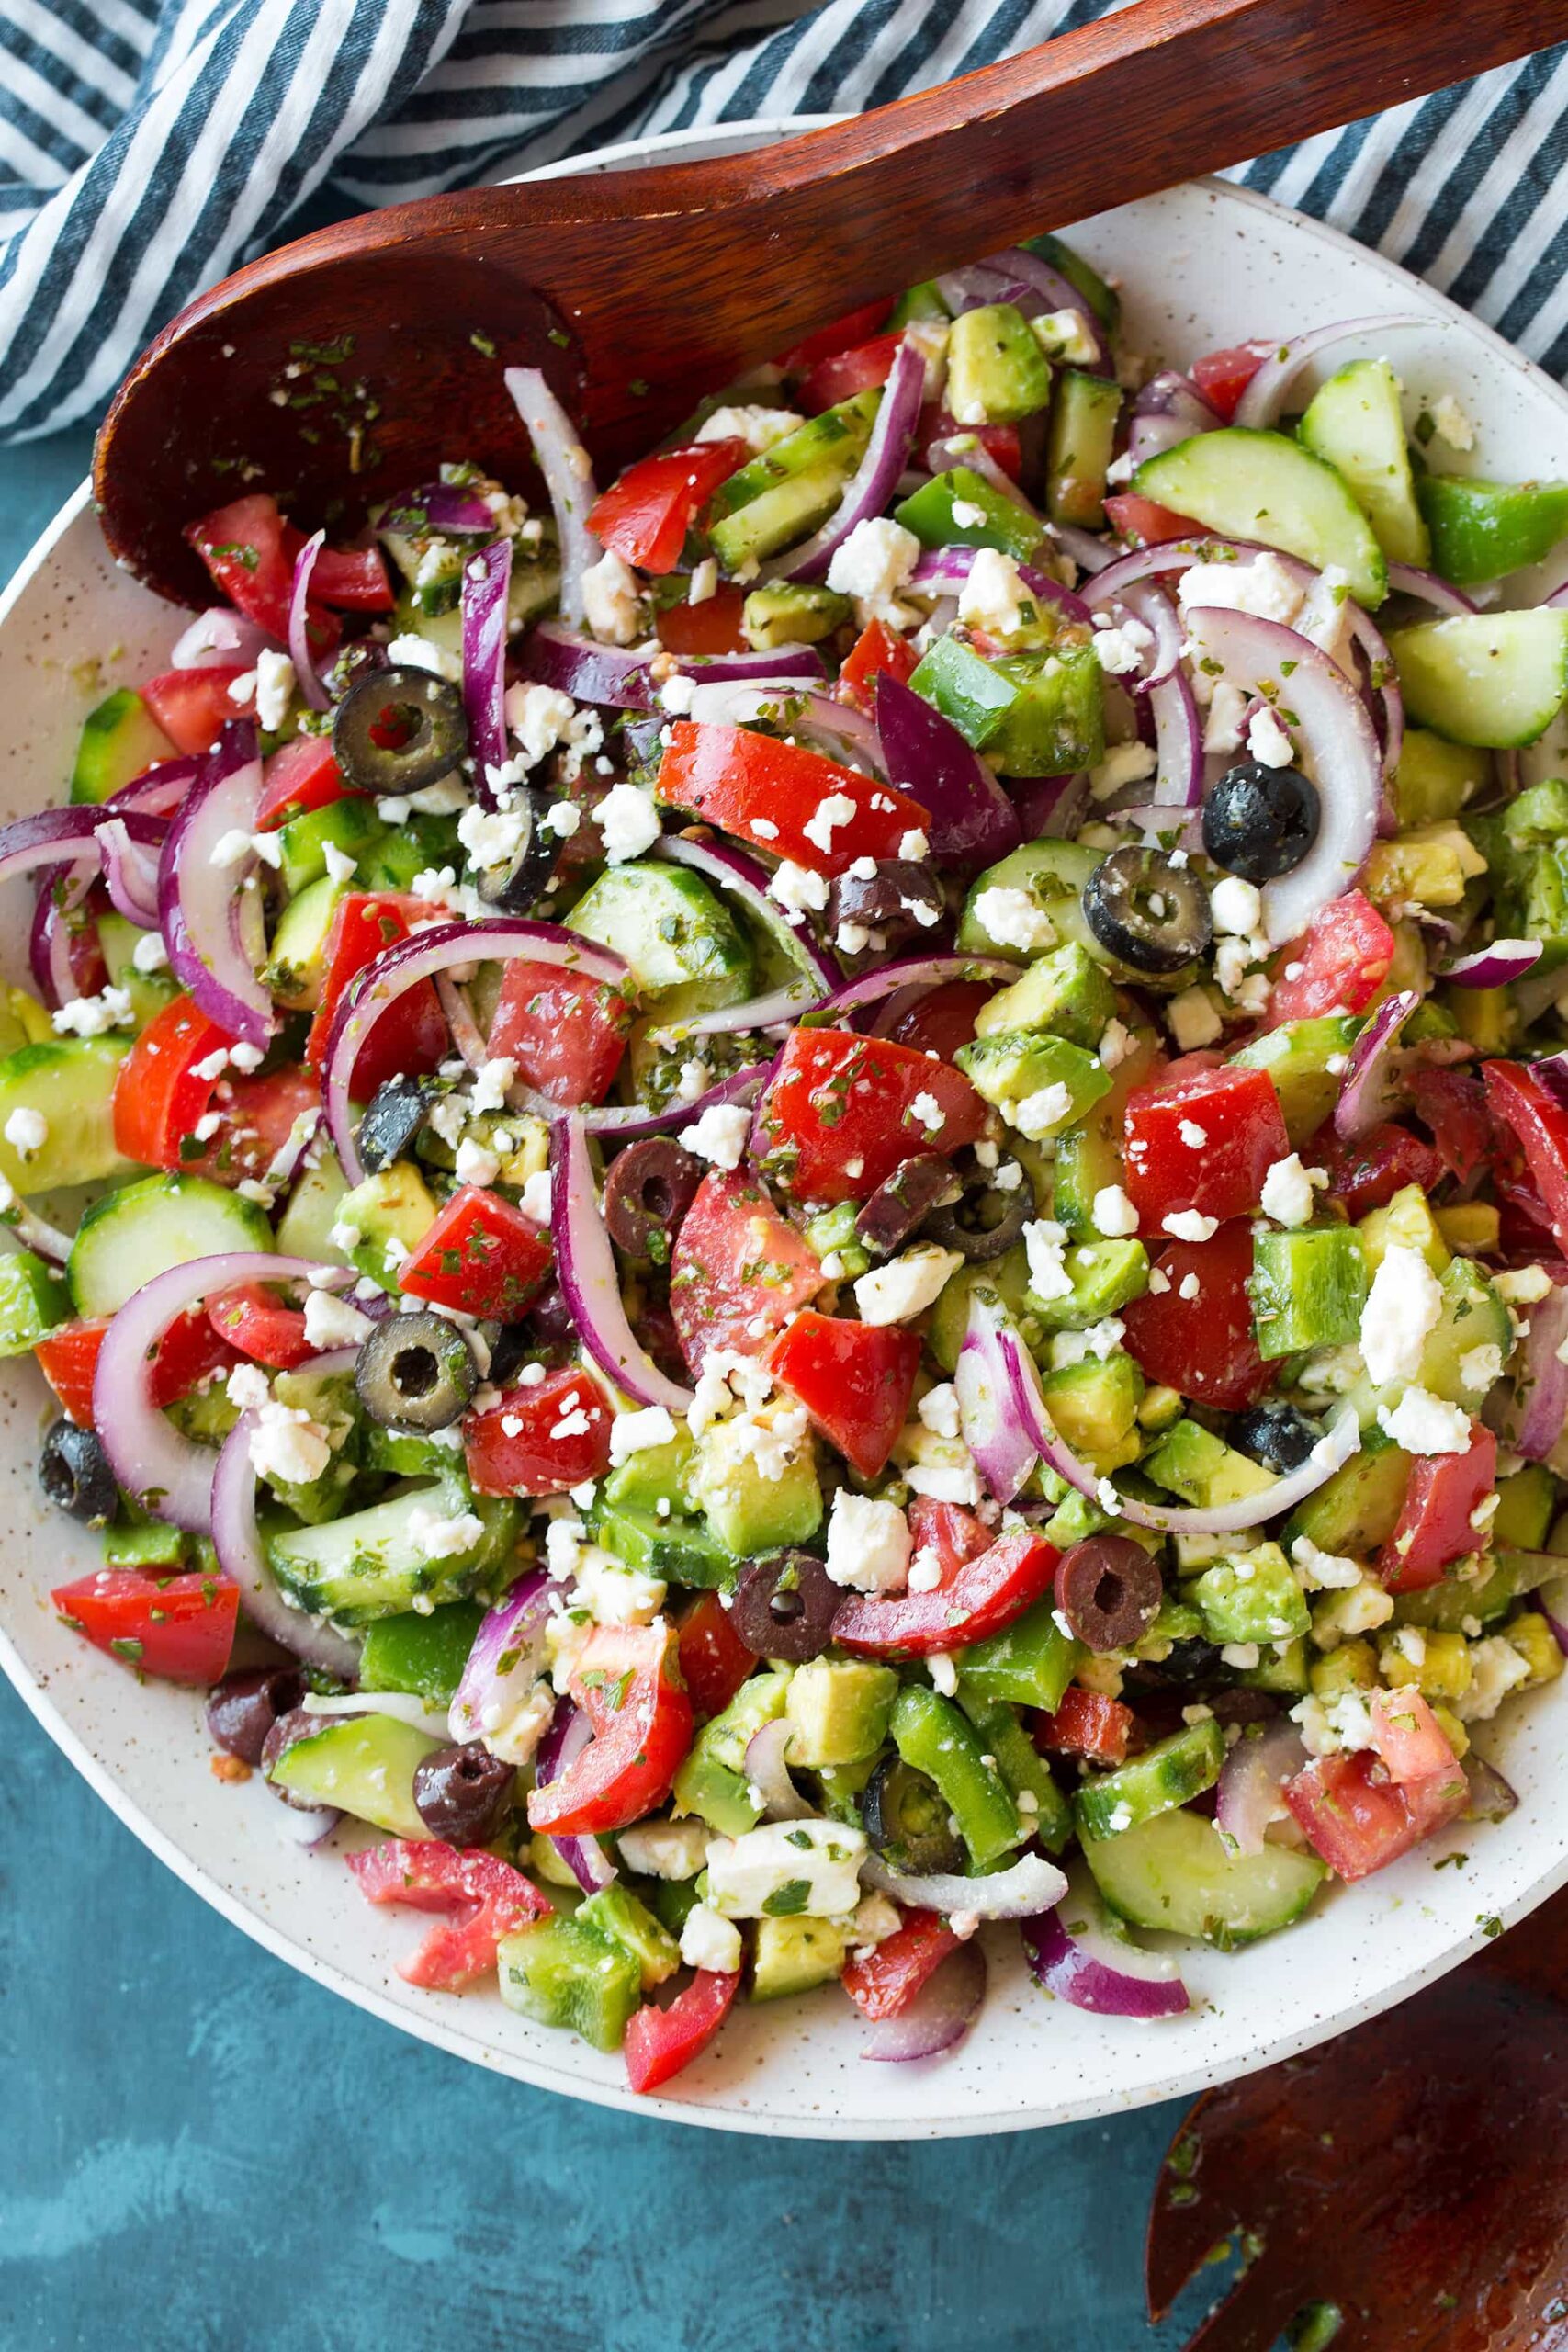
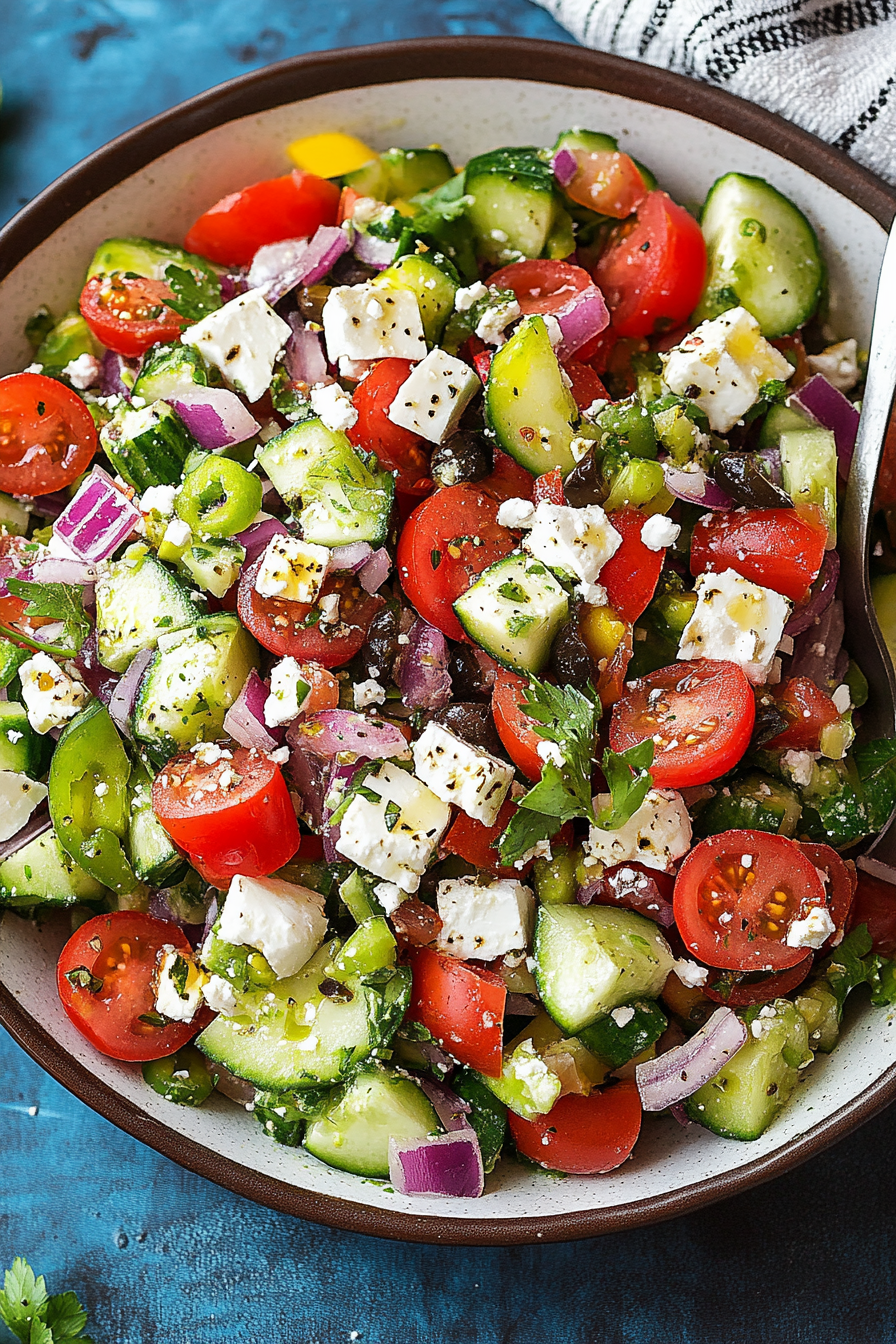
Greek Salad
Ingredients
Method
- Add all dressing ingredients to a small bowl and whisk well. Season with salt and refrigerate until needed.
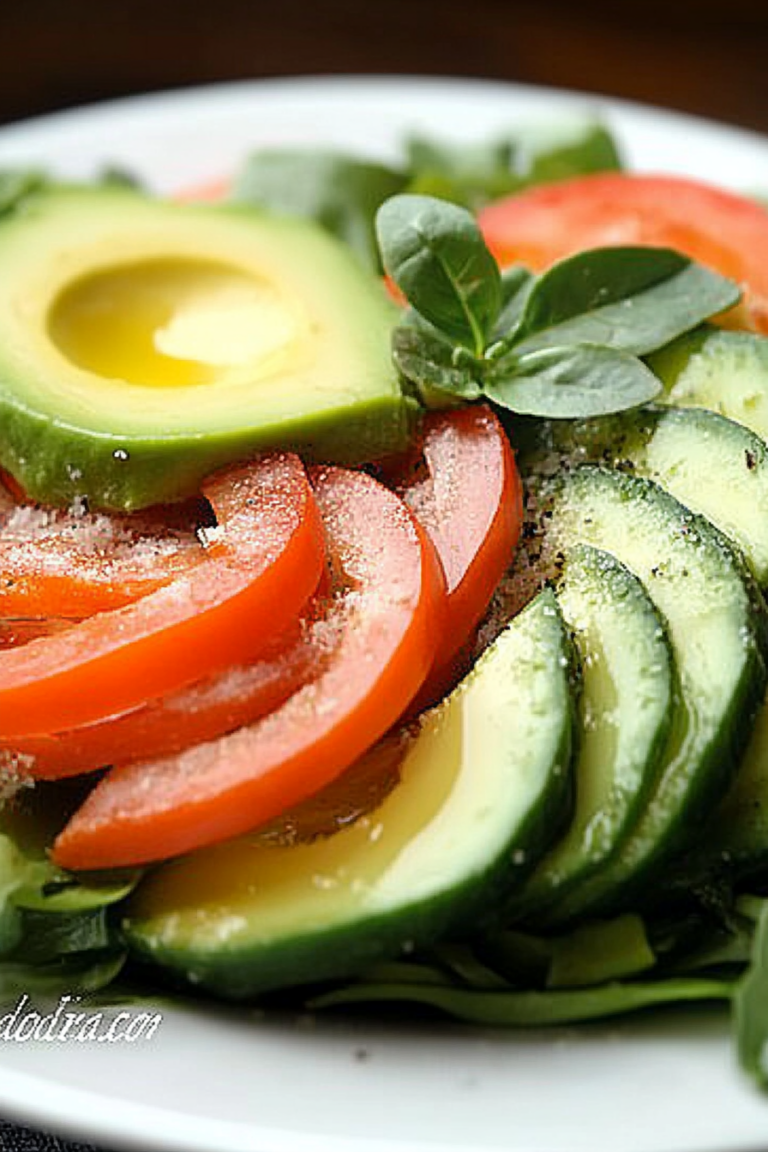
- Combine tomatoes, cucumber, red onion, bell pepper, olives, feta, and avocado in a salad bowl.
- Pour dressing over the salad and gently toss to coat. Serve fresh.


So comforting and delicious! I love how simple yet flavorful it is — definitely making a batch this weekend.
I love banana zucchini bread—it’s such a cozy, nostalgic treat! The combination of banana and zucchini is perfect for a moist, flavorful loaf.
I love how this recipe brings back such warm memories! It’s amazing how food can feel like a hug from the past.
I love banana zucchini bread! It’s such a cozy, nostalgic treat—perfect for rainy days and always hits the spot.
This sounds amazing—banana zucchini bread is such a cozy classic! I’ll definitely have to try it soon.