
Autumn Apple Dessert Recipe
There’s something magical about baking early in the morning, isn’t there? The smell of coffee grounds, the soft hum of the kitchen coming alive, and the anticipation of that first warm bite. I still remember the first time I made this zucchini glazed coffee cake. My grandma used to bake a similar one, and I’d watch her, wide-eyed, as she mixed batter with such grace. Now, I do this almost unconsciously — it’s become a comforting ritual for me. This recipe isn’t just about the incredible flavor or the moist, tender crumb — it’s really about that warm feeling, the nostalgia in every bite. And trust me, it’s surprisingly easy to pull off, even on a busy weekday morning. It’s one of those recipes you can make past midnight and still wake up excited to enjoy it with a hot cup of coffee. My kids ask for this all the time — they love how the glaze makes it look like a sweet little masterpiece on the plate. It’s a true keeper, and I can’t wait to share it with you.
What is Zucchini Glazed Coffee Cake?
Think of this as a delicious twist on your typical coffee cake — but with a hidden veggie sneaking in! The name might sound fancy, but it’s basically a moist, tender cake layered with shredded zucchini and topped with a luscious glaze. The zucchini keeps the cake super moist, almost like adding a secret ingredient that does all the work without overpowering the flavor. It’s kind of like that classic cinnamon coffee cake you’d find in bakeries, but with a little extra magic from those tiny ocean-green cubes of zucchini. This dish originated from humble home kitchens, where resourcefulness and love blend together, turning everyday ingredients into something truly special. Think of it as a cozy hug wrapped in a tender crumb, perfect for brunch, snack time, or even a sneaky dessert for those afternoons when you crave something sweet but don’t want to turn on the oven all day. It’s friendly, approachable, and just a little bit surprising — in the best way possible.
Why you’ll love this recipe?
What I love most about this zucchini glazed coffee cake is how effortlessly satisfying it is. The flavor profile is a delightful blend of sweet, cinnamon-spiced goodness with just a hint of zucchini’s subtle earthy note. It’s not overpowering; instead, it adds an incredible moistness that makes each bite melt in your mouth. The glaze? Oh, the glaze! It’s sweet, slightly buttery, and drapes the cake like a glossy, tempting coat that makes everyone reach for a second slice. Plus, this is such a cost-effective recipe — I usually keep shredded zucchini in the freezer for these moments, and all the ingredients are pantry staples or easily accessible. What’s more? It’s versatile. I’ve whipped this up with almond milk instead of regular milk, and honestly, it made it even creamier. This one’s a lifesaver on busy nights or when friends drop by unannounced because I always do this when I need to impress without much fuss. It’s a crowd-pleaser at family gatherings, brunch, or just a cozy afternoon treat—my kids ask for this all the time, and I’ve even adapted it into muffins once when I needed a quick breakfast to-go. It’s genuine, homely, and absolutely worth curling up with a cup of coffee to enjoy slowly.
How do I make Zucchini Glazed Coffee Cake?
Quick Overview
This cake is about as simple as it gets. The batter combines basic pantry ingredients, and the magic happens when you fold in freshly grated zucchini. The filling is optional but adds a lovely layered effect, and the glaze? Just butter, powdered sugar, and a splash of vanilla. The caramel color of the glaze looking glossy and inviting is worth every second of the effort. Baking takes around 35-40 minutes, depending on your oven, and cooling slightly before drizzling that luscious glaze makes all the difference. Honestly, once you master the layering and swirling, this cake becomes almost effortless. It’s perfect for making ahead and actually tastes better the day after — if it makes it that long! This method keeps everything moist and the flavors layered just right, so don’t skip the glazing step; it really elevates the whole experience.
Ingredients
For the Main Batter:
- 2 cups all-purpose flour — I always use unbleached for a richer flavor
- 1 cup granulated sugar — because sweetness is what brings everything together
- 1 teaspoon baking powder
- ½ teaspoon baking soda
- ½ teaspoon salt
- 1 teaspoon ground cinnamon — adds that warm spice note
- ½ cup vegetable oil or melted butter — I tested this with both, and butter gives it more depth
- 3 large eggs — fresh and at room temperature for better mixing
- 1 teaspoon vanilla extract
- 1 cup grated zucchini — I squeeze out excess moisture after grating to prevent sogginess
For the Filling (optional but makes it extra special):
- ½ cup brown sugar
- 1 teaspoon cinnamon
- ¼ cup chopped nuts (walnuts or pecans work great)
For the Glaze:
- 1 cup powdered sugar
- 2-3 tablespoons melted butter
- 1 teaspoon vanilla extract
- 1-2 tablespoons milk or cream — I usually start with a tablespoon and add more for desired consistency
Step-by-Step Instructions
Step 1: Preheat & Prep Pan
I always start by preheating my oven to 350°F (175°C). Grease your 9-inch round or square pan generously — I like to line mine with parchment paper for easy removal. This cake tends to be moist, so non-stick is your friend here. While the oven heats, grate your zucchini. Squeeze out as much moisture as you can; I do this by pressing it between clean towels. Moisture is the enemy if you want a fluffy, tender crumb that isn’t soggy.
Step 2: Mix Dry Ingredients
In a large bowl, whisk together the flour, sugar, baking powder, baking soda, salt, and cinnamon. I always do this first to ensure even distribution of the baking agents and spices. It’s like setting the foundation of a good cake — get it right, and everything else falls into place beautifully.
Step 3: Mix Wet Ingredients
In another bowl, beat the eggs, oil (or melted butter), vanilla, and the grated zucchini. I find that mixing the eggs first, then adding the oil and vanilla, gives a silky batter. Some people like to warm the eggs slightly, but I just keep everything at room temperature. When everything looks combined and smooth, you’re ready for the next step.
Step 4: Combine
Pour the wet mixture into the dry ingredients. Using a spatula (not a whisk, to avoid overdoing it), gently fold until just combined. Remember, a few lumps are okay — overmixing can make the cake dense. It’s the easiest when you approach it with patience and a light touch.
Step 5: Prepare Filling
If you’re adding the filling, combine brown sugar, cinnamon, and nuts in a small bowl. This will be layered in the middle, giving that lovely cinnamon-sugar swirl that everyone loves. Keep it handy.
Step 6: Layer & Swirl
Pour half of the batter into your prepared pan. Spread evenly. Sprinkle the filling over it. Then, gently pour the rest of the batter on top. With a skewer or butter knife, swirl through the batter to create a marbled effect — just a few gentle strokes. This step adds visual interest and gives that pop of sweet cinnamon in every bite.
Step 7: Bake
Pop it into your preheated oven, and bake for about 35-40 minutes. Start checking around the 35-minute mark by inserting a toothpick. If it comes out clean, you’re good. Slightly golden edges and a bounce when you gently press the center mean it’s perfect. Keep in mind that oven differences happen, so trust your nose and touch more than the clock sometimes.
Step 8: Cool & Glaze
Let the cake cool in the pan for about 15 minutes — this prevents the glaze from sliding right off. Then, transfer to a wire rack if you want a cleaner finish. Mix up your glaze ingredients: sift the powdered sugar, stir in melted butter and vanilla, then add milk until you get a smooth, pourable consistency. Drizzle generously over the slightly warm cake. The glaze will set just enough as it cools, adding that glossy finish.
Step 9: Slice & Serve
Wait until the glaze is set (about 10 minutes after glazing), then slice with a sharp serrated knife. Serve warm or at room temperature, accompanied by more coffee or a little dollop of whipped cream if you fancy. I love how the glaze drips into the cracks, making each bite heavenly. Trust me, it’s impossible to resist — and always better the next day when the flavors have melded together.
What to Serve It With
This cake is so versatile that it can be breakfast, brunch, or dessert. For breakfast, pair it with a big mug of black coffee or a lightly sweetened latte. My family loves it with a drizzle of honey or a smear of cream cheese. It’s also fabulous served with a fresh fruit salad, especially sliced strawberries or blueberries — their tartness is the perfect foil to the cake’s sweetness. At brunch, a side of crispy bacon or scrambled eggs adds a cozy, satisfying vibe. As an after-dinner treat, add a scoop of vanilla ice cream or a dusting of cinnamon powder, and it transforms into something special. For a simple, comforting snack, serve a warm slice with a cup of chamomile tea in the afternoon. Honestly, this cake has become a staple in my home — I’ve even made mini-muffins from it for school lunches, and they disappear in minutes. The aroma alone brings everyone to the kitchen. It’s a little slice of home, no matter where you are.
Top Tips for Perfecting Your Zucchini Glazed Coffee Cake
Over the years, I’ve learned a few tricks that help make this recipe foolproof. First, the zucchini — I always squeeze out as much moisture as possible because wet zucchini can turn your batter into a soggy mess. Grating it finely helps it blend evenly into the batter without clumping. When mixing wet and dry ingredients, I fold gently and avoid overmixing. You want a tender, fluffy crumb, not a dense bread. Swirling the filling and batter is an art — I like to use a skewer for a gentle marbling effect that looks beautiful when sliced. As for ingredient swaps, I’ve tested almond milk, and it added a lovely nutty aroma, plus it kept the cake even creamier. If you want to cut down on sugar, try using honey or maple syrup in the batter, but remember, this might slightly alter baking times. When baking, always check your cake a few minutes early to prevent overbaking — nothing ruins that moist texture faster. For the glaze, I’ve experimented with lemon zest or a splash of bourbon for an unexpected twist — trust me on this, it’s a game changer. Keep notes as you go — baking is as much an art as it is a science, and every tweak brings you closer to your perfect version.
Storing and Reheating Tips
This cake is great because it stays moist and tender for days if stored properly. At room temperature, it keeps well overnight — just cover it tightly with foil or a cake dome to prevent drying out. For longer storage, I recommend refrigerating it in an airtight container; it’s good for up to 3 days. To keep it fresh, I always let it come to room temp before slicing, which enhances the flavor and texture. If you want to make it ahead of time for a gathering, freeze individual slices wrapped tightly in plastic wrap and foil — they defrost beautifully in the microwave or toaster oven. When reheating, I do a slow warm-up at 300°F for about 10 minutes, covered with foil to avoid drying out. As for the glaze, I like to add it just before serving because it’s the star of the show, but if making ahead, you can store the glaze separately and reapply before serving. The key is to keep it moist and flavorful, so it tastes just as good as fresh even days later.
Frequently Asked Questions
Final Thoughts
This zucchini glazed coffee cake has become a beloved staple in my kitchen — it’s got that perfect balance of homey comfort, a touch of elegance, and just enough surprise from the zucchini to keep everyone guessing. I love how it brings people together, whether it’s breakfast or after-dinner dessert, or even a sweet snack on Sunday mornings. Over the years, I’ve tweaked little things here and there, but the heart of this cake remains the same: simple ingredients, a little love, and that irresistible glaze. I encourage you to experiment, add your own twists, and most importantly, enjoy every slice. Nothing beats the smell of warm spices and sweet glaze wafting through the house. I can’t wait to hear how yours turns out — comment below, share pictures, or tell me your favorite variations. Happy baking, friends!
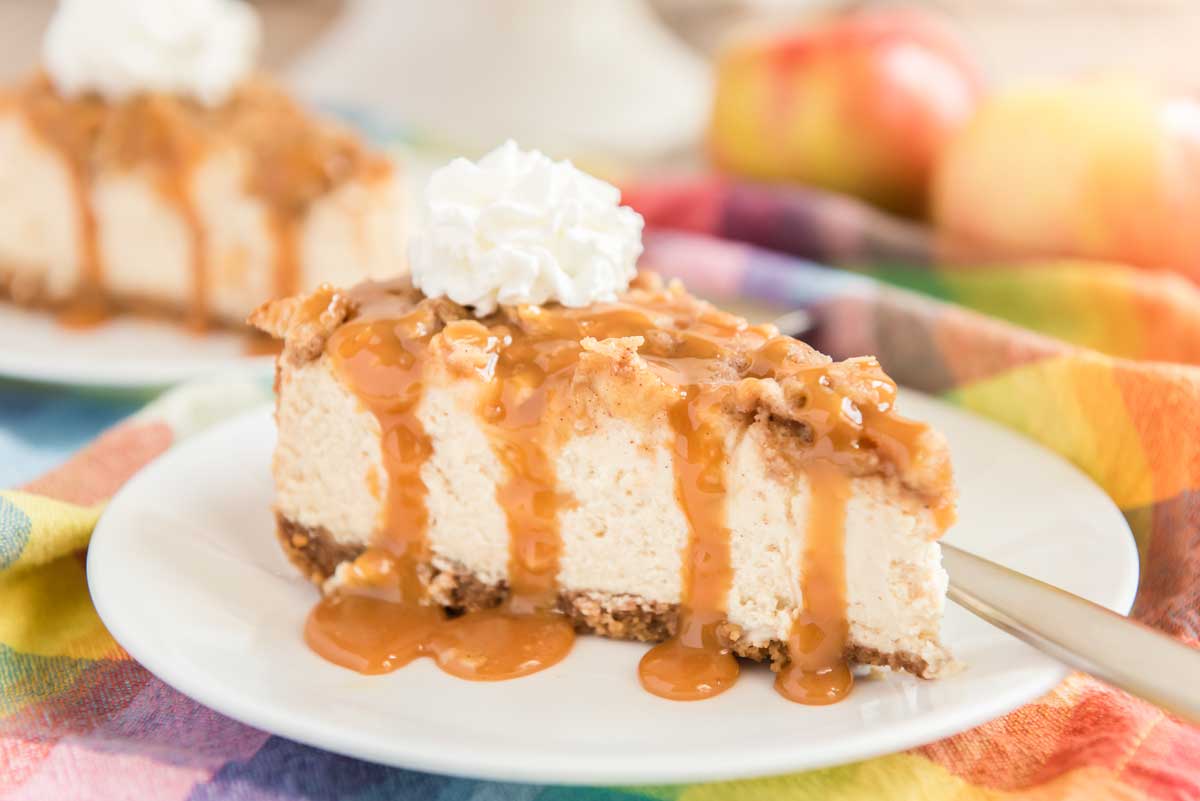
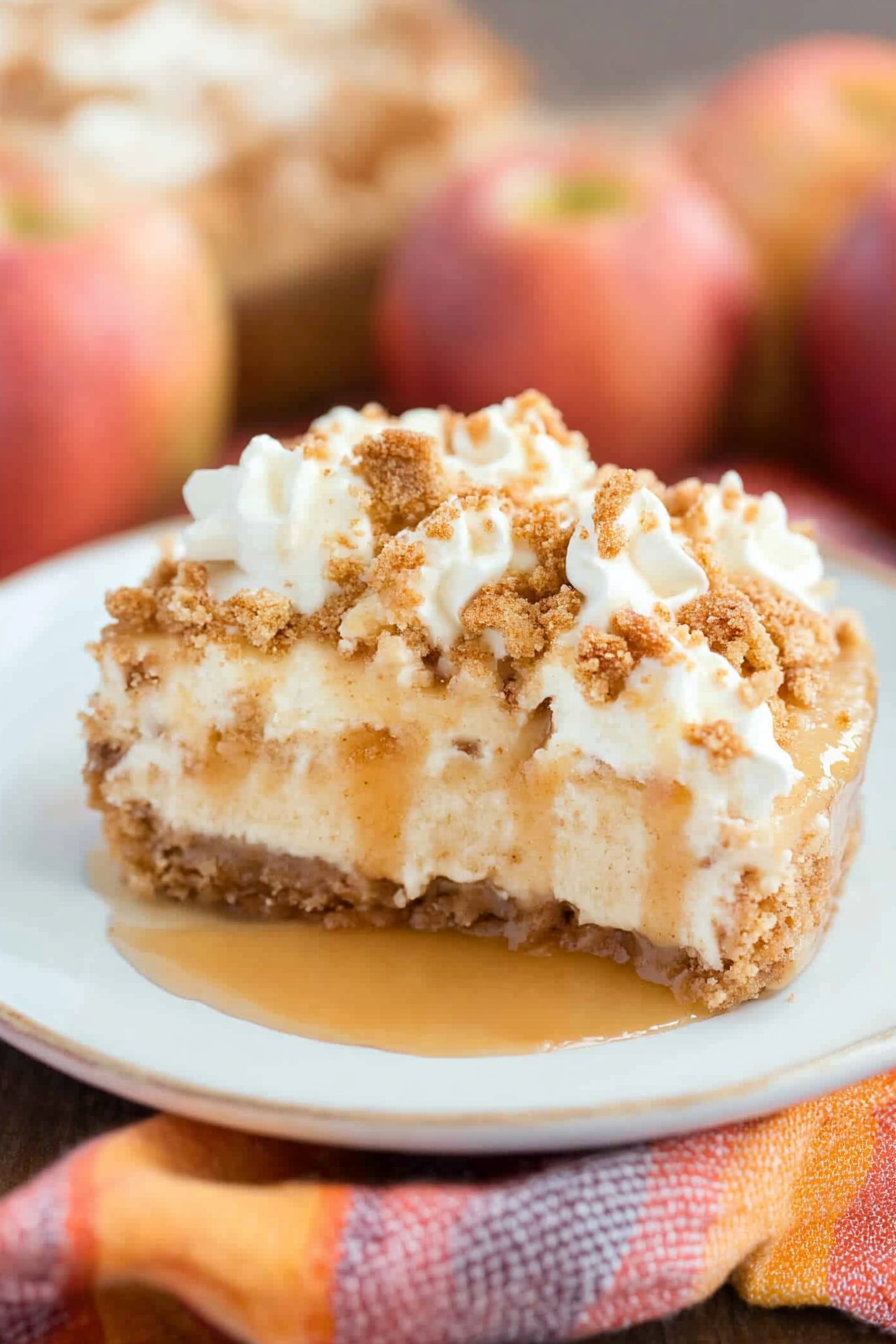
apple crisp
Ingredients
Method
- Preheat your oven to 350 degrees Fahrenheit. Grease a baking dish.
- In a large bowl, combine sliced apples and half a cup of granulated sugar. Toss to coat.
- Transfer the apple mixture to the prepared baking dish.
- In a separate bowl, mix oats, flour, remaining sugar, cinnamon, and cold butter until crumbly.
- Sprinkle the oat topping evenly over the apples.
- Bake for 45 minutes until the topping is golden and apples are tender.
- Serve warm with whipped cream or vanilla ice cream if desired.
I absolutely love this—there’s nothing quite like that cozy morning kitchen vibe. Your apple recipe sounds perfect for fall!
I love this! That cozy morning kitchen vibe always makes baking feel extra special. The apple dessert sounds perfect for fall.
This sounds so cozy—I love how baking in the morning feels like a little ritual. That first bite of warm apple dessert must be pure magic!
I love how this recipe captures the cozy essence of autumn baking—there’s nothing quite like that first warm slice on a crisp morning. Perfect for sharing with loved ones.
I love this cozy vibe! The smell of apple pie baking in the morning is the best part of autumn.