
Easy Vegan Caramel Sauce Magic
There’s something about the smell of fresh coffee cake wafting through the kitchen that instantly makes me feel cozy — like I’m wrapped in a warm blanket, even on the coldest mornings. I remember my grandma baking her zucchini bread, and then later, when I started tinkering with the recipe, I found that zucchini makes just about anything moist and luscious. This zucchini coffee cake is quite honestly one of my favorites — it’s not overly sweet, keeps beautifully for days, and tastes like a slice of nostalgia in every bite. Plus, my kids ask for this all the time; it’s become a staple in our weekend brunch lineup. I love sharing it with friends during early coffee dates — it’s this perfect balance of tender crumb, slight nuttiness from the zucchini, and that irresistible cream cheese swirl. Trust me, this one’s a lifesaver on busy nights when you want to whip up something homemade but don’t want to spend hours in the kitchen. It’s simple, comforting, and downright delicious. I always do this when I want to treat us all to a little something special — and it disappears faster than I can say “coffee’s ready!”
What is Zucchini Coffee Cake?
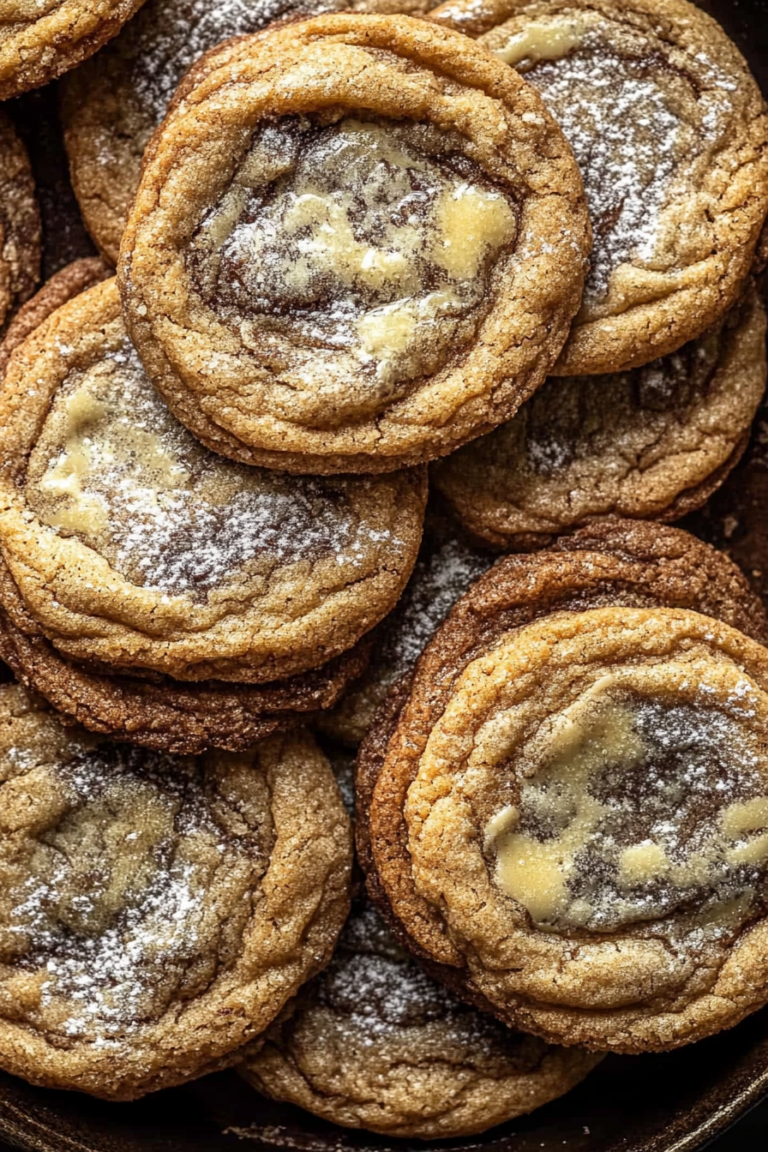
Think of zucchini coffee cake as a breakfast or brunch treat that’s more than just your average muffin or quick bread. It’s essentially a tender, moist cake layered with a rich cream cheese swirl, baked to perfection and topped with a crunchy streusel that adds just the right amount of crispness. The name might sound fancy, but it’s really just a casual, cozy cake that pairs perfectly with your morning coffee or afternoon tea. The magic here is in the zucchini — it’s sneaky, really — because it keeps the cake moist and adds a subtle earthiness that balances out the sweetness. This recipe is all about comfort: soft crumb, gooey cream cheese, and that buttery streusel topping. I love how adaptable it is — you can add nuts, raisins, or even a sprinkle of cinnamon for extra flair. It’s a slice of home that makes breakfast feel special, even if you’re just rushing out the door. And if you’re like me, you’ll keep making it because it’s just too good not to!
Why you’ll love this recipe?
What I love most about this zucchini coffee cake is how incredibly versatile it is. The flavor is delicate but decadent — the zucchini gives it a subtle vegetable note that keeps it from being overly sweet, making it perfect for breakfast, brunch, or even a cozy snack. Plus, the addition of that creamy, tangy cream cheese swirl? Total game-changer. It’s like a little surprise in every bite, and trust me, that sweetness pairs beautifully with a hot cup of coffee or tea. This cake is super straightforward to make, which is a huge win on busy mornings or after a weekend of family festivities. I’ve tested it with almond flour instead of all-purpose, and honestly, it made it even more tender — so, if you’re into gluten-free baking, give it a try! The best part? It’s budget-friendly, filled with simple ingredients you already have lurking in your pantry or fridge. And this cake is endlessly versatile: I’ve swapped in blueberries, added chopped walnuts, even sprinkled cinnamon into the streusel. What I love most about this is how it brings everyone to the table, smelling the kitchen and eager for their slice. It’s comfort food at its best, wrapped in a warm, flavorful package.
How do I make Zucchini Coffee Cake?
Quick Overview
This zucchini coffee cake is all about easy, straightforward steps with big flavor payoff. You start by preheating your oven and lining a baking dish. Then, you whip up the batter, making sure not to overmix — that’s the secret to a tender crumb. The cream cheese swirl gets blended, and the streusel topping comes together with butter, flour, and sugar. Layer the batter in your pan, dollop the cream cheese mixture, swirl it around, then sprinkle on the crunchy topping. Bake until golden, cool slightly, and glaze if you like — simple, comforting, and downright addictive. This cake is perfect for when you want something homemade but don’t want to fuss over complicated techniques. It’s the kind of recipe that becomes a family favorite in no time, especially once you see how easy it is to customize.
Ingredients
For the Main Batter:
– 2 cups all-purpose flour (I like unbleached for a richer flavor)
– 1 cup granulated sugar
– 1 teaspoon baking powder
– ½ teaspoon baking soda
– ½ teaspoon salt
– 1 teaspoon cinnamon (optional but gives a lovely warmth)
– ½ cup vegetable oil or melted butter — I tested with both and both are good!
– 2 large eggs
– 1 cup grated zucchini (squeeze out excess moisture, you don’t want a soggy cake)
– 1 teaspoon vanilla extract
For the Filling:
– 4 oz cream cheese softened
– ¼ cup powdered sugar (or more if you like it sweet)
– 1 teaspoon vanilla extract
*Tip: You can add a hint of lemon zest for zing or a pinch of nutmeg for extra warmth.*
For the Streusel:
– ½ cup all-purpose flour
– ¼ cup packed light brown sugar
– ¼ cup cold unsalted butter, cubed
– ½ teaspoon cinnamon (optional)
*Tip: Using cold butter helps create that perfect crumbly texture.*
Step-by-Step Instructions
Step 1: Preheat & Prep Pan
Set your oven to 350°F (175°C) and grease a 9-inch square baking dish or line it with parchment paper. I usually spray it lightly with cooking spray and dust it with flour. It’s so much easier to get the cake out beautifully once it’s baked.
Step 2: Mix Dry Ingredients
In a large bowl, whisk together the flour, sugar, baking powder, baking soda, salt, and cinnamon. Mixing the dry ingredients first ensures even distribution and helps avoid clumps, especially with the baking soda and powder. I always do this before I start on the wet stuff because it sets the stage for a smooth batter.
Step 3: Mix Wet Ingredients
In a separate bowl, beat together the eggs, oil (or melted butter), vanilla, and grated zucchini. I like to use a spatula or a whisk here because it helps incorporate everything evenly. The zucchini needs to be squeezed dry — no one wants watery cake. I learned this the hard way after a few failed bakes — wet zucchini makes the batter heavy and dense.
Step 4: Combine
Pour the wet ingredients into the dry and fold gently with a spatula or wooden spoon. I try to mix just until no streaks remain — overmixing leads to tough cake, and nobody wants that. You’re aiming for a soft, slightly lumpy batter, so don’t be tempted to go crazy with stirring.
Step 5: Prepare Filling
In a small bowl, beat together the softened cream cheese, powdered sugar, and vanilla until smooth. It should be creamy but thick. If it’s too runny, pop it in the fridge for a few minutes to firm up. This will make it easier to dollop and swirl in the batter later.
Step 6: Layer & Swirl
Spread half of the batter evenly in your prepared pan. Drop spoonfuls of the cream cheese mixture over the batter, then spread the remaining batter on top. Using a toothpick or skewer, swirl through the layers to create marbled effects. You want nice, gentle swirls — not a mess! The beautiful marbling is what makes this cake so eye-catching and delicious.
Step 7: Make & Add Streusel
Combine the flour, brown sugar, cinnamon, and cold butter. Rub between your fingers or use a pastry cutter until the mixture resembles coarse crumbs. Sprinkle this generously all over the top of the batter. This streusel adds that lovely crunch, balancing the moist cake below. I often add chopped nuts or shredded coconut here for an extra layer of flavor.
Step 8: Bake
Pop it into your preheated oven and bake for 40-45 minutes. The edges should be golden, and a toothpick inserted in the center should come out clean. If it starts browning too quickly, tent it loosely with foil and keep baking. Every oven is different, so start checking at the 40-minute mark.
Step 9: Cool & Glaze
Allow the cake to cool in the pan for about 15 minutes. If you’re feeling fancy, drizzle a simple glaze (powdered sugar mixed with a splash of milk and vanilla) over the top. It’s perfect for adding just a hint of extra sweetness. This cake is best enjoyed warm or at room temperature — I actually think it tastes better the next day, once the flavors meld and the zucchini fully moistens the crumb.
Step 10: Slice & Serve
Slice with a serrated knife to get clean cuts. Serve with a dollop of whipped cream or a scoop of vanilla ice cream for an extra treat. I love pairing it with a hot mug of coffee or tea — it’s just the right balance of rich and refreshing. My kids ask for “cake for breakfast” when I make this — and honestly, I don’t blame them!
What to Serve It With
This zucchini coffee cake is such a multi-tasker. For breakfast, serve it with fresh fruit and a strong coffee; it’s a natural start to the day. On brunch days, I love plating slices on pretty plates with a dusting of powdered sugar and topping it with a drizzle of honey or maple syrup. It’s lovely served alongside a selection of fresh berries — the tartness cuts nicely through the sweetness. For dinner parties or a cozy dessert, I’ll add a scoop of vanilla ice cream or a swirl of cream. It also pairs beautifully with a glass of milk or even a cup of well-steeped black tea. When I want something more casual, I just cut thick slices, serve with a cup of coffee, and let everyone help themselves. My family loves this as a mid-morning snack or an afternoon pick-me-up. It’s one of those homespun treats that feels like a warm hug in every bite. Plus, it’s perfect for making ahead — the flavors deepen overnight, and it’s always better the next day! Trust me on this one: no matter the occasion, this cake will win hearts.
Top Tips for Perfecting Your Zucchini Coffee Cake
Having made this recipe dozens of times, I’ve picked up a few tricks that help it turn out perfectly every time. First, when grating zucchini, I always squeeze out as much moisture as possible — I use a clean linen towel or cheesecloth to gently press out the liquid. Excess moisture can make the batter heavy and cause the cake to be dense, so don’t skip this step. I’ve tested many brands of baking flour, but I find that unbleached all-purpose gives a slightly richer flavor. When mixing the batter, be gentle — overmixing is the enemy; it can toughen the crumb. I like to add just enough stir to combine, then stop. For that beautiful swirl effect, I drop spoonfuls of cream cheese mixture randomly and then use a skewer to gently swirl. It’s all about creating visual interest, and the marbling makes it look as appealing as it tastes. If you want to customize, a pinch of cardamom or a handful of chopped walnuts works beautifully, adding extra texture and flavor depth. On baking, every oven bakes a little differently. I recommend starting to check around the 40-minute mark, and if it’s browning too quickly, tent it with foil. One thing I’ve learned is that the glaze is optional — I love a simple powder sugar drizzle, but honestly, I think the cake is rich and flavorful enough on its own. Lastly, storing leftovers in an airtight container keeps it moist. A slice or two reheat beautifully in the microwave — just keep an eye on it so it doesn’t get too soft or dry. Trust your nose — if it smells golden and delicious, it’s ready! This cake just gets better with a little patience and love.
Storing and Reheating Tips
This cake keeps well for a couple of days when stored properly. I like to keep it in an airtight container at room temperature — it stays moist and fresh for about 2 days. If you want to keep it longer, pop slices into a zip-top bag or airtight container in the fridge; it’ll last up to 4 days. To reheat, microwave slices for about 15-20 seconds — just enough to warm through without drying out. It tastes fantastic warm or at room temperature, so don’t worry if you forget to reheat. If you have leftovers and want to keep it for longer, the freezer is your friend. Wrap individual slices tightly in plastic wrap, then foil, and freeze for up to a month. Thaw at room temperature or microwave gently. A note on glazing: if you plan to freeze it, I recommend adding the glaze afterward — the sugar can sometimes get grainy if frozen and thawed. A quick refresh in the oven at 350°F for 10 minutes rejuvenates the texture, and a fresh drizzle transforms it into new again. Basically, this cake’s pretty resilient, so don’t hesitate to keep a batch in the freezer for those days when you need a quick, comforting treat. I’ve found that a well-stored slice tastes just as good as fresh out of the oven, making it perfect for last-minute guests or sudden cravings.
Frequently Asked Questions
Final Thoughts
Every time I make this zucchini coffee cake, I feel like I’m nurturing my family with something wholesome and comforting. The combination of moist zucchini, creamy swirl, and crunchy streusel turns an ordinary morning into a special moment. It’s funny — I initially started baking this for a quick treat, but it’s become a ritual that my loved ones look forward to every weekend. The best part? It’s so simple that even if you’re not a seasoned baker, you’ll pull it off easily — promise. It’s a recipe I keep in my back pocket for unexpected guests, lazy Sunday mornings, or when I just need a little sweet boost. Plus, it’s a sneaky way to get some veggies into the kids without fuss, because honestly, they don’t even realize they’re eating zucchini! If you try this, I’d love for you to come back and tell me how it turned out or what fun tweaks you made. Happy baking, and I can’t wait to hear how yours turns out!
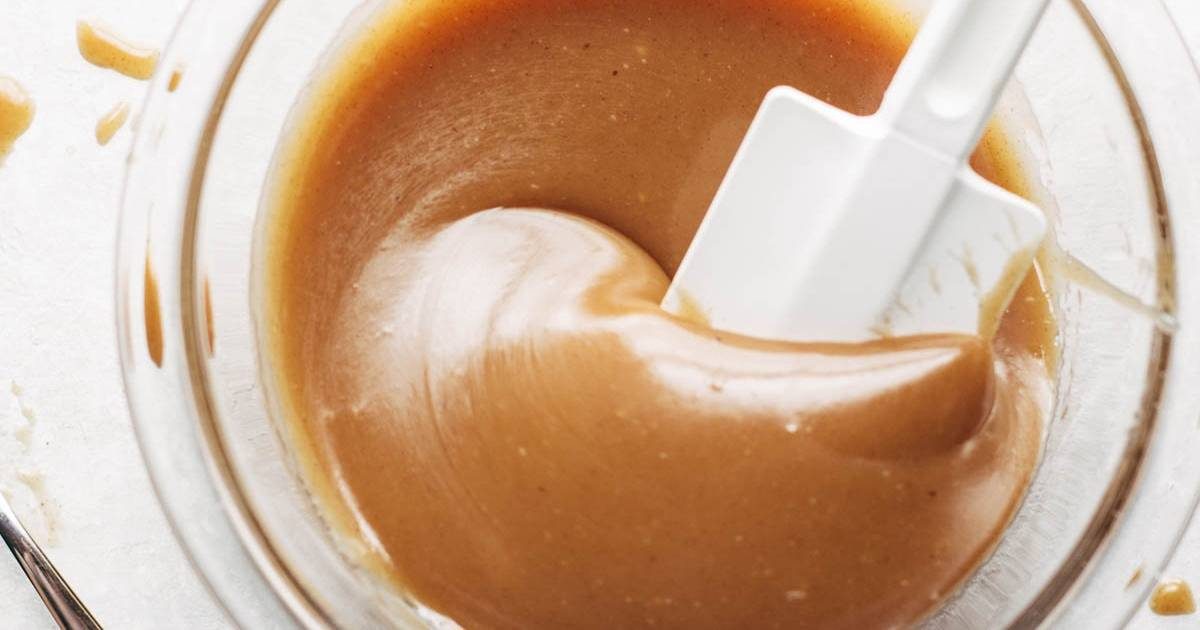
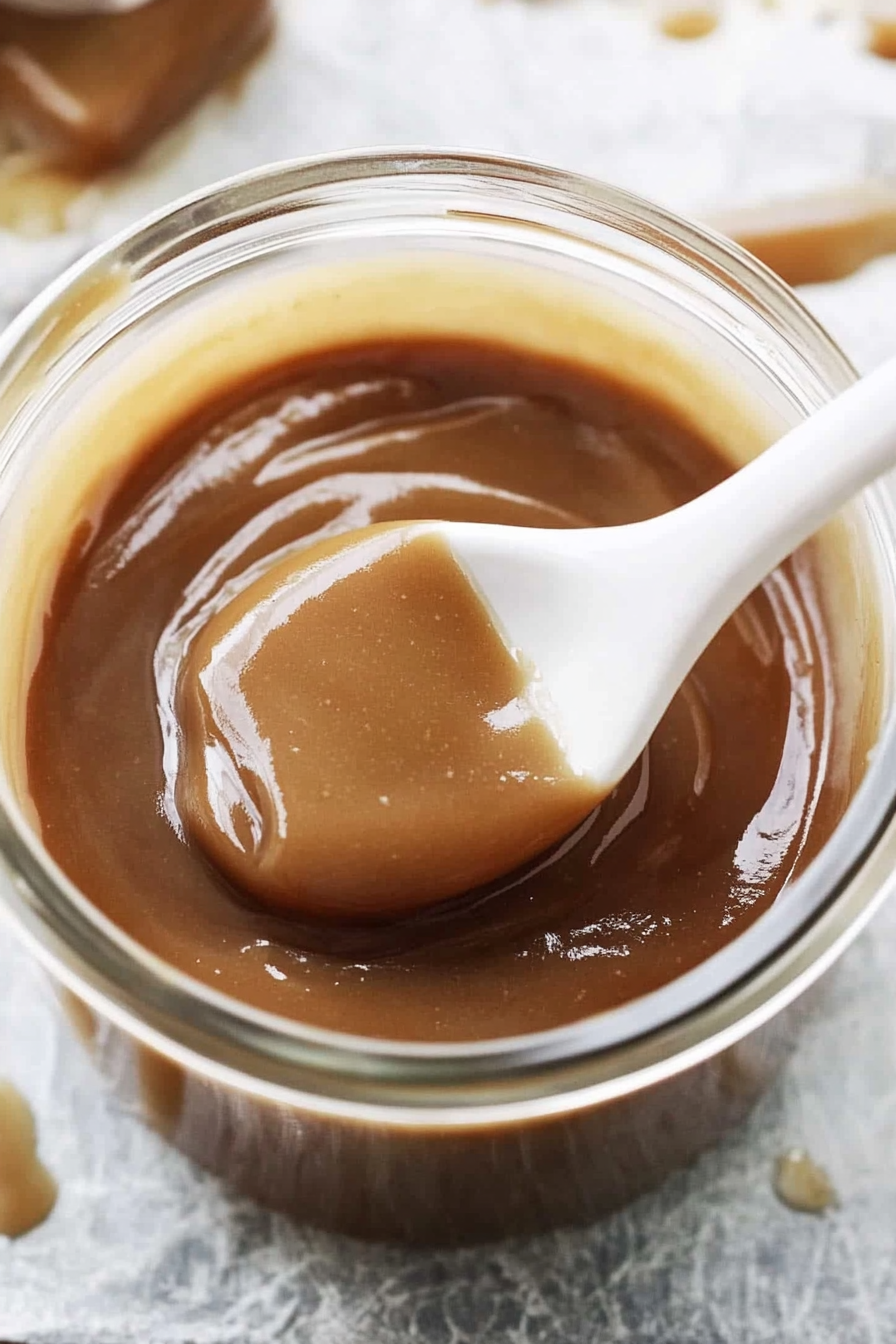
vegan caramel sauce
Ingredients
Method
- Melt the coconut oil and maple syrup together in a small saucepan over low heat.
- Whisk in the almond butter until fully combined and smooth.
- Remove from heat and stir in salt, vanilla, or cinnamon if desired. Use immediately or store in an airtight container.


Love this recipe—it’s perfect for adding a little warmth to any day! The coffee flavor pairs so well with vegan desserts.
That sounds so comforting! I’d love to try this vegan caramel sauce—does it pair well with coffee cake?
I love this recipe! The smell of caramel sauce is so comforting—perfect for cozy mornings.
I love how comforting that smell is—definitely one of those little things that makes the kitchen feel like home.
This caramel sauce sounds amazing—I’ve been looking for a vegan option that actually tastes rich and creamy. Perfect for my coffee cake cravings!