
How to Bake Delicious Cherry Brownies
There’s something magical about baking a cake that feels both indulgent and sneaky at the same time. I’ll never forget the first time I made this zucchini chocolate swirl cake — I was testing out ways to use up an overflowing garden of zucchinis, and I wanted something sweet but not overly heavy. The smell of melting chocolate mixing with the fresh, green aroma of zucchini baking in the oven had everyone’s heads turning. This one’s a lifesaver on busy nights when you crave something sweet but don’t want to mess around with complicated recipes. And honestly? The best part is that my kids ask for this all the time — it’s their favorite treat, and I love that I can sneak in a veggie without any fuss. If you’ve ever felt guilty about giving in to your sweet tooth, trust me on this: zucchini makes it moister, lighter, and more wholesome than most cakes. Plus, it’s got that beautiful marbled look that makes it almost too pretty to eat — almost! My family always asks for seconds, and I’ll admit, I might be a little proud every time I pull this out of the oven.
What is Zucchini Chocolate Swirl Cake?
Think of this as a cozy, slightly rustic cake that’s quietly impressive. It’s essentially a chocolate cake, but with a clever twist — shredded zucchini baked right into the batter, giving it a moist, tender crumb that’s almost impossible to resist. The “swirl” part comes from dollops of rich, melted chocolate tucked into the batter, which you swirl around before baking. The name? Well, it’s pretty straightforward: zucchini+chocolate=delicious. It’s the kind of recipe that’s perfect for spring when zucchinis are in peak season or anytime you want a dessert that feels like a hug but doesn’t weigh you down. The best part? It’s incredibly forgiving. Even if you’re new to baking, once you get the hang of the swirl, this cake practically makes itself. It’s a humble dish — no fancy frosting needed — just good ingredients, a bit of love, and a watchful eye in the oven.
Why you’ll love this recipe?
What I love most about this zucchini chocolate swirl cake is how it surprises everyone — even me! The flavor is rich and chocolatey, but there’s this wonderful earthy note from the zucchini that keeps it from feeling too sweet or heavy. It’s like a secret ingredient that quietly elevates the whole thing. Plus, it’s super simple to put together, which makes it a perfect weeknight dessert or a quick brunch treat. You don’t need any fancy gadgets — a grater, a spatula, and a good oven are really all you need. It’s budget-friendly, too — just common pantry staples like flour, sugar, cocoa, and a couple of zucchinis from the garden. And the versatility? Oh, I’ve played around with different mix-ins and variations, and each version is a new adventure. What I love most about this is how it’s a wonderful way to use up zucchinis when they’re coming in faster than your family can eat them — which, let’s be honest, is pretty much every summer! The moist crumb held together perfectly even after a few days in the fridge, and it stays just sweet enough to satisfy that craving but not overly sugary. Honestly, this is my go-to comfort cake — it’s cozy and elegant all at once. Trust me, once you try this, it’s going to become part of your regular baking rotation.
How do I make Zucchini Chocolate Swirl Cake?
Quick Overview
This cake comes together in just a handful of easy steps. First, you grate the zucchinis and squeeze out some excess moisture — this is key for a tender crumb. Then, you mix the dry ingredients, followed by the wet — think melted butter, eggs, vanilla, and a splash of milk. After combining everything, you pour the batter into a prepared pan, dollop melted chocolate here and there, and swirl it for that pretty marbled effect. Bake until a toothpick comes out clean or with just a few moist crumbs. It sounds simple — and it really is! Just a little planing, some patience in the oven, and you’ll have a gorgeous, nearly scandalous-looking chocolate zucchini cake that’s perfect to share (or hide for yourself). This method ensures every bite gets a bit of that chocolate swirl magic and a hint of zucchini goodness that keeps the texture moist and tender.
Ingredients
For the Main Batter:
– 2 cups grated zucchini (about 2 medium zucchinis, organic if possible for best flavor)
– 1 ½ cups all-purpose flour (or gluten-free blend if needed)
– ½ cup unsweetened cocoa powder (preferably Dutch-pressed for richness)
– 1 cup granulated sugar
– 1 teaspoon baking powder
– ½ teaspoon baking soda
– ½ teaspoon salt
– 1 teaspoon vanilla extract
– ½ cup melted butter or neutral oil
– 2 large eggs
– ½ cup milk (regular or plant-based, I tested with almond milk and it’s fantastic)
For the Filling:
– ¼ cup dark chocolate chips or chopped dark chocolate
– 2 tablespoons butter or coconut oil (for melting the chocolate)
– Optional: a pinch of cinnamon or espresso powder for depth
For the Glaze:
– ½ cup melted dark chocolate
– 1 teaspoon coconut oil or butter (for shiny finish and spreadability)
– Optional: a sprinkle of sea salt or crushed nuts for texture
Step-by-Step Instructions
Step 1: Preheat & Prep Pan
Set your oven to 350°F (175°C). Grease a 9-inch round cake pan or line it with parchment paper — trust me, this cake is a sticky one, so don’t skip the prep. If you want a super neat cake, I also brush a bit of melted butter over the parchment for extra non-stick ease. Make sure your rack is in the middle — even heat distribution is everything for that even bake.
Step 2: Mix Dry Ingredients
In a large bowl, whisk together the flour, cocoa powder, sugar, baking powder, baking soda, and salt. I always do this first to make sure everything’s evenly distributed — nobody wants a surprise burst of baking soda! The dry mix should be nice, uniform, and slightly aerated — you’re building the structure for this cake here.
Step 3: Mix Wet Ingredients
In another bowl, whisk the eggs, melted butter (or oil), vanilla, and milk until smooth. The batter should look a little glossy, and the eggs should be fully incorporated — no streaks. I always test this by lifting my whisk — if it drips slowly, you’re good to go. My tip? If the butter’s too hot, let it cool a bit first. I learned this the hard way — too hot, and the eggs curdle. Boo!
Step 4: Combine
Pour the wet into the dry and use a spatula to gently fold everything together. Be careful not to overmix — stir just until there’s no dry flour left. Overmixing will make your cake dense, and nobody wants that! The batter should be thick but pourable. If you find it too stiff, a splash more milk will do the trick.
Step 5: Prepare Filling
While the batter’s coming together, melt your dark chocolate chips with butter or coconut oil in a microwave-safe bowl — stir every 20 seconds until glossy. Set aside a few tablespoons of this to swirl on top later, and keep the rest ready for drizzling or spreading. You can add a pinch of cinnamon or even a shot of espresso powder to intensify the chocolate flavor — this is totally optional but worth trying!
Step 6: Layer & Swirl
Pour half of the batter into the pan, then sprinkle with dollops of your melted chocolate. Cover with the rest of the batter, then drop spoonfuls of the remaining melted chocolate on top. Using a toothpick or a skewer, gently swirl through the batter — just a few zig-zags, you want that marbled look, not a uniform mix. Trust me, the swirls make it so much prettier when sliced.
Step 7: Bake
Pop your cake into the oven and bake for about 40-45 minutes. Keep an eye on it — start checking at 40 minutes with a toothpick. It’s done when it comes out with a few moist crumbs (not wet batter). If the top starts to crack or look overly dark, tent it with foil for the last 10 minutes—this prevents burning but keeps the moisture inside.
Step 8: Cool & Glaze
Let the cake cool in the pan for about 15 minutes before transferring it to a wire rack. This slow cooling helps set the structure and keeps it from cracking. Once cooled completely, spread your melted chocolate glaze over the top for that shiny, decadent finish. I like to sprinkle a little sea salt or crushed nuts here — it’s a flavor game-changer.
Step 9: Slice & Serve
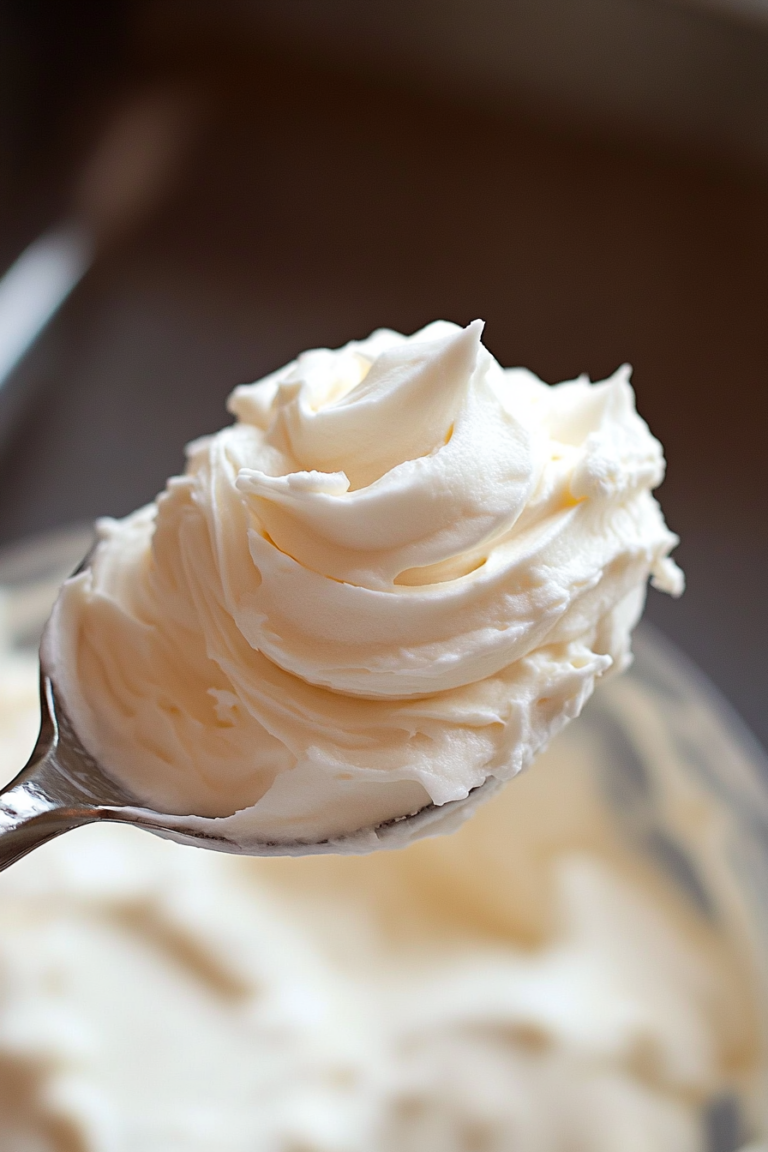
Use a serrated knife for clean cuts — wait until the cake is just warm or at room temp to avoid squishing the swirls. Serve with a dollop of whipped cream or a scoop of vanilla ice cream if you’re feeling fancy. Or just as is — trust me, this cake is good enough to stand alone. It looks gorgeous on a cake stand, and I love to serve it with a cup of coffee or tea for that perfect cozy afternoon moment.
What to Serve It With
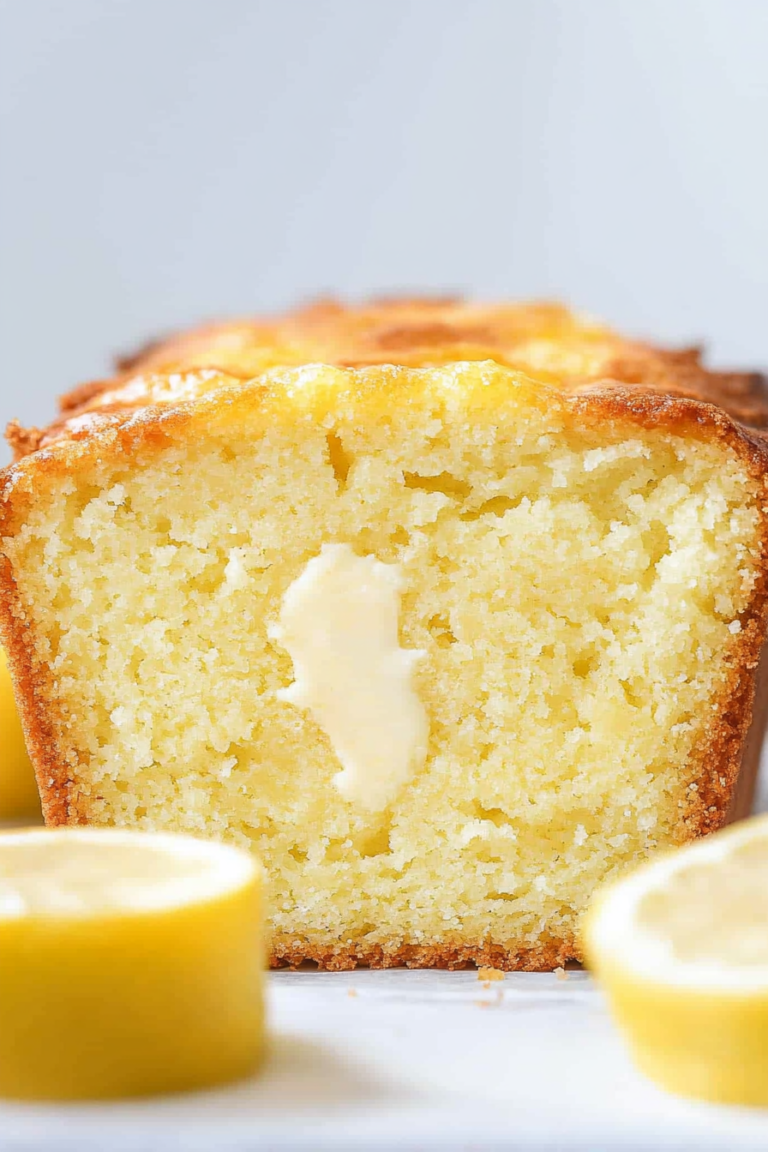
Honestly, this cake has been a staple in my family brunches and after-dinner indulgences. For breakfast, pair it with a strong French roast or a spiced chai — the cocoa and zucchini make it almost like a grown-up chocolate muffin but way fancier. I’ve even sliced thin pieces and toasted them for a quick breakfast treat — it’s just as delicious cold or warmed slightly in the microwave with a pat of butter.
At brunch, I love serving it alongside fruit salads and coffee cocktails for a more elegant vibe. It’s also perfect for a casual snack — my kids ask for this all the time when they come home from school, and I keep a loaf of it hidden in the fridge for just such moments. As a dessert, it’s stunning on its own, but a drizzle of extra melted chocolate or a spoonful of whipped cream takes it over the top. Honestly, I think this cake is one of those special recipes that makes ordinary days feel like celebrations. Just the aroma alone when it’s baking is enough to bring everyone running into the kitchen. Have fun customizing it with your favorite mix-ins or toppings — that’s part of the joy here.
Top Tips for Perfecting Your Zucchini Chocolate Swirl Cake
The magic of this cake lies in the details. Over the years, I’ve picked up some secrets that help me make it consistently amazing:
- Zucchini Prep: Always grate and then squeeze out excess moisture — a clean kitchen towel or cheesecloth makes this quick. I’ve tested with different zucchinis, and older, larger zucchinis tend to be more watery, so drain them well.
- Mixing Advice: Do not overmix after combining wet and dry ingredients. Just stir until barely combined and no dry flour remains — overmixing here will make the cake dense and heavy.
- Swirl Customization: For a more dramatic look, add more melted chocolate in streaks or layer different flavored chocolates — peppermint or white chocolate swirls are a game-changer. Use a skewer to create beautiful marbled patterns.
- Ingredient Swaps: Want to make it gluten-free? Swap out the flour for a gluten-free blend, but add an extra tablespoon of moisture (like applesauce or yogurt) to prevent dryness. For vegan options, replace eggs with flaxseed or chia eggs, and use dairy-free chocolate and plant-based milk.
- Baking Tips: Always use an oven thermometer if you’re unsure of your oven’s accuracy. Every oven bakes a little differently. If your cake consistently turns out dry, try lowering the temperature slightly and baking a bit longer. And don’t open the oven door too early — that dreaded sinking can happen if the temperature suddenly drops.
- Glaze Variations: Experiment with flavored glazes — a touch of espresso in the chocolate glaze deepens the flavor, or a splash of peppermint for the holidays. For a lighter topping, dust with powdered sugar or cocoa powder.
After many batches, I’ve learned that patience and gentle handling are your best friends here. This cake isn’t just about following a recipe; it’s about adding your personality and tweaks along the way. That’s what makes baking so personal and rewarding.
Storing and Reheating Tips
This cake gets even better with a little rest. Keep it in an airtight container at room temperature for up to two days — it stays moist and flavorful. If you want to make it last longer, pop it in the fridge, tightly wrapped, for up to four days. I like to let it come to room temp before slicing — the flavors come alive better that way.
For freezing, wrap the cake tightly in plastic wrap and then foil — it can keep for up to three months. When ready to enjoy, thaw in the fridge overnight or at room temperature for a few hours. If you’ve glazed it, I recommend adding the glaze after it’s fully thawed to keep that glossy shine.
Rewarming slices in the microwave for about 10-15 seconds makes it just as cozy as fresh out of the oven. Trust me, a warm slice with a scoop of vanilla ice cream is basically heaven.
Frequently Asked Questions
Final Thoughts
Creating this zucchini chocolate swirl cake has become a little tradition in my home — it’s one of those recipes that feels special yet is so effortless to whip up. I love how versatile it is: perfect for a quick dessert, a fancy brunch, or a cozy snack with coffee. The zucchini keeps it incredibly moist, and the chocolate swirl adds just enough richness to make every bite satisfying. Plus, it’s a sneaky way to get more veggies into your day — my kids actually ask for seconds, and I don’t mind one bit. Every time I bake it, I feel a little nostalgic for summer days when zucchinis are bursting and the oven’s warm glow fills the kitchen with the smell of happiness. Honestly, I hope you give this a try — I think you’re going to love it as much as my family does. Happy baking, and don’t forget to come back and tell me how yours turned out! I can’t wait to hear all about your twists and tweaks.
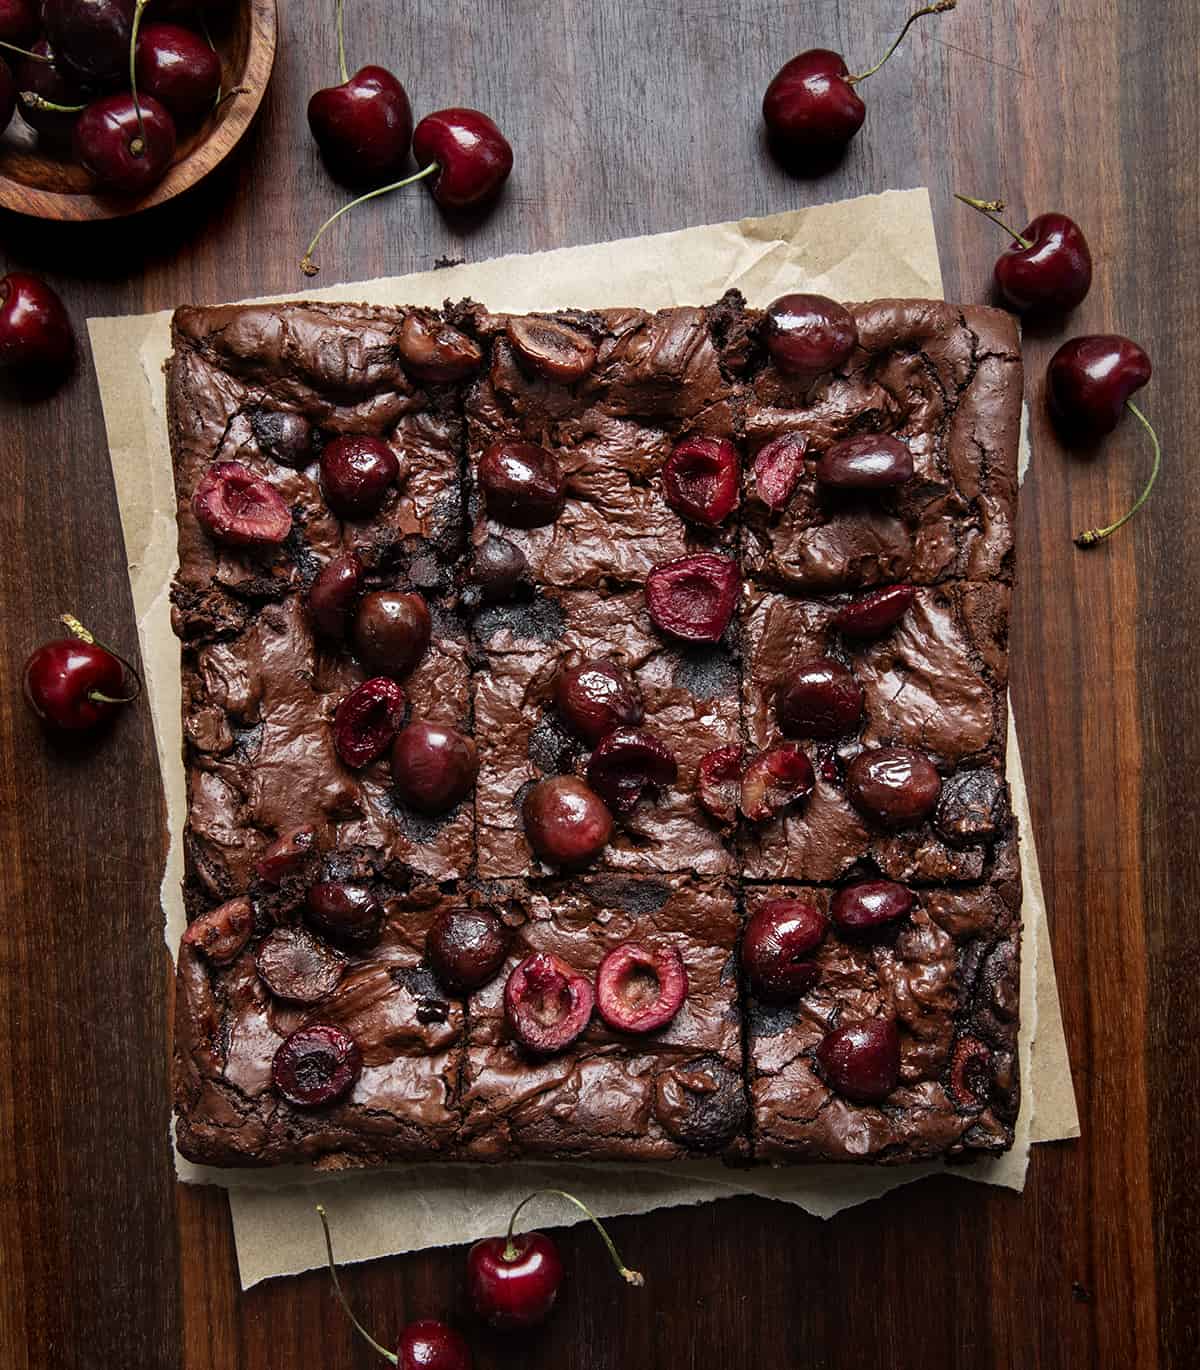
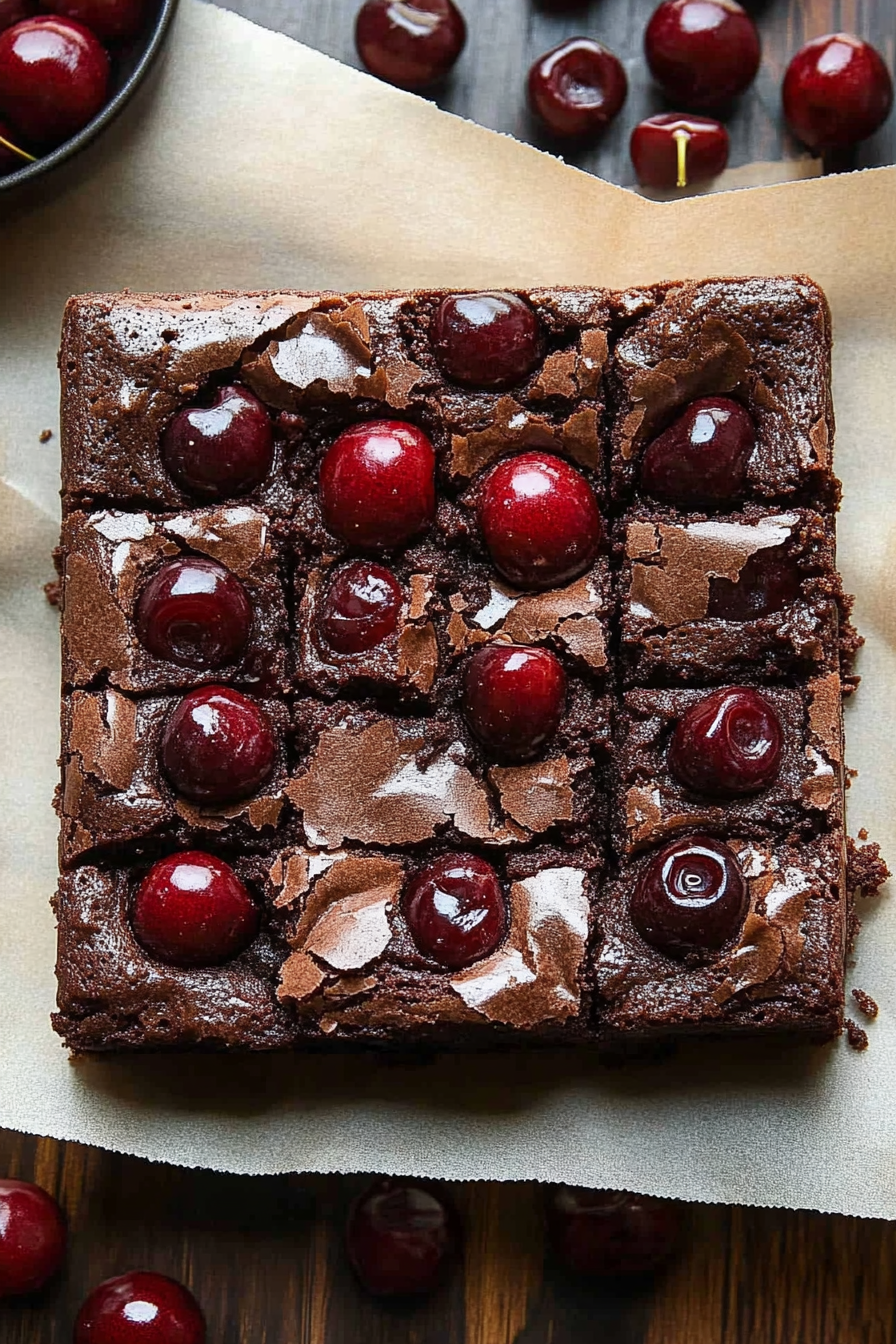
cherry brownies
Ingredients
Method
- Preheat your oven to 350°F. Line a 9x9 inch baking dish with parchment paper or lightly grease it.
- In a microwave-safe bowl, melt 0.75 cups of chocolate chips with the vegetable oil in 15-second intervals, stirring until smooth. Set aside to cool slightly.
- In a large mixing bowl, whisk together the granulated sugar, brown sugar, eggs, and vanilla extract until well combined and slightly frothy.
- Pour the melted chocolate mixture into the egg mixture and stir until well incorporated.
- In a separate bowl, sift together the flour, cocoa powder, and salt. Gradually add this dry mixture to the wet ingredients, stirring until just combined.
- Gently fold in the remaining 1.25 cups of chocolate chips and the pitted, halved cherries into the batter.
- Pour the batter into the prepared baking dish and spread evenly.
- Bake for 30 minutes, or until a toothpick inserted in the center comes out with a few moist crumbs.
- Allow the brownies to cool in the pan for 10 minutes before transferring to a wire rack to cool completely. Optional: top with extra cherries for decoration.


I love how this post makes baking feel so comforting and creative—those cherry brownies sound absolutely irresistible!
I just tried this recipe and it’s incredible—the cherry swirl really makes the brownies feel special without being too sweet.
I love how this recipe combines sweetness with a healthy twist—definitely adding this to my baking list!
I love how this recipe combines richness with a little hidden veggie magic—perfect for sneaking in something healthy without sacrificing flavor!
This sounds amazing—cherry and chocolate is such a perfect combo! I love how you mention the “sneaky” part, makes indulgence feel even better.