
Creamy Rice Pudding Recipe: How to Make It
One of my fondest memories is sneaking slices of homemade cake when I was a kid — the kind that melts in your mouth, with rich chocolate and a little dash of childhood mischief. Over the years, I’ve tried countless recipes, but the one I keep coming back to is this chocolate zucchini cake. It’s honestly become my go-to when I want something sweet but also crave a little veggie boost. My kids ask for this all the time, and I love that I can slip in some zucchini and they don’t even notice — it’s just moist, flavorful, and a little decadent. Trust me, this one’s a lifesaver on busy nights or when you’re craving a cozy treat after a long day. Plus, it’s so easy to make; it’s almost like throwing together a quick breakfast. The smell alone will have everyone wandering into the kitchen, noses in the air, waiting for their slice. It’s comfort food with a little extra secret — the kind that makes everyone feel a little bit happier when they take that first bite.
What is chocolate Zucchini cake?
Think of this cake as the lovechild of a rich, fudgy brownie and a fluffy sponge — but with a sneaky, healthy twist. It’s essentially a moist chocolate cake packed with grated zucchini, which keeps it super tender and lends a subtle vegetal sweetness that balances out the deep cocoa flavor. The name might sound fancy, but it’s really just a way to transform a humble vegetable into something totally indulgent. The swirl of cream cheese in the middle adds a little tang and creaminess that makes each slice feel special. This cake is all about flavor, texture, and a whisper of nostalgia, like grandma’s baking but with a modern twist. I tested this with different kinds of cocoa powder and even almond milk — and honestly, it just keeps getting better. Whether you’re baking for a family gathering, a potluck, or just as a little treat for yourself, this cake hits the spot every single time. It’s proof that you can have your chocolate and sneak in some greens too!
Why you’ll love this recipe?
What I love most about this chocolate zucchini cake is how surprisingly easy it is and how versatile it feels. The flavor? Insanely rich and chocolatey — like those decadent bakery slices, but with a homey, cozy feel. The zucchini keeps it moist without making it heavy, so every bite is soft, tender, and just delightful. And the best part? It’s budget-friendly! You probably already have most of these ingredients in your pantry — cocoa powder, sugar, flour, and zucchini, which grows like a weed in my garden. I’ve made this countless times, tweaking the ingredients as I go, and it never fails to impress. Plus, you can dress it up or down depending on your mood. Add some extra chocolate chips on top, sprinkle with powdered sugar, or keep it simple with just that glossy glaze. This recipe is perfect whether you’re serving it as a dessert or a fancy afternoon snack. My favorite part? The swirl of cream cheese in the middle — it’s a little surprise every time you slice into it, making each piece feel special. Honestly, what I love most about this recipe is that it’s a little bit of everything — indulgent, healthy, straightforward, and totally satisfying.
How do I make Zucchini cake?
Quick Overview
This cake comes together in just a few simple steps, starting with grating fresh zucchini and mixing the dry ingredients. Then, I blend the wet ingredients, fold everything together, and pour half of the batter into the pan. Next, I dollop creamy, tangy cream cheese filling, spread the remaining batter on top, and swirl it gently to create a beautiful marbled effect. Bake until a toothpick comes out clean, cool, and finish with a shiny chocolate glaze or a dusting of powdered sugar. It’s honestly one of the easiest cakes I’ve ever made, and the result is so impressive. Plus, the smell while baking — wow — it’s like a chocolate lover’s dream. What makes this special is how forgiving it is: if you accidentally overmix a bit or forget to grease the pan, it still turns out beautifully moist and flavorful. And the best part? You can prepare most of it ahead of time and then just throw it in the oven when you’re ready. Simple, tasty, and guaranteed to make everyone happy!
Ingredients
For the Main Batter:
- 2 cups all-purpose flour (or gluten-free blend if preferred)
- ¾ cup unsweetened cocoa powder (preferably Dutch-processed for richness)
- 1½ teaspoons baking soda
- ½ teaspoon salt
- 1 cup granulated sugar
- ½ cup packed light brown sugar
- ¾ cup vegetable oil (or melted coconut oil for a tropical twist)
- 3 large eggs
- 1 teaspoon vanilla extract
- 1 cup finely grated zucchini (squeezed to remove excess moisture)
- 1 cup buttermilk or almond milk for a dairy-free version
For the Filling:
- 8 oz cream cheese, softened
- ½ cup powdered sugar
- 1 teaspoon vanilla extract
For the Glaze:
- ½ cup semi-sweet chocolate chips or chopped chocolate
- 2 tablespoons heavy cream or coconut milk
- Optional: a dash of vanilla or a sprinkle of sea salt
Step-by-Step Instructions
Step 1: Preheat & Prep Pan
Set your oven to 350°F (175°C). Grease a 9-inch round cake pan or line it with parchment paper. Trust me, a little butter or non-stick spray will prevent any sticking — no one wants the cake to break apart when you’re trying to serve it. If you’re worried about sticking, I always dust the pan with a little cocoa powder — it keeps the look neat and keeps the cake from sticking!
Step 2: Mix Dry Ingredients
In a large bowl, whisk together the flour, cocoa powder, baking soda, salt, and sugars. It’s important to sift or whisk these thoroughly so everything’s evenly distributed. The cocoa tends to get clumpy, and you want a smooth batter without any streaks of dry cocoa. Plus, this step helps aerate the mixture for a lighter, fluffier cake.
Step 3: Mix Wet Ingredients
In another bowl, beat the eggs, then add the vegetable oil, vanilla, and buttermilk. I like to do this with a whisk to make sure everything’s nicely combined. The mixture will look a little glossy and smooth, and that’s your cue that it’s ready for the dry ingredients.
Step 4: Combine
Pour the wet mixture into the dry ingredients, and gently fold everything together using a spatula. No need to overmix — just until the batter is mostly combined. Overmixing can make the cake dense, and I learned this the hard way after one batch turned out a little heavy. Add the grated zucchini and fold it in carefully — that’s what keeps the cake moist and tender. The batter should be thick but pourable; if it seems too stiff, you can mix in a splash more buttermilk.
Step 5: Prepare Filling
In a small bowl, blend the softened cream cheese with powdered sugar and vanilla until smooth. I like to do this with a spoon or a hand mixer. It should be creamy but not runny. If you want a kick of flavor, you can add a little grated lemon zest or a pinch of cinnamon here — personal touch, right?
Step 6: Layer & Swirl
Pour half the batter into your prepared pan and spread evenly. Dollop spoonfuls of the cream cheese mixture over the surface, then pour the remaining batter on top. Using a toothpick or a knife, swirl gently through the batter to create a marbled effect. This part always feels a bit fancy, but really it’s just a gentle swirl — no perfect pattern needed. Your goal is a beautiful, marbled look that surprises with every slice.
Step 7: Bake
Pop the cake into the oven and bake for 40-45 minutes. Keep an eye on it after 40 minutes; a toothpick inserted in the center should come out clean, or with just a few moist crumbs. If it starts to crack on top, don’t worry — that’s normal and just adds character. If you notice the edges browning too fast, tent it loosely with foil to prevent burning. Ovens can vary—trust your nose and toothpick test over the clock.
Step 8: Cool & Glaze
Let the cake cool in the pan for about 15 minutes, then transfer it to a wire rack to cool completely. This step is crucial if you want that shiny glaze to set nicely. Meanwhile, melt the chocolate with the cream in a small saucepan over low heat, stirring until smooth. Pour the glaze over the cooled cake, spreading it with a spatula to get that gorgeous, glossy finish. If you prefer a more understated look, dust the top with powdered sugar instead.
Step 9: Slice & Serve
Once the glaze is set (about 20 minutes), slice the cake with a sharp knife dipped in hot water — it helps to get clean, even slices. Serve at room temperature, maybe with a dollop of whipped cream or a few berries. Honestly, this cake is best enjoyed the day you bake it, but leftovers store beautifully in an airtight container. My kids love it for breakfast — shh — and I love sharing it at dinner parties. Either way, it disappears in minutes at my house!
What to Serve It With
This chocolate zucchini cake is so versatile that it pairs wonderfully with different accompaniments. For breakfast, a strong black coffee or a latte makes a perfect match — a little bitter contrast to the sweet, fudgy cake. At brunch, you could serve slices alongside fresh berries and a drizzle of honey, keeping it light but satisfying. As an after-dinner dessert, pile on some whipped cream or a scoop of vanilla ice cream, and maybe sprinkle a tad of sea salt or espresso powder on top to enhance the chocolate flavor.
If you’re in a cozy mood, serve with a warm mug of milk or herbal tea — it’s a comfort food with a little nutritious twist. I’ve even frozen slices for later, and they thaw beautifully — no weird texture change, just moist and delicious. One of my favorite tricks is to keep a stash in the freezer for when the chocolate cravings hit — trust me on this one, it’s a game changer.
Top Tips for Perfecting Your Chocolate Zucchini Cake
Over the years, I’ve learned a few tricks that make a real difference in making this cake perfect every time. First, squeeze the grated zucchini well — don’t skip this step, or your batter might be too moist, and your cake can turn out a bit dense or soggy. I’ve tested using a clean dish towel or a fine mesh strainer — both work well. The moisture content is different depending on your zucchini’s size and freshness, so adjust accordingly.
Mixing is key. I always start with the dry ingredients well combined; then, I add the wet ingredients gradually. Overmixing can lead to a tough cake, so fold gently and stop as soon as everything is just combined. This expertise comes from many failed attempts — I used to overmix and end up with flat, rubbery cakes. Now, I swirl the batter just enough to get a marbled pattern and a tender crumb.
Regarding the swirl in the center, I recommend using a toothpick or skewer to create gentle circles — don’t overdo it; you want that peek of cream cheese to be just a little streaked through. As for ingredient swaps, I’ve tried coconut oil instead of vegetable oil — honestly, it adds a slightly richer flavor. For the chocolate glaze, experimenting with different chocolates (dark, milk, or even white) can completely change the look and taste.
And baking times? Always start checking around the 40-minute mark. I’ve found that convection ovens bake faster, so keep an eye. The toothpick test is your best friend — when it comes out with a few moist crumbs, you’re good to go. Patience is key during cooling; I’ve learned to let it cool completely before glazing—otherwise, the glaze melts and slides right off. Trust me, taking that extra 15 minutes makes all the difference.
Storing and Reheating Tips
This cake keeps surprisingly well. Store leftovers in an airtight container at room temperature if you’re planning to eat it within 2 days. Make sure it’s covered loosely with plastic or a cake dome. If it’s humid or hot outside, refrigeration might be better — just keep it covered to prevent it from drying out. The flavor actually intensifies after a day or two, so it’s a great make-ahead treat.
In the fridge, it’ll last about 4-5 days. To reheat, gently warm slices in the microwave for about 15-20 seconds — it restores that freshly baked softness. If you want to re-glaze after storing, do so when the cake is completely cooled to avoid melting or sliding of the glaze. Freezing is easy, too: wrap slices tightly in plastic wrap and foil, then store for up to 3 months. Thaw at room temperature or in the fridge overnight. I find that freezing individual slices is perfect for a quick dessert on busy nights.
Personally, I prefer to add the glaze after reheating; otherwise, it tends to get a little dull in texture otherwise. And a quick brush of warm chocolate or a sprinkle of sea salt can brighten the flavors, making reheated slices just as tempting as fresh out of the oven.
Frequently Asked Questions
Final Thoughts
This chocolate zucchini cake has truly become one of my favorites — a little nostalgic, a little indulgent, and irresistibly moist. The fact that it sneaks in zucchini makes me feel a tiny bit healthier while still satisfying my dessert cravings. I love how versatile it is: dress it up with a drizzle of caramel, keep it simple with just glaze, or serve it with a side of berries. Every time I bake this, I get that warm, cozy feeling, knowing I’ve created something special — something everyone will love. If you give it a try, I’d love to hear how it turns out or if you make any personal tweaks. Happy baking, and don’t forget to share a slice (or two) with someone you love. After all, the best part of a good cake is sharing it with friends — whether they’re family or friends you just met in your kitchen!

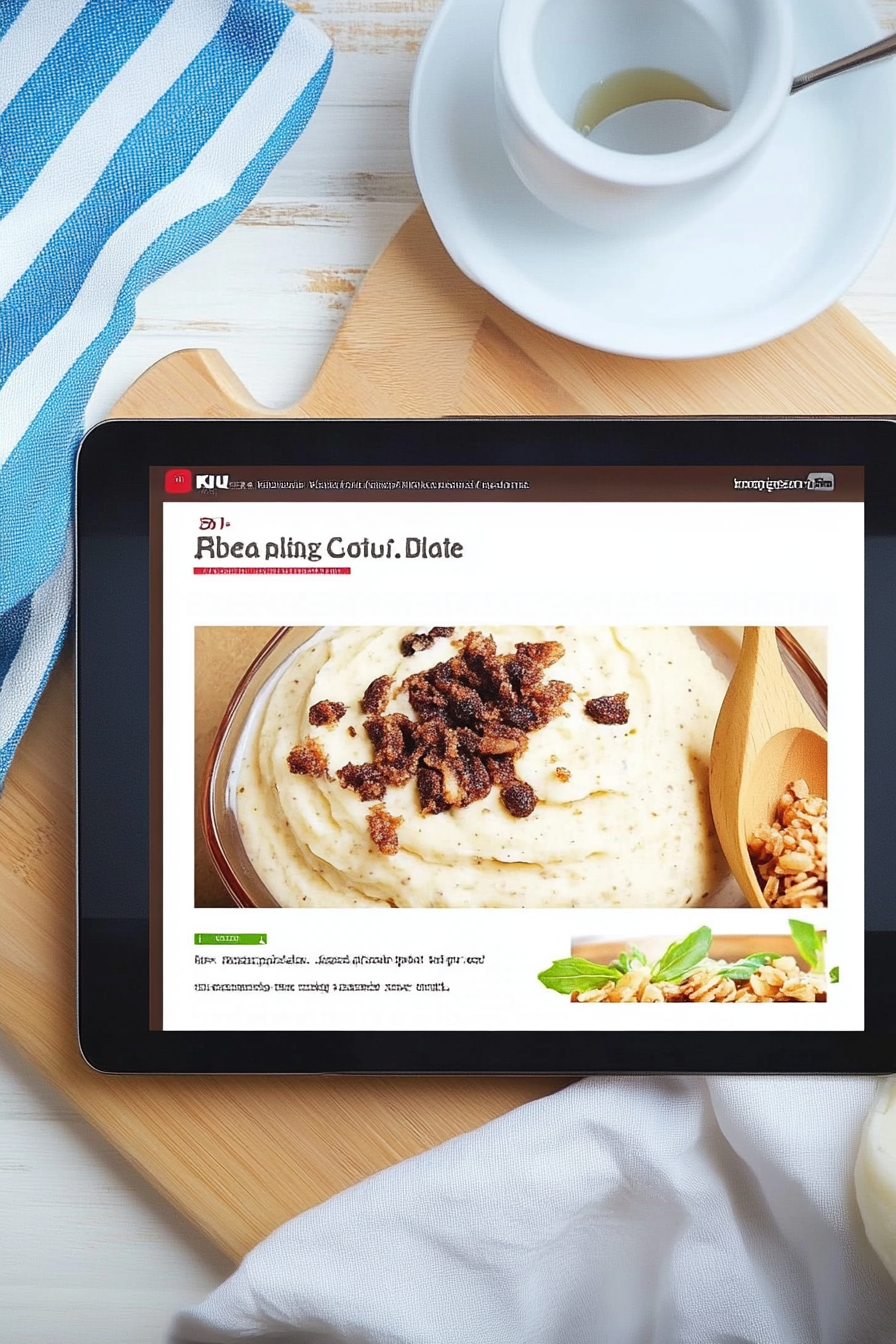
rice pudding
Ingredients
Method
- Rinse the rice under cold water until the water runs clear.
- In a large saucepan, combine rice, milk, sugar, vanilla extract, cinnamon, and salt. Bring to a boil over medium heat.
- Reduce heat to low and let simmer, stirring occasionally, until the rice is tender and the mixture has thickened, about 30 minutes.
- Remove from heat and let cool slightly before serving. Garnish with additional cinnamon if desired.


This recipe sounds amazing—I can already imagine the creamy texture and rich flavor! It brings back such warm, nostalgic feelings.
This reminds me of my grandma’s rice pudding — creamy, comforting, and always made with love. Perfect for a cozy evening!
This reminds me of my grandma’s cake—so rich and comforting. Love how it brings back such sweet childhood memories!
This sounds delicious! I love how comforting and nostalgic homemade cake can be—your memory made me crave one right now.
This recipe brings back so many sweet memories — I love how comforting rice pudding is, just like that cake!