
Simple Sausage Stuffing Recipe for Festive Feasts
There’s something about warm, irresistible scents wafting from the oven that makes a house feel like a hug. I remember the first time I baked this zucchini swirl coffee cake with my grandma — how the aroma filled her tiny kitchen and made everyone gather around, noses twitching in anticipation. My kids ask for this all the time, especially on lazy Saturday mornings when they want a special breakfast but I’m not in the mood to fuss over complicated recipes. Honestly, I make this at least once a month because it’s just so damn good — moist, flavorful, and packed with a sneaky veggie that I love hiding. It’s kind of my secret weapon on busy nights or when friends drop by unexpectedly. And trust me, once you’ve baked it a few times, it becomes the one you turn to when you want comfort, nostalgia, and a slice of happiness. Believe me, this zucchini swirl coffee cake is more than dessert; it’s a little tradition in our home.
What is Zucchini Swirl Coffee Cake?
Think of it as a cozy, cake-version of those classic cinnamon rolls you love, but with a nutritious twist — zucchini! Yeah, zucchini. It’s essentially a fluffy, buttery cake with a tender swirl of cinnamon-spiced zucchini mixture running through it. The name might sound fancy, but I promise, it’s one of the easiest treats to whip up. The zucchini keeps the cake incredibly moist — I’ve tested this with shredded fresh zucchini, and it only gets better after sitting for a day or two. Imagine biting into a soft crumb that’s neither overly sweet nor heavy, dripping with a cinnamon-sugar swirl that’s rich and slightly caramelized from baking. It’s perfect for breakfast, brunch, or a cozy afternoon snack. And since the zucchini practically disappears in the batter, your family never suspects how sneaky you’ve been — a veggie covert operation that everyone loves!
Why you’ll love this recipe?
Honestly, there are so many reasons why this zucchini swirl coffee cake is a staple in my kitchen. First, the flavor… Oh, the flavor! The cinnamon-spiced zucchini filling gives a warm, cozy aroma that instantly signals “home” as soon as it hits the oven. The underlying cake is light, tender, and keeps well — I’ve made this the night before and it was just as moist the next day (if it lasted that long!). Plus, it’s super budget-friendly. The ingredients are simple pantry staples like flour, sugar, eggs, and zucchini, which I usually have on hand. What I love most about this is how versatile it is: you can serve it for breakfast, brunch, or dessert. My friends always ask for the recipe, and I’ve even made mini muffins with leftovers. It’s a perfect way to sneak a vegetable into something sweet without anyone noticing. This one’s a lifesaver on busy nights or when you need a comforting treat that also feels nourishing. And honestly, nothing beats the smell of this baking — it fills my entire home with cinnamon goodness. That alone makes it worth every minute.
How do I make Zucchini Swirl Coffee Cake?
Quick Overview
This cake comes together in about an hour, mostly hands-off baking time. You start with a simple batter, prepare a cinnamon-sugar-zucchini filling, swirl it into the batter for a marbled effect, and bake until golden. The secret is not overmixing the batter — just fold the ingredients gently so it stays light and fluffy. The swirl of zucchini creates a moist, streaked pattern that makes every slice both pretty and delicious. It’s a fun project that doesn’t require any fancy tools, just a mixing bowl and a good whisk. The result? A beautifully marbled cake with an irresistible aroma—perfect for sharing or sneaking a slice when no one is looking.
Ingredients
For the Main Batter:
– 2 cups all-purpose flour (I always use unbleached for a richer flavor)
– 1 cup granulated sugar
– 1/2 teaspoon baking powder
– 1/2 teaspoon baking soda
– 1/4 teaspoon salt
– 1 teaspoon ground cinnamon
– 3/4 cup vegetable oil or melted unsalted butter (I tested with both, and butter gives it a richer taste)
– 3 large eggs
– 1 teaspoon vanilla extract
– 1 cup shredded zucchini (squeeze out excess moisture; I do this with a clean dish towel)
For the Filling:
– 1/2 cup brown sugar
– 2 teaspoons ground cinnamon
– 1 cup shredded zucchini
– 1 tablespoon lemon juice (adds a nice brightness — trust me on this one!)
– Optional: a handful of chopped walnuts or chocolate chips for extras
For the Glaze:
– 1/2 cup powdered sugar
– 1 tablespoon milk or cream
– 1/2 teaspoon vanilla extract
Step-by-Step Instructions
Step 1: Preheat & Prep Pan
Set your oven to 350°F (175°C). Grease a 9-inch round or square baking pan with butter or non-stick spray. I like lining mine with parchment paper — it makes removing the cake so much easier, especially when dealing with a sticky glaze later.
Step 2: Mix Dry Ingredients
In a large bowl, whisk together the flour, sugar, baking powder, baking soda, salt, and cinnamon. This step ensures everything is evenly distributed, so your cake bakes uniformly. It’s a simple task, but skipping it can lead to uneven bites.
Step 3: Mix Wet Ingredients
In a separate bowl, whisk together the eggs, oil, vanilla, lemon juice, and shredded zucchini. I sometimes like to do this with a fork if I don’t have a whisk handy. The zucchini should be well-coated — this keeps the moisture superbly balanced in the final cake.
Step 4: Combine
Pour the wet mixture into the dry ingredients and fold gently with a spatula until just combined. Do not overmix — that’s how your cake stays fluffy and tender. A few lumps are totally okay; you want to preserve that light batter texture.
Step 5: Prepare Filling
In a small bowl, mix the brown sugar, cinnamon, and shredded zucchini. Add lemon juice for brightness — it cuts through the sweetness and adds a fresh note. If you’re feeling indulgent, sprinkle in some chopped walnuts or chocolate chips; it’s a game-changer.
Step 6: Layer & Swirl
Pour half of the batter into your prepared pan. Spread half of the zucchini filling evenly over it. Add the rest of the batter on top, then dollop the remaining filling. Using a knife or skewer, gently swirl through the layers to create a marbled effect. Don’t overdo it — just a few gentle passes, and you’ll get beautiful ribbons.
Step 7: Bake
Pop it into the oven and bake for about 40-45 minutes, or until a toothpick inserted in the center comes out clean. If your oven runs hot, start checking at 38 minutes. It should smell cinnamon-y and buttery, and the edges will be golden brown.
Step 8: Cool & Glaze
Let the cake cool in the pan for about 15 minutes, then transfer it to a wire rack. Mix your glaze ingredients and drizzle it over the slightly warm cake. The glaze adds a shiny, sweet finish that pulls everything together. It’s best to do this when the cake is still a bit warm so the glaze soaks in just enough.
Step 9: Slice & Serve
Use a serrated knife for clean slices, especially if you’ve added chocolate chips or nuts. Serve warm or at room temperature. A cup of coffee or a glass of milk is all you need — but honestly, this is rich enough to stand on its own. My family loves a big slice with a scoop of vanilla ice cream, especially during cozy weekend mornings.
What to Serve It With
This cake is such a versatile treat that you can serve it in many ways. For breakfast, I often pair it with a strong cup of coffee — the kind that awakens your senses and makes slow mornings worth waking up for. I love serving it at brunch, sliced thick with some fresh berries on the side and a dash of whipped cream; it’s practically a crowd-pleaser. As a dessert, it’s incredible slightly warm with a dollop of vanilla yogurt or a drizzle of caramel sauce. When I want a casual snack, sliced pieces alongside a cozy cup of tea or hot cocoa do the trick. The beauty of this cake is how it transforms from breakfast to dessert seamlessly, all while sneaking in that healthy vegetable. It’s become a sort of family tradition, always appearing during our lazy Sunday brunches and festive mornings. Plus, it’s so good leftover — just warm it up a bit, and it’s like baking magic all over again.
Top Tips for Perfecting Your Zucchini Swirl Coffee Cake
After making this a dozen times, I’ve learned a few tricks. First, always squeeze out excess moisture from your zucchini—this prevents the batter from becoming too wet and dense. Grating it finely helps incorporate it evenly and keeps the swirls looking neat. When mixing the batter, use a gentle folding motion; overmixing is the enemy of fluffy cake texture. If you want a prettier swirl, use a skewer to drag through the layers slowly—trust me, this step makes a huge difference visually. Want to switch things up? Try swapping out the cinnamon for pumpkin pie spice or adding chopped nuts or chocolate chips into the filling. I’ve tested with almond milk too, and it actually made the cake even creamier — so don’t hesitate to experiment! For the best baking results, keep your oven on the middle rack and check your cake a few minutes early — every oven is a little different. When glazing, add the glaze while the cake is still warm; it melts into every nook and cranny for that shiny finish. Oh, and one more thing — don’t be tempted to open the oven door too often; it can sink your cake! Patience is part of the secret, I promise.
Storing and Reheating Tips
This cake keeps surprisingly well. If you’re planning to serve it within a day or two, store it in an airtight container at room temperature — it should stay moist and fresh for about 2 days. If you want to keep it longer, pop it in the refrigerator — just make sure to cover it well with plastic wrap or foil to prevent it from drying out. The cold makes it even better the next day, especially if you warm slices gently in the microwave for about 15-20 seconds. Freezing works great too; wrap individual slices tightly in plastic wrap and store for up to 3 months. When you’re ready, let it thaw at room temperature or warm up a slice in the microwave, and it’ll taste just as good as fresh. If you skipped glazing, you can add a light dusting of powdered sugar or a drizzle of honey after reheating for that fresh-picked look. Just a heads-up — glazing is best when the cake is still slightly warm; otherwise, the glaze won’t soak in as well. Trust me, every step of storage and reheating is worth it for that first perfect slice again.
Frequently Asked Questions
Final Thoughts
Trust me, once you make this zucchini swirl coffee cake, it’ll become a go-to in your baking rotation. It’s simple enough for a weekday treat, yet special enough for weekend mornings or brunch with friends. The combination of moist, tender cake with that cinnamon-spiked zucchini swirl is justu envelops your senses in comfort. I love how adaptable it is — you can sneak in extra veggies, sprinkle in some chocolate, or swap cinnamon for pumpkin spice. The magic is in the details: gently swirling the filling, not overmixing, and letting that warm aroma fill your home. This recipe has been a family favorite for years, and I genuinely hope it becomes one of yours too. Happy baking, and I’d love to hear how yours turns out — don’t forget to leave a comment or share your tweaks! Nothing beats the joy of a homemade cake that tastes like home, right?
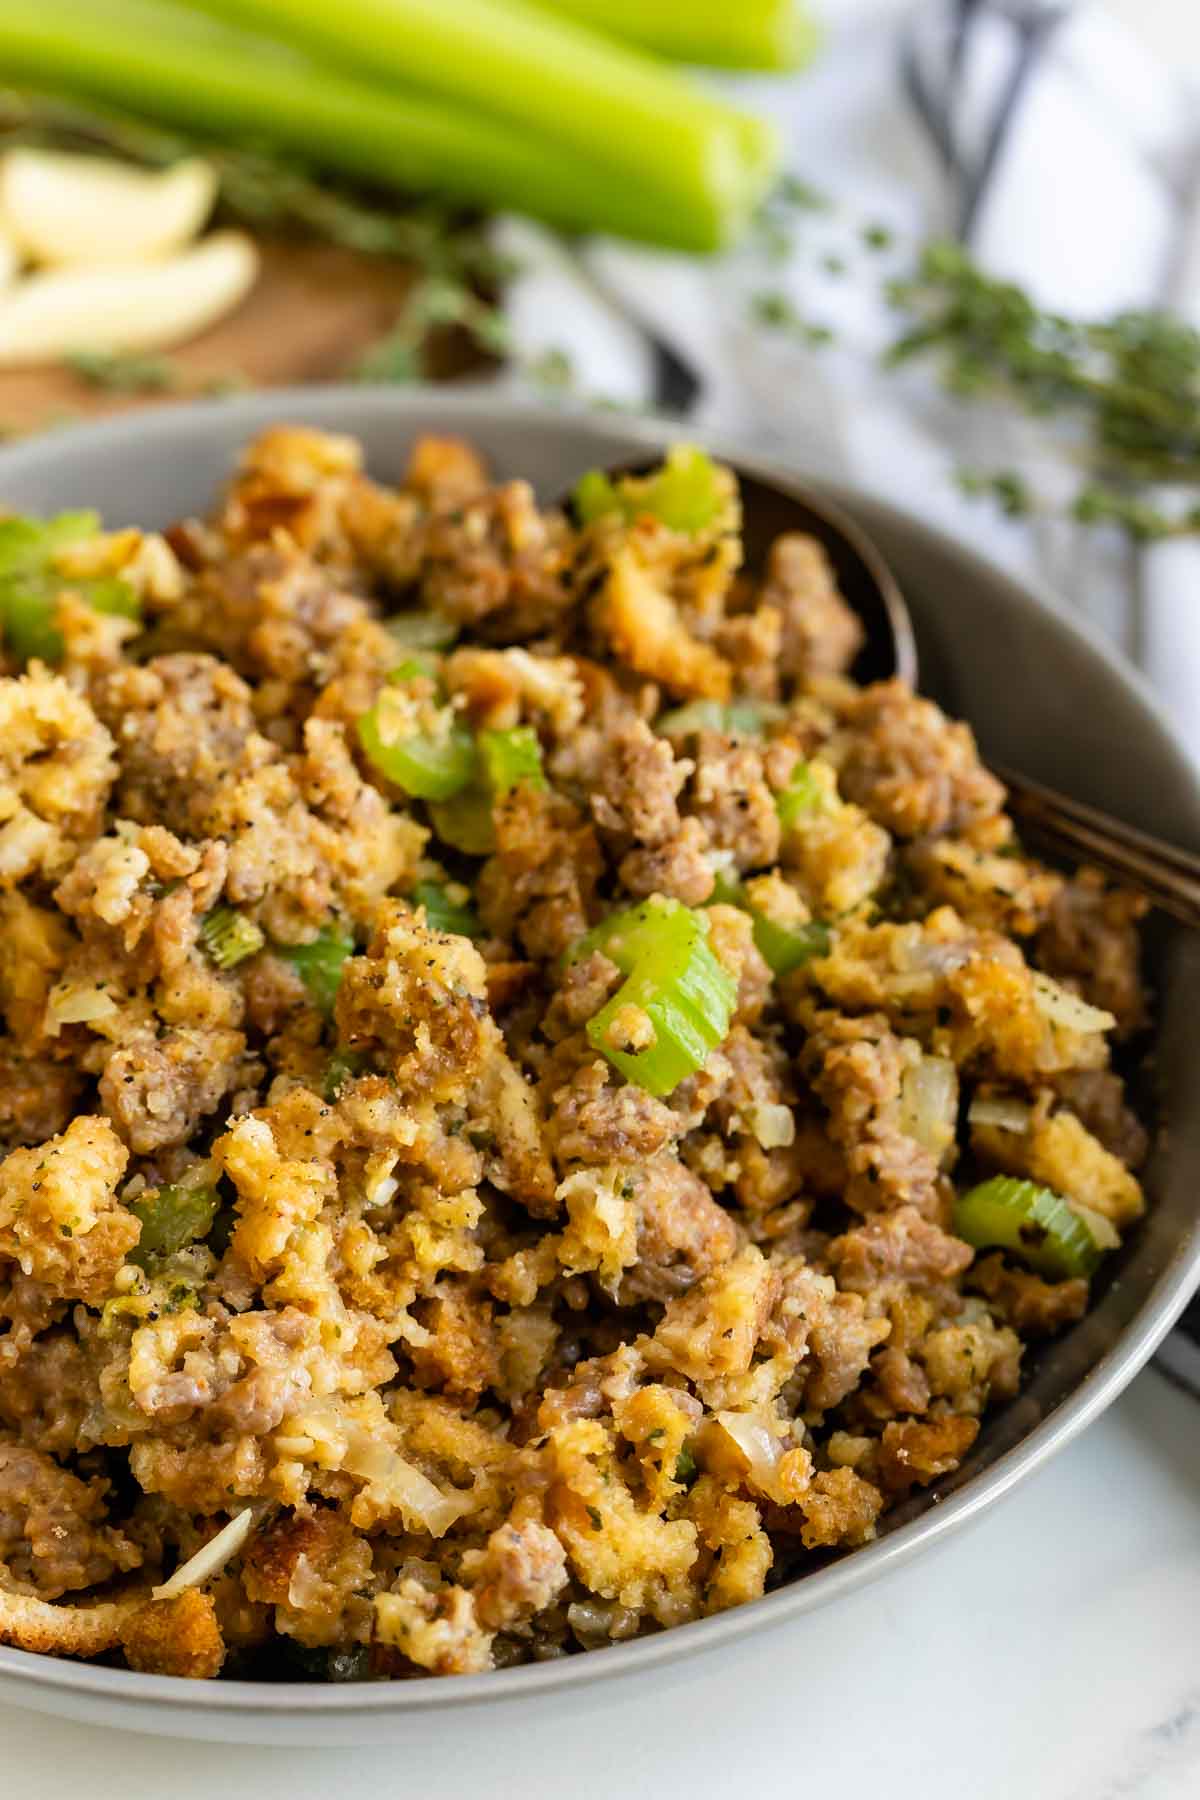
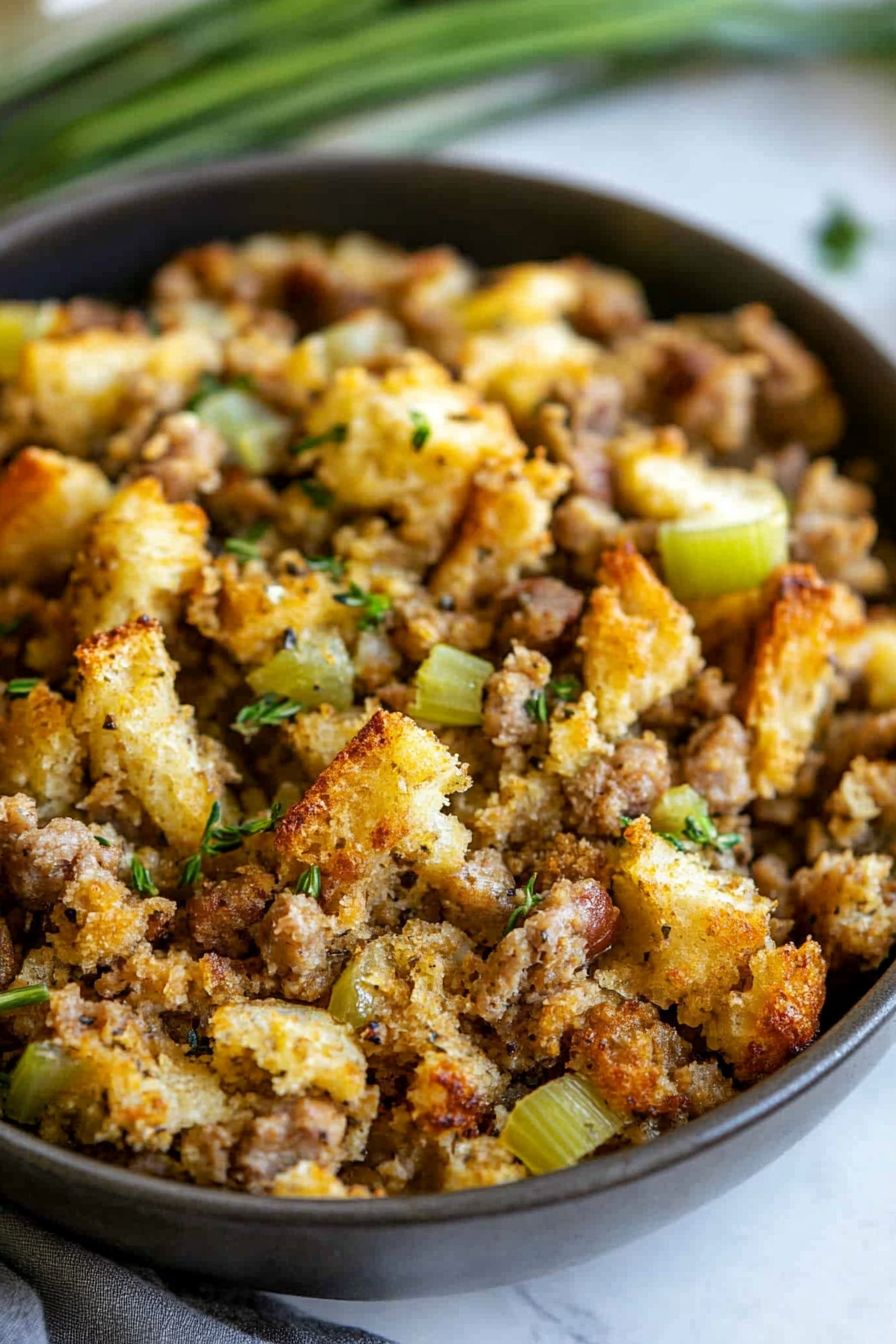
Sausage Stuffing
Ingredients
Method
- Cook Italian sausage, celery, and onion in a large skillet until meat is no longer pink. Add the garlic and cook for one minute. If needed, drain fat from pan.
- Stir in Italian seasoning, chicken stock and butter.
- Bring mixture to a boil, then stir in stuffing mix. Remove from heat and cover, let stand 5 minutes. Fluff with a fork and serve hot.


This recipe sounds perfect for holiday gatherings—warm, cozy, and full of comfort! I can already imagine the delicious aroma filling the house.