
Savory Bacon Ranch Pasta Salad Delight
There’s something about baking that instantly transports me back to childhood — the warm smell of batter in the oven, the anticipation of the first bite, and the cozy feeling of knowing you’ve created something delicious from scratch. This zucchini chocolate swirl cake is one of those recipes that’s become my go-to for midweek comforts or when I need a little bit of sweetness without feeling guilty.
It’s kind of like a mash-up between a comforting moist zucchini bread and a rich chocolate cake — and the best part? It’s unbelievably easy to make. I remember the first time I tried it, I was skeptical about the zucchini, but honestly, it adds this incredible moisture and a subtle earthiness that pairs so perfectly with the dark chocolate swirls. My kids ask for this all the time, and honestly, I don’t mind sneaking some veggies into their dessert once in a while. Trust me, once you try it, you’ll be hooked too!
What is Zucchini Chocolate Swirl Cake?
Think of it as a moist, tender cake where the zucchini plays hide-and-seek among swirls of smooth, decadent chocolate. It’s essentially a quick bread turned into something a little more indulgent, kind of like a chocolate-infused zucchini loaf but with a rich, satisfying twist. The name might sound fancy or a little unusual, but really, it’s just a simple recipe that transforms everyday ingredients into a show-stopping treat. The magic lies in the way the zucchini keeps the cake incredibly moist, while the chocolate adds that irresistible richness.
This cake is perfect when you want something sweet but don’t want all the fuss of frosting or complicated layers. It’s great for brunch, a casual get-together, or even a lazy afternoon snack with a cup of coffee. And if you’re trying to sneak in some extra veggies for your family, this one’s a total winner — nobody will guess the secret ingredient!
Why you’ll love this recipe?
There are so many reasons I keep coming back to this zucchini chocolate swirl cake. First off, the flavor — the earthy tide of zucchini complemented by bursts of velvety chocolate swirls creates a complex but comforting taste. Every time I make this, the smell alone brings everyone rushing into the kitchen; it’s that inviting.
What I love most about this is how unbelievably simple it is. No complicated mixing techniques, just straightforward steps that even a beginner can master. Plus, it’s super budget-friendly — you probably already have all the ingredients sitting in your pantry or fridge.
And the versatility? Oh, this cake can go from breakfast to dessert with just a quick plate switch. Slice it warm and serve with a dollop of whipped cream, or toast a piece the next day for an even cozier treat. I’ve tested it with almond milk, and it actually made it even creamier — so feel free to experiment! Honestly, this one’s a lifesaver on busy nights or when you’re craving something sweet but don’t want to deal with complicated layers or frosting. It’s like a warm hug in cake form.
How do I make Zucchini Chocolate Swirl Cake?
Quick Overview
This cake is as easy as mixing wet and dry ingredients, layering in the zucchini batter, dolloping chocolate, swirling, and then baking until golden and fragrant. The trick is not overmixing — that keeps the cake tender. Once out of the oven, you’ll want to let it cool for a bit before glazing or slicing. The swirling part is fun — I like to do it with a toothpick or skewer for a marbled look that’s totally Instagram-worthy (but honestly, it tastes way better than it looks). It’s a straightforward process that yields a gorgeous, moist cake with that irresistible chocolate ribbon running through it.
Ingredients
For the Main Batter:
– 2 cups all-purpose flour (I love using a little whole wheat for extra fiber)
– 1 teaspoon baking powder
– ½ teaspoon baking soda
– ¼ teaspoon salt
– ½ cup granulated sugar (or honey if you prefer natural sweetness)
– ½ cup brown sugar for depth
– ½ cup vegetable oil or melted coconut oil
– 3 large eggs
– 1 teaspoon vanilla extract
– 1 cup grated zucchini (squeeze out excess moisture — trust me, this step keeps it from getting soggy)
For the Filling (Chocolate Swirl):
– ½ cup dark chocolate chips or chopped dark chocolate (I always keep a stash in the freezer)
– 2 tablespoons heavy cream or coconut milk (to make it silkier)
– Optional: a pinch of sea salt or espresso powder to enhance the chocolate flavor
For the Glaze (optional but delicious):
– ½ cup powdered sugar
– 1-2 teaspoons milk or cream
– A splash of vanilla
– Cocoa powder for extra richness if desired
Step-by-Step Instructions
Step 1: Preheat & Prep Pan
Set your oven to 350°F (175°C). Grease a 9-inch loaf pan or round cake pan with butter or non-stick spray, then lightly dust with flour — or just line with parchment paper. I always do this because it makes unmolding so much easier later. Make sure your zucchinis are grated and excess moisture squeezed out — I do this with a clean kitchen towel or cheesecloth, which is a game-changer for a moist yet not soggy crumb.
Step 2: Mix Dry Ingredients
In a large bowl, whisk together flour, baking powder, baking soda, salt, and sugars. This step is crucial because it evenly distributes the leaveners and sweetness, ensuring your cake rises beautifully and has balanced flavor. The texture should be crumbly but uniform.
Step 3: Mix Wet Ingredients
In another bowl, whisk eggs, oil, vanilla, and grated zucchini. I like to do this in a separate bowl so the eggs are well incorporated before blending with the flour. The batter will be somewhat chunky but smooth enough to pour easily. If you see any streaks of zucchini, don’t worry — that’s what gives this cake its tender texture.
Step 4: Combine
Pour the wet into the dry ingredients and gently fold with a spatula just until combined. Overmixing can make the cake dense, so stir lightly — you want a batter that’s smooth but not overly processed. It’s okay if a few streaks of flour remain; it’ll still turn out fantastic.
Step 5: Prepare Filling
In a small bowl, melt chocolate with heavy cream in the microwave in 20-second bursts, stirring each time until smooth. If you’re into flavor tweaks, stir in a pinch of sea salt or espresso powder to intensify the chocolate. Let it cool slightly — this trick prevents it from sinking to the bottom when you layer it in.
Step 6: Layer & Swirl
Pour half the batter into your prepared pan, then dollop spoonfuls of your cooled chocolate across the surface. Cover with the remaining batter and use a skewer or knife to swirl the chocolate through, creating pretty marbled effects. The more varied your swirl pattern, the more visual interest, but don’t overwork it — you want that marbled look, not a muddy mess.
Step 7: Bake
Pop it into your preheated oven. Bake for 45-55 minutes, or until a toothpick inserted in the center comes out clean. Start checking around the 45-minute mark because every oven is a little different. The top should be golden, and your house will be filled with that irresistible chocolate-vanilla smell. It’s honestly the best part.
Step 8: Cool & Glaze
Let the cake cool in the pan for about 15 minutes before transferring to a wire rack. This prevents it from breaking apart. Meanwhile, whisk together powdered sugar, milk, and vanilla for the glaze. I like it thick but pourable — you can adjust with a splash more milk or sugar. Drizzle generously once the cake is cool, letting it seep into the cracks and swirls. The glaze sets quickly, adding that glossy, irresistible finish.
Step 9: Slice & Serve
Use a serrated knife for clean slices — it’s tender but holds together beautifully. Serve it warm with a dollop of whipped cream or simply enjoy it as-is with a cup of coffee. This cake disappears in minutes at my house — I swear, it’s become a household favorite that I’ve already made three times this month!
What to Serve It With
Honestly, this cake is so versatile that you can dress it up or down.
For breakfast, I love slicing a piece warm and slathering it with a little butter or honey, pairing it with a strong cup of black coffee. The richness balances out the coffee’s bitterness perfectly.
On brunch days, serve it alongside fresh berries and a dollop of Greek yogurt — it elevates the flavor and makes it feel a little fancier. If you’re going the dessert route, add a scoop of vanilla ice cream or a drizzle of caramel; it’s like an adult version of a chocolate zucchini cupcake but way more satisfying.
And for casual snacking, just grab a wedge, maybe toast it a bit, and enjoy with tea or milk. Nothing beats that homey, comforting feeling — like a warm hug from the inside out. It’s honestly become a big part of my family’s weekend mornings, and I love seeing my kids’ faces light up when I tell them there’s cake for breakfast (don’t worry, I balance it out with a salad at lunch, I swear!).
Top Tips for Perfecting Your Zucchini Chocolate Swirl Cake
Now, over the years, I’ve learned a few tricks that make this cake turn out even better every time.
First, always squeeze out as much moisture as possible from the zucchini — trust me, I’ve made the mistake of skipping this step, and the batter was too watery, which made the cake dense and heavy. A clean tea towel is my favorite tool for this.
When whisking the dry ingredients, mix well so nothing sinks to the bottom. I’ve tested this with different brands of baking powder and baking soda, and I find that a quick whisk makes a difference in how well the cake rises.
For the chocolate swirl, I like to use a mix of dark and semi-sweet chocolate chips, but you could go white or milk if you’re feeling adventurous. Just remember, the quality of chocolate makes a huge difference — grab the good stuff if you can!
Swirling is all about visual fun, but I’ve also learned that doing gentle, figure-eight motions gives me the most pleasing marbled pattern. Push and pull with minimal force to avoid blending the layers too much.
As for baking, I suggest positioning the rack in the middle of your oven for even heat and watching the cake closely toward the end. Every oven bakes differently, and I once overbaked mine slightly, which dried out the crumb—a lesson I won’t forget.
Lastly, don’t skip the glaze! It adds just that extra touch of sweetness and shine. I’ve tried adding a splash of orange or peppermint extract instead of vanilla, and honestly, they were divine. Have fun experimenting with flavors — baking should be joyful!
Oh, and one last tip: leftovers keep surprisingly well in an airtight container for up to three days (if they last that long!). I’ve found that storing it in the fridge and then warming slices slightly in the microwave makes it taste almost freshly baked. Just beware of over-warming — nobody wants a soggy mess!
Storing and Reheating Tips
This cake stays good for a few days if stored properly. I wrap it tightly in plastic wrap, and it’s best to keep it at room temperature if you’re planning to serve it within a day or two. If I want to make it last longer, I pop slices into an airtight container and stash it in the fridge. Just make sure you bring it back to room temp or warm it up slightly before serving — it softens beautifully, and the flavors come alive again.
For longer storage, I like to freeze slices individually — wrapped tightly in plastic wrap and then in foil. If frozen, it stays fresh for up to a month. Just let it thaw in the fridge or on the counter for a few hours, and it’s just as delicious.
Remember, if you’re adding the glaze, it’s best to do it just before serving — it can get a little sticky or soggy if stored with the glaze on for too long. Fresh glaze or a dusting of powdered sugar make it look pretty and taste divine even after a day or two!
Frequently Asked Questions
Final Thoughts
Honestly, this zucchini chocolate swirl cake has become a staple in my house because it’s just so comforting and forgiving. The fact that you get a moist, tender crumb with pockets of rich chocolate means that everyone leaves the table happy — and maybe a little surprised that there’s zucchini in the mix. It’s one of those recipes I’ve made countless times, and it never fails to bring a smile — whether it’s a casual afternoon treat or the star of a family gathering.
If you give it a try, I’d love to hear how yours turns out! Don’t be shy about experimenting with flavors or adding your own twist — that’s part of the fun. Happy baking, my friend — and remember, some of the best recipes are the ones you make with love and a little bit of improvisation. Enjoy every bite!
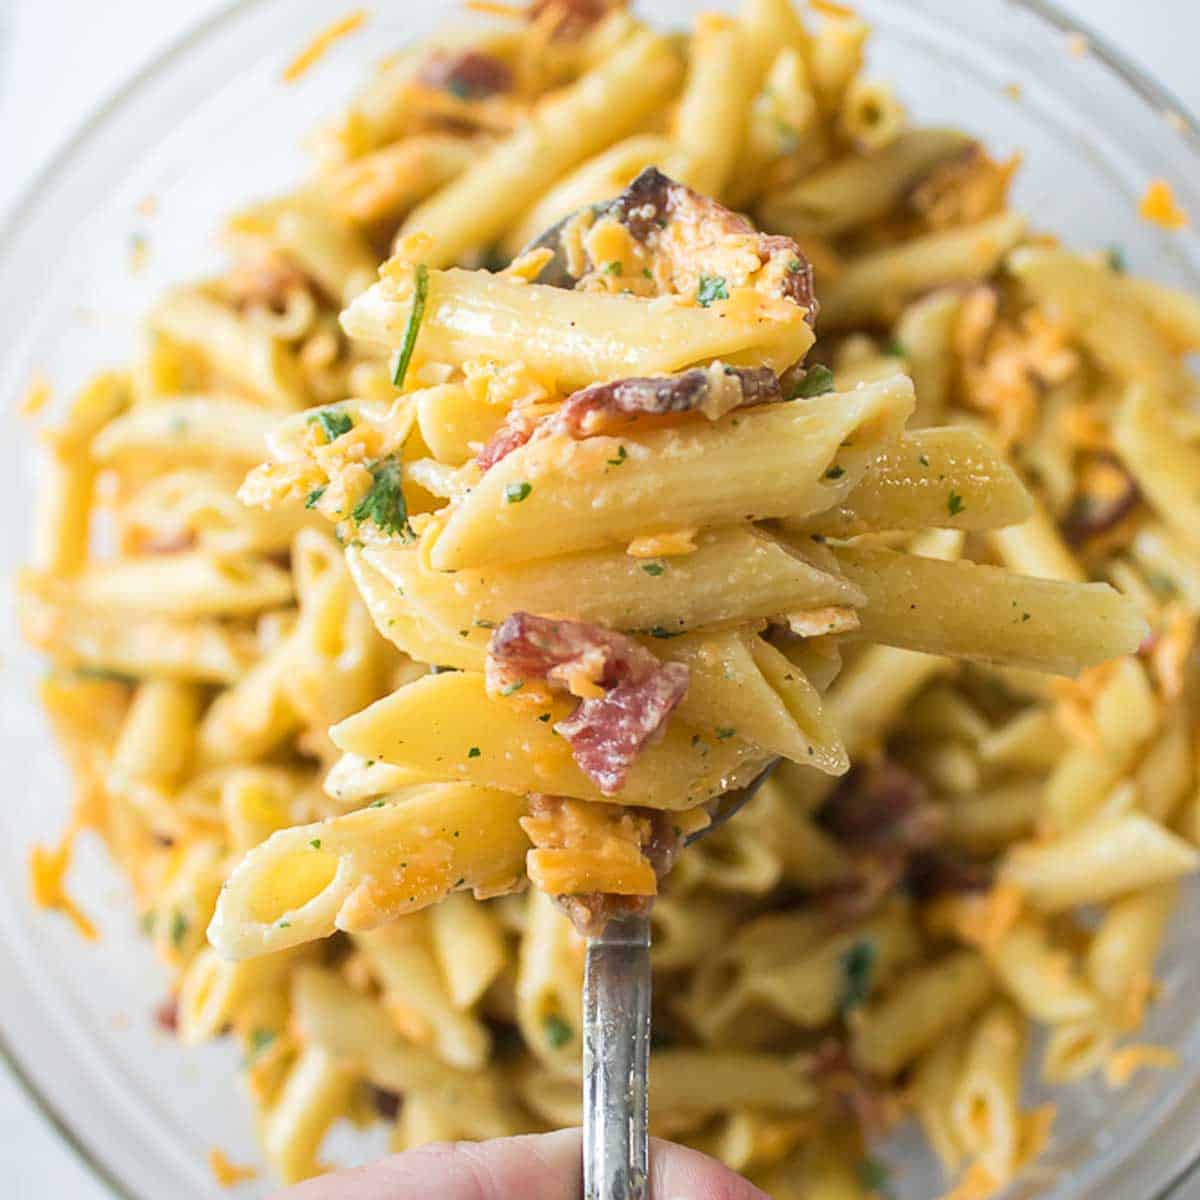
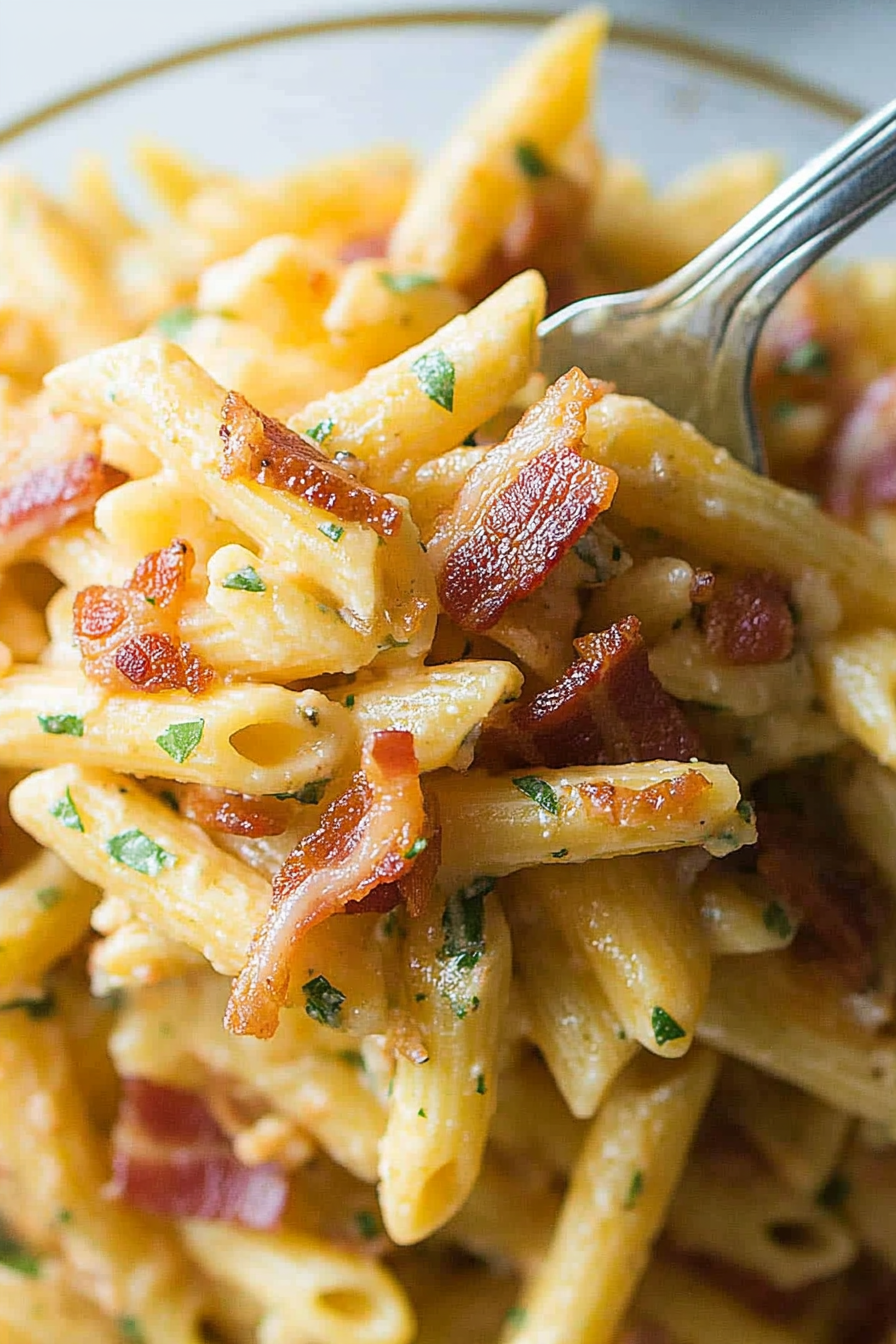
Bacon Ranch Pasta Salad
Ingredients
Method
- Cook the pasta al dente according to the package directions. Drain and rinse with cold water to cool.
- Mix olive oil, buttermilk, mayonnaise, and ranch dressing mix in a large bowl and stir to combine.
- Add cooked pasta, bacon, cheddar cheese, and parsley to the ranch dressing and stir to coat.
- Refrigerate for 8 hours before serving.


This recipe sounds amazing! Baking always brings back such warm, happy memories. I can already imagine how delicious this must be.