

Luscious Garlic Herb Chicken Recipe
There’s something magical about baking from scratch on a lazy weekend morning, isn’t there? The smell alone—warm and inviting—makes the whole house feel cozy, like you’re wrapping yourself in a big, edible hug. I remember my mom making a zucchini coffee cake back in the day, and how the aroma of cinnamon and fresh lemon would waft through the kitchen, making everyone come running. It’s funny—this recipe is kind of a cousin to those classic crumb cakes, but with a fresh, summery twist that my family just adores. I always do this when I want something comforting but a little special, and trust me, this zucchini coffee cake with lemon glaze disappears in minutes at my house. It’s incredible how a little grated zucchini can boost the moistness and add a subtle veggie sneaky goodness that I honestly look forward to every time. Plus, it’s surprisingly easy—you’ll want to keep this recipe in your back pocket for mornings, brunches, or even a sneaky late-night treat when you’re craving something sweet but don’t want to fire up the oven for a whole layered cake.
What is Zucchini Coffee Cake?
Think of it as a cozy, moist cake with a gentle vegetable boost—kind of like sneaking greens into a chocolate muffin, but way more sophisticated. This zucchini coffee cake is essentially a tender, buttery loaf or bundt cake that’s packed with grated zucchini, which keeps it insanely moist. The crumb is softly spiced with cinnamon and nutmeg, and then topped with a bright, lemony glaze that makes each bite perfectly balanced—sweet with a bit of tang. The name might throw you off if you’re new to it; “coffee cake” usually makes us think of cinnamon streusel or crumb toppings, but here, it’s more of a cake you’d happily serve with a cup of coffee or tea. It’s a crowd-pleaser for breakfast, brunch, or whenever you want to sit down with something homemade and comforting. And the best part? The zucchini practically melts into the batter, giving it that tender, melt-in-your-mouth texture you crave in a good coffee cake. Think of it as a gentle way to squeeze in extra veggies—trust me, nobody will notice!
Why you’ll love this recipe?
What are some good reasons to make this zucchini coffee cake with lemon glaze?
- Flavor: The combination of cinnamon, lemon, and zucchini creates a flavor profile that feels like a warm hug. The lemon glaze adds
- Simplicity: This isn’t one of those overly complicated recipes that require ten different bowls and fancy ingredients. It’s straightforward, with simple pantry staples that you probably already have. I’ve made this countless times, and I can whip it up even on my busiest mornings.
- Budget-Friendly: Zucchini is one of those vegetables that sneaks into meals without breaking the bank, and it’s so versatile. Plus, the ingredients are common—flour, sugar, eggs, spices—nothing fancy or hard to find.
- Versatility: Want to make it dairy-free? No problem—almond or coconut milk work beautifully. Looking for a gluten-free option? I’ve tested it with gluten-free flour blends, and it turns out just as tender. It’s a forgiving, adaptable recipe that invites you to play.
What I love most about this coffee cake is how it feels like a little bit of sunshine on a plate. The lemon glaze isn’t just pretty; it lifts the entire cake, making it feel fresh and special. Plus, it’s a great way to get my kids to eat zucchini—they never suspect how sneaky and delicious this cake is! This recipe has become a family favorite, and honestly, every time I bake it, I get all nostalgic for those slow Sunday mornings with my family gathered around, a slice in hand, chatting away. It’s one of those recipes that’s both classic and fresh—kind of like an old friend who’s still got a few surprises up their sleeve.
How to Make Zucchini Coffee Cake
Quick Overview
This zucchini coffee cake comes together very easily—think one bowl for the dry ingredients, another for the wet, then a gentle fold, layer, and bake. The grated zucchini adds moisture without fuss; just squeeze out excess water so your batter stays fluffy. The batter is moist, fragrant with cinnamon and lemon, and it bakes up with that perfect golden-brown crust. While it’s in the oven, you mix up a simple lemon glaze, which you’ll drizzle on right after cooling—trust me, that glaze is what makes it irresistible. The whole process is surprisingly straightforward, and I promise it’s worth every step because the end result feels like you’ve bought it from a bakery, but it’s way more satisfying knowing you made it yourself.
Ingredients
For the Main Batter:
- 2 cups all-purpose flour (I like unbleached for flavor)
- 1 teaspoon baking powder
- ½ teaspoon baking soda
- ½ teaspoon salt
- 1 teaspoon ground cinnamon (more if you love it)
- ½ teaspoon ground nutmeg (optional but adds warmth)
- 1 cup granulated sugar
- ½ cup vegetable oil or melted butter (I tested both, and butter makes it richer)
- 3 large eggs
- 1 teaspoon vanilla extract
- 1 cup grated zucchini (squeeze out excess moisture)
- ¼ cup buttermilk or milk (or almond milk for dairy-free)
For the Lemon Glaze:
- 1 cup powdered sugar
- 2-3 tablespoons fresh lemon juice (start with less and add until you reach drizzling consistency)
- Zest of one lemon (for extra zing)
Step-by-Step Instructions
Step 1: Preheat & Prep Pan
Set your oven to 350°F (175°C). Grease a bundt pan, loaf pan, or square baking dish with butter or non-stick spray. If you want a clean release, dust with a little flour or line with parchment—easy peasy. I always do this when I plan to serve it straight out of the pan, so there’s no stickiness. While it’s preheating, grate your zucchini and squeeze out as much moisture as you can—you want it moist but not soggy, or your cake might end up heavy.
Step 2: Mix Dry Ingredients
In a large bowl, whisk together the flour, baking powder, baking soda, salt, cinnamon, and nutmeg. This step builds the foundation, ensuring even distribution of your leaveners and spices. I learned the hard way that overmixing at this stage can make the cake dense, so stir just until everything is combined and set aside.
Step 3: Mix Wet Ingredients
In a separate bowl, beat the eggs, then add sugar and oil (or melted butter). Whisk until smooth and glossy—this is where the magic starts, making the batter light and airy. Mix in the vanilla, then stir in the grated zucchini and buttermilk until everything is combined. Don’t overmix here; a few lumps are totally fine.
Step 4: Combine
Pour the wet mixture into the dry ingredients. Using a spatula, gently fold everything together just until no streaks of flour remain. You want to keep as much air in the batter as possible—this keeps the cake fluffy. If you see any big lumps of flour or zucchini, gently press them into the batter, but don’t overmix.
Step 5: Prepare Filling
If you want to swirl in extras like a cinnamon sugar mixture or chopped nuts, now’s the time. For the classic version, I prefer just plain batter with the zucchini flavor shining through. If you fancy something a little gooey, sprinkle a handful of mini chocolate chips or chopped walnuts on top before baking. It’s personal, and honestly, I’ve tried both and loved them!
Step 6: Layer & Swirl
If making a layered or marbled cake, pour half of the batter into your prepared pan, add your swirl fillings, then spread the rest on top. Use a skewer or a butterknife to swirl gently—a few waves are enough; go too wild, and everything mixes into a muddy mess. I love how the darker cinnamon streaks peek through the batter when baked, it’s almost artistic.
Step 7: Bake
Bake for about 40-50 minutes, depending on your pan and oven. Check doneness by inserting a toothpick in the center; it should come out clean. If it’s browning too fast but isn’t done, tent with foil. My oven tends to run hot, so I always start checking around the 40-minute mark. The house will smell like cinnamon and lemon—trust me, that alone is worth the wait!
Step 8: Cool & Glaze
Let the cake cool in the pan for about 15 minutes before transferring to a wire rack to cool completely. Once cooled, drizzle with your lemon glaze—mix powdered sugar with lemon juice until smooth but pourable. I love adding lemon zest for an extra punch. Pour it over the cake and watch it drip down the sides—it’s almost too pretty to eat!
Step 9: Slice & Serve
Use a sharp serrated knife to cut clean slices—hotcakes work better after a little resting, especially if there’s glaze. Serve it warm or at room temperature with a cup of coffee or tea. I’ve even chilled slices for a refreshing treat later. The flavor intensifies overnight, making it perfect for make-ahead mornings or weekend brunches. Trust me, this one’s a lifesaver on busy nights when you need something homemade but quick!
What to Serve It With
Honestly, this cake shines solo, but I love to pair it with a simple dollop of whipped cream or a few fresh berries to make it feel extra special. For breakfast, a strong black coffee or a chai latte balances the sweetness beautifully, especially if you add a pinch more cinnamon in the morning. When I serve it as a brunch centerpiece, I like slicing it thick and topping with lemon zest or a sprinkle of powdered sugar. Leftovers taste amazing toasted with a smear of butter, kind of like a sophisticated breakfast muffin. My family asks for this all the time—sometimes I make a double batch just so I can freeze one for later. It’s one of those desserts that feels fancy but is so easy to throw together—you’ll wonder why you didn’t start baking it years ago!
Top Tips for Perfecting Your Zucchini Coffee Cake
Over the years, I’ve picked up a few tricks to make this even better:
- Zucchini Prep: Be sure to squeeze out as much moisture as you can after grating. I use a clean dish towel or cheesecloth, and trust me, excess water can make your cake turn out dense and gummy. Early on, I learned to do this step; otherwise, the texture suffers.
- Mixing Advice: The key is gentle folding—if you overmix, the gluten development can make it tough. I always stop as soon as the dry ingredients are just incorporated.
- Swirl Customization: Use a skewer or a chopstick for swirling to keep patterns pretty. Don’t overdo it—less is more here, or you’ll blend the flavor too much.
- Ingredient Swaps: Want dairy-free? Coconut oil and almond milk work beautifully. Prefer a lighter cake? Substitute half the sugar with honey or maple syrup (reduce some liquid accordingly). I’ve tested both, and they come out just as tasty with that personal touch.
- Baking Tips: Every oven varies, so keep an eye. If it’s browning too fast, lower the temp slightly or tent with foil. Check the toothpick test—don’t rely solely on timing.
- Glaze Variations: For a more decadent twist, add a splash of bourbon or vanilla to your glaze. Or mix in a teaspoon of grated ginger for a spicy note. Applying it while the cake’s still slightly warm helps it soak in and meld with the crumb.
One thing I’ve learned the hard way: patience pays off. Let the cake cool completely—rushing to cut it while warm causes uneven slices and gooey glaze drips. Also, don’t skip the squeeze-out step; the batter’s texture makes or breaks the moistness.
Storing and Reheating Tips
This cake keeps beautifully. If you finish it in one go, store leftovers in an airtight container at room temp for up to 2 days or in the fridge for up to 5. I prefer seeing it on a cake stand wrapped loosely with a towel—stays fresh and keeps that crust crispy. Want to freeze it? Wrap individual slices tightly in plastic wrap, then store in a freezer bag for up to 3 months. Thaw at room temp or warm slices gently in the microwave—the moisture and flavor stay intact.
If you’re adding the glaze later, wait until just before serving, so it stays shiny and fresh—don’t pour it on the night before or it might soak in too much. Reheat slices in the oven at 300°F (150°C) for about 10 minutes for that just-baked warmth.
Frequently Asked Questions
Final Thoughts
This zucchini coffee cake with lemon glaze has quickly become a staple in my home. It’s the kind of baking that feels fancy enough to serve guests but simple enough to whip up on a weekday. The moistness from the zucchini keeps the cake tender without any fuss, and the bright lemon glaze lifts it from simple to spectacular. I love how adaptable it is—gluten-free, dairy-free, or with a little extra spice—it always turns out beautifully. Plus, it’s a sneaky way to get some veggies into breakfast without anyone batting an eye. Whether you’re baking for a lazy weekend brunch, packing a lunchbox, or just indulging a sweet tooth at midnight, this cake is a true winner. I can’t wait to hear how yours turns out—don’t forget to leave a comment or share your tweaks! Happy baking, friends!

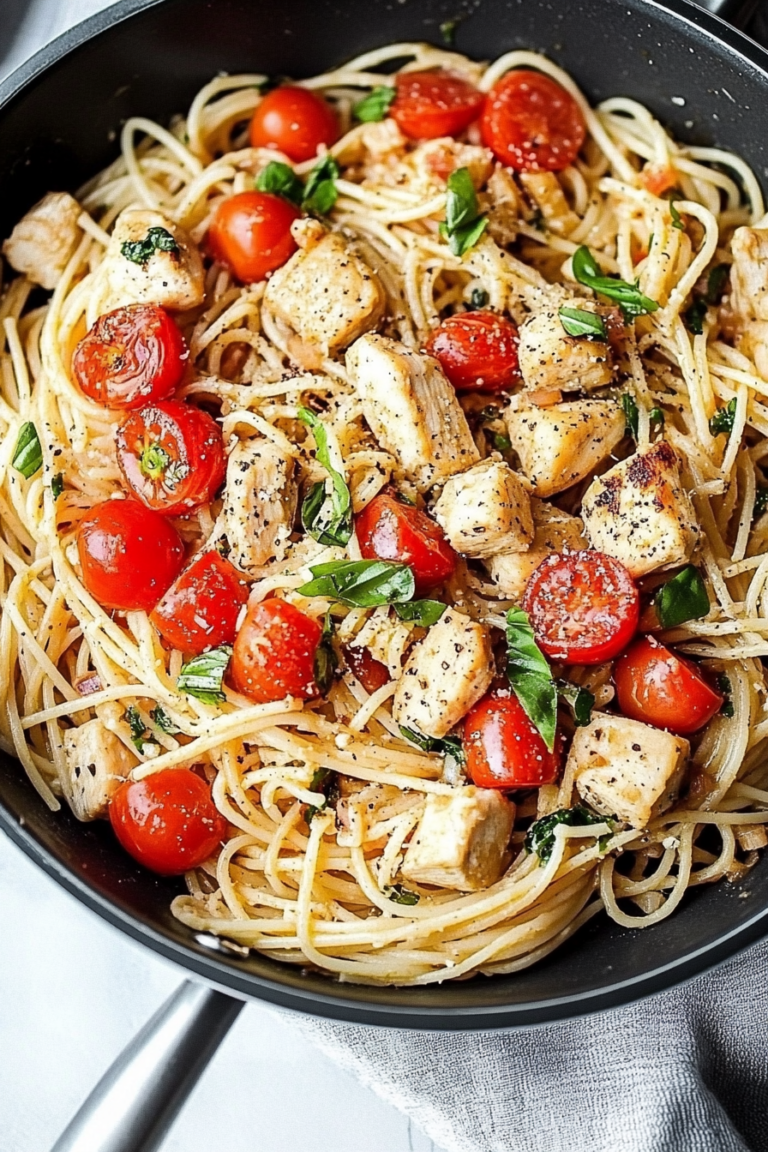
garlic herb chicken
Ingredients
Method
- Combine onion and garlic powder in a small bowl. Coat chicken generously on all sides with the mixture. Season with salt and pepper.
- Heat olive oil in a large skillet over medium-high heat. Cook chicken about 5 minutes per side until golden brown and cooked through. Remove to a plate and set aside.
- Add olive oil, garlic, and herbs to the pan and cook until fragrant, about one minute.
- Add chicken broth or white wine to the pan and scrape bottom to deglaze.
- Add cream and bring to a boil.
- Combine cornstarch with one tablespoon of water and stir until smooth. Add to sauce and stir until thickened. Season with salt and pepper.
- Return chicken to skillet and serve.


This sounds amazing—I love how comforting homemade meals can be. The aroma of garlic and herbs must be incredible while it bakes!