
How to Bake Delicious Maple Oatmeal Cookies
I still remember the first time I bit into a warm slice of zucchini banana bread. The aroma of cinnamon and ripe bananas would fill the whole house, and somehow, even the kids would sneak a slice before breakfast! It’s funny — I used to think zucchini was just for savory dishes, but honestly, adding it into a sweet loaf like this was a game-changer. Over the years, I’ve refined this recipe so that it’s just the right amount of moist, tender, and flavorful. And trust me on this — the glaze? It’s the perfect finishing touch that elevates the whole thing from “really good” to “absolutely irresistible.” This one’s a lifesaver on busy nights when you want homemade comfort, but with minimal fuss. Plus, it’s so versatile—you can enjoy it for breakfast, a quick snack, or even dessert. My kids ask for this all the time, and honestly, I never get tired of making it. The smell alone brings everyone to the kitchen, and I love that it’s packed with sneaky veggies. Let me walk you through how I make my favorite zucchini banana bread with a sweet glaze — you’re going to love it!
What is Zucchini Banana Bread?
Think of zucchini banana bread as a cozy hybrid between a comforting muffin and a rustic loaf. It’s essentially a moist, tender bread made with ripe bananas and shredded zucchini, which adds moisture and a little sneaky nutrition without sacrificing flavor. The name might sound fancy, but it’s just a simple, homey treat that’s perfect for using up those overripe bananas and garden zucchinis that might otherwise go unnoticed. The zucchini dissolves into the batter, giving it an extra richness, while the bananas bring a natural sweetness and a hint of caramel. It’s a bit like that classic banana bread, but with a twist — and a little extra moisture that makes each bite melt in your mouth. Think of it as a warm hug, a treat that’s almost guilt-free because of those hidden veggies. It’s hearty enough to serve for breakfast, but sweet enough for dessert. The best part? It’s super forgiving — you really can’t go wrong. I’ve made this so many times that I feel like I could do it in my sleep, and every time, it comes out perfectly crumbly on the outside, tender inside, and just downright delicious.
Why you’ll love this recipe?
What I love most about this zucchini banana bread is how adaptable and foolproof it is. It’s one of those recipes I keep in my back pocket when friends come over unexpectedly, because it’s fast to whip up and always a hit. Plus, the flavor—oh, the flavor! Ripe bananas lend a subtle, caramelized sweetness that pairs so beautifully with the mildly earthy zucchini. The cinnamon hint adds warmth without overpowering, and I swear, that sugar glaze I drizzle on top just makes it feel extra special. Honestly, I’ve tested this with different variations—like swapping regular sugar for coconut sugar or using almond milk instead of regular milk—and it’s still amazing. My kids love helping me make it because it’s simple enough for them to stir the batter and sprinkle the extra cinnamon on top. This recipe is also budget-friendly; most of the ingredients are pantry staples you probably already have. And the best part? It’s versatile—you can jazz it up with nuts, dried fruit, or even chocolate chips if you’re feeling fancy. It’s definitely become a weekend staple in our house. What I love most about this is how it manages to feel comforting and nostalgic without being overly sweet or heavy. It’s just the perfect balance, and I know once you try it, you’ll be hooked too.
How do you make Zucchini Banana Bread?
Quick Overview
This zucchini banana bread comes together in just about an hour, with minimal fuss. You start by shredding the zucchini and mashing the bananas, then mixing up the batter with some warm spices. Once everything’s combined, you pour it into a loaf pan, swirl in your filling—think chocolate chips or nuts—and bake until golden. The magic happens when you let it cool just enough to get that perfect slice, then drizzle with a sweet glaze that’s honestly addictive. It’s a real one-bowl wonder, and I always do this when I want a baking project that’s both simple and a total crowd-pleaser. Plus, it makes your house smell incredible while baking. Trust me, it’s even better than it sounds.
Ingredients
For the Main Batter:
– 2 ripe bananas, mashed (the riper, the better)
– 1 cup shredded zucchini (about 1 small zucchini)
– 2 cups all-purpose flour (or a gluten-free blend if you prefer)
– 1 teaspoon baking soda
– 1 teaspoon cinnamon
– ½ teaspoon salt
– ¾ cup granulated sugar (or coconut sugar for a richer flavor)
– ¼ cup vegetable oil or melted coconut oil
– 2 large eggs
– 1 teaspoon vanilla extract
For the Filling:
– Chocolate chips or chopped nuts (optional but highly recommended)
– A sprinkle of cinnamon or a dash of nutmeg for extra warmth
For the Glaze:
– ½ cup powdered sugar
– 1-2 teaspoons milk (or plant-based milk for dairy-free)
– A splash of vanilla or lemon juice for a tangy kick
Step-by-Step Instructions
Step 1: Preheat & Prep Pan
Set your oven to 350°F (175°C). Grease your loaf pan with a little butter or line it with parchment paper—it keeps things super easy when it’s time to serve. While it’s heating up, shred the zucchini and squeeze out any excess moisture with a clean dish towel or paper towels. I always do this — too much moisture in the batter can lead to a soggy loaf, and nobody wants that!
Step 2: Mix Dry Ingredients
In a medium bowl, whisk together the flour, baking soda, cinnamon, and salt. This ensures your leavening agents are evenly distributed, so every bite gets that nice rise. It’s a small step, but it makes a big difference in how fluffy and even your bread turns out.
Step 3: Mix Wet Ingredients
In a large bowl, mash the bananas well, then add the sugar, oil, eggs, and vanilla. Mix until smooth—trust me, the bananas will look funky at first, but keep stirring, and you’ll see a luscious, almost caramel-colored batter. I tested this with almond milk and it actually made it even creamier, so don’t be afraid to play around a bit!
Step 4: Combine
Add the dry ingredients to the wet and stir just until combined. Don’t overmix — overworking the batter can make the bread dense instead of fluffy. Gently fold in the shredded zucchini and your chocolate chips or nuts here. The zucchini’s water content is already pretty high, so mixing gently keeps the batter tender and moist.
Step 5: Prepare Filling
If you’re adding extras like chocolate chips, sprinkle them evenly on top or fold them into the batter. I love dropping a handful of chocolate for that gooey surprise in every slice. You can also mix in chopped walnuts or pecans here for a crunch. For a little extra flavor, toss in a dash of cinnamon or nutmeg — I often do this because it makes the loaf smell like a cozy bakery.
Step 6: Layer & Swirl
Pour half the batter into the loaf pan, then add your filling layer — more chocolate or nuts. Top with the remaining batter and, if you like, do a gentle swirl with a skewer or knife to create pretty marbled patterns. This step is optional, but it makes the bread look as good as it tastes!
Step 7: Bake
Pop it in the oven and bake for about 50-60 minutes. Keep an eye on it — the bread is done when a toothpick inserted in the center comes out clean, and the top is golden brown. If it browns too fast, tent it with foil for the last 10 minutes. Every oven is different, so trust your nose and toothpick test.
Step 8: Cool & Glaze
Let the loaf cool in the pan for about 10 minutes, then transfer to a wire rack. Once cooled just a bit, drizzle the glaze over the top. It hardens slightly, giving a pretty, shiny finish that’s honestly a little addictive. I like adding a squeeze of lemon juice in the glaze sometimes — it balances the sweetness with a little zing.
Step 9: Slice & Serve
Slice when it’s just warm, or better yet, wait until it’s completely cooled — that’s when it slices beautifully without crumbling. Serve with a cup of coffee, tea, or a cold glass of milk. Trust me, it disappears so fast around here, I often bake a double batch.
What to Serve It With
This zucchini banana bread is so versatile, I usually have a little fun with how I serve it. For breakfast, I love piping hot slices with a smear of butter or a drizzle of honey. My kids ask for this all the time, so I often make it as a quick grab-and-go option in the morning. If I’m hosting brunch, I might serve it alongside a fruit salad, a yogurt parfait, or some scrambled eggs. It’s also incredible as a dessert — warm slices with a dollop of whipped cream or a scoop of vanilla ice cream make it feel indulgent.
For casual snacking, I like to cut thick slices and pack them in lunchboxes or take them on picnics — they stay moist and tasty for hours. Leftovers? I wrap slices tightly and keep them in the fridge; the next day, I pop them in the microwave for a few seconds, and they taste fresh out of the oven again. When you add that glaze, it turns the humble loaf into something special enough to serve at dinner parties or family gatherings. Either way, this bread feels like a warm hug, no matter how you serve it.
Top Tips for Perfecting Your Zucchini Banana Bread
Over the years, I’ve picked up a few tricks that make this recipe come out just right every time. First, always squeeze out excess moisture from the zucchini. I’ve tested it with different zucchinis — those garden-fresh ones are so juicy — so removing extra water keeps the bread from becoming soggy. Second, don’t overmix the batter. Just stir until ingredients are barely combined—resistance makes the bread dense. Third, if you want to add a decorative swirl, use a toothpick to create pretty marbling, but don’t go overboard; the focus should be on flavor. For ingredient swaps, I’ve tried replacing eggs with flax eggs and it works perfectly, especially for vegan friends. Also, I recommend checking your oven with an oven thermometer — mine runs hot, so I adjust baking time accordingly. When it comes to glazing, I’ve experimented with different toppings—lemon glaze, cream cheese topping—and all of them are lovely. Just remember: patience is key when cooling. A hot loaf will crack or ooze, but once cooled, it slices beautifully and the glaze sets perfectly. Trust me, these little tips will help you master this recipe in no time.
Storing and Reheating Tips
This bread is best enjoyed within the first couple of days, but if you need to store it, here’s what I do. At room temperature, keep it wrapped tightly in plastic or in an airtight container — it’ll stay fresh for about 2 days. For longer storage, I pop slices into a Ziplock bag or an airtight container and refrigerate for up to a week. Just reheat slices in the microwave for about 10-15 seconds for that fresh-baked warmth. If you want to keep it even longer, this bread freezes beautifully. Wrap it tightly in plastic wrap, then in foil or a freezer-safe bag, and it’ll last up to 3 months. When you’re ready to enjoy, thaw at room temperature or warm slices directly in the microwave. A quick reheat brings back that lovely moisture and makes the glaze shiny again. I usually add the glaze after reheating, so it stays glossy and tempting. Just keep an eye on moisture because freezing and thawing can sometimes make the bread a little drier, but with proper wrapping, it remains tender and delicious. Honestly, a slice straight from the freezer, slightly warmed, is a cozy treat that feels almost like fresh-baked.
Frequently Asked Questions
Final Thoughts
Honestly, this zucchini banana bread has become such a staple in my kitchen — it’s like a warm, edible hug that I can share with family and friends anytime. The way the bananas and zucchini work together to keep it moist, without weighing it down, is just magic. Plus, the addition of that sweet glaze feels like the cherry on top of a perfect Sunday. I love how adaptable it is, whether you want to add chocolate chips, nuts, or keep it simple. Every time I bake this, I get that nostalgic feeling of childhood mornings, but with a grown-up twist. It’s a recipe I keep coming back to because it’s proof that you don’t need fancy ingredients or complicated techniques to make something extraordinary. So go ahead, give it a try — I promise, once you do, it’ll be one of those baked goods you make again and again. Can’t wait to hear how yours turns out! Feel free to leave a comment below with your own tweaks or favorite additions. Happy baking!

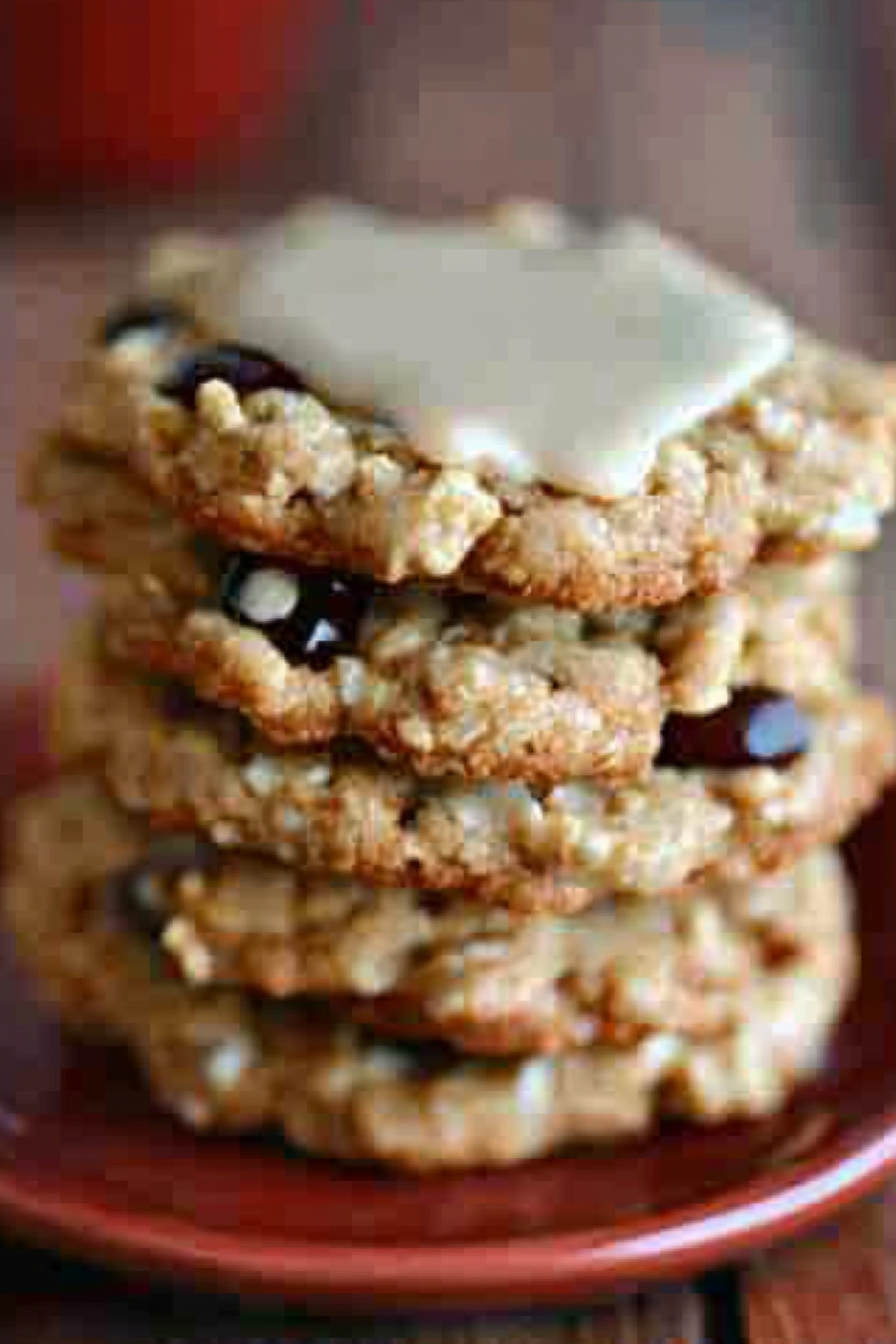
maple oatmeal cookies
Ingredients
Method
- In a microwave-safe measuring cup, heat brandy or rum for about a minute. Pour over raisins and set aside to soak.
- In a stand mixer, cream softened butter with brown sugar and granulated sugar until fluffy.
- Add eggs and vanilla extract to the mixer and mix until combined.
- In a bowl, whisk together flour, oats, baking soda, and cinnamon. Gradually add to the wet ingredients and mix on low speed until just combined.
- Drain excess brandy from raisins and fold into cookie dough.
- Refrigerate dough for 30 minutes or overnight.
- Preheat oven to 350°F. Drop dough by tablespoonfuls onto baking sheets, spacing about 2 inches apart.
- Bake for 8-10 minutes until edges are golden. Cool on wire racks.
- For the glaze, melt butter and maple syrup in a saucepan. Remove from heat and whisk in confectioners' sugar until smooth. Drizzle over cooled cookies.


This recipe sounds amazing—maple and oats are such a perfect combo! I can already picture how cozy and delicious they’d be with a cup of coffee.
That sounds amazing! I love the cozy scent of cinnamon and bananas baking—it makes the whole house feel like home.