
Festive Sugar Cookies Recipe
There’s something about pulling a warm slice of cake from the oven that instantly makes the house smell like comfort. I remember sneaking bites of my mom’s zucchini bread as a kid, feeling like I’d discovered a secret stash of sweetness at just the right moment. Fast forward a few decades, and I’ve pretty much turned that childhood favorite into what I now call my “Zucchini Swirl Cake” — a dessert that’s not only insanely tasty but also kind of wholesome, thanks to the zucchini. Honestly, I always do this when I want something sweet but don’t feel like going all-in on baking a huge cake. It’s surprisingly simple, and my kids ask for this all the time — especially when we have zucchini from our garden that’s just begging to be used. Plus, the swirl of cream cheese filling makes each bite delightfully indulgent. Trust me on this: once you try it, it’s going to become a staple in your kitchen, too.
What is Zucchini Swirl Cake?
Think of this cake as a playful twist on classic zucchini bread, but elevated with a tender crumb and a luscious cream cheese swirl that creates beautiful marbled layers. It’s essentially a cake made with grated zucchini, which adds moisture and a subtle veggie sweetness, but the real showstopper is that swirl of slightly tangy, creamy filling running through the middle. Its name comes from that swirling technique I learned after countless attempts to get the marbling just right — it’s a little art, a little science, and a whole lot of goodness. This dessert is comforting yet elegant, perfect for a casual weekend treat or a special lunch. I love sharing this with friends because it’s such a crowd-pleaser — it looks impressive, but it’s honestly so easy to make. Plus, it’s a sneaky way to get more veggies into the family without any complaints!
Why you’ll love this recipe?
What I love most about this zucchini swirl cake is that it hits all the right notes — it’s moist, flavorful, and just the right balance of sweet and tangy. The vanilla-spiked batter is soft and tender, like biting into a cloud, while the swirl of cream cheese filling is rich enough to satisfy that craving for something decadent. This one’s a lifesaver on busy nights because I can whip up the batter in one bowl — no fancy equipment needed — and have a beautiful dessert ready in less than an hour. And because it uses simple, affordable ingredients, it’s budget-friendly, too. I’ve tested this with sunflower oil, almond milk, even a splash of coconut extract, and each variation brought its own lovely twist. It’s super versatile — I’ve even added chopped walnuts or a sprinkle of cinnamon on top for extra flavor. Honestly, what’s not to love? It’s a crowd-pleaser that feels just fancy enough for guests but is totally homey at heart.
How do I make Zucchini Swirl Cake?
Quick Overview
This cake is a breeze to make — grab your grated zucchini, mix up the batter with vanilla and a hint of citrus zest, swirl in the cream cheese mixture, bake until golden, and voila! The magic happens during that swirl step, where you create beautiful marbled patterns that make each slice a visual treat. It’s a forgiving recipe that makes you look like a culinary superstar without the stress. Perfect for those days when you want a little baking therapy, and the smell alone brings everyone to the kitchen.
Ingredients
For the Main Batter:
– 2 cups of grated zucchini (squeeze out excess moisture, but don’t be too fussy about removing every drop)
– 1 1/2 cups all-purpose flour (or a mix of whole wheat and white, for a nuttier vibe)
– 1 cup sugar (trust me, this balances out the zucchini’s subtle sweetness)
– 1/2 cup vegetable oil (or melted coconut oil for extra flavor)
– 3 large eggs
– 1 teaspoon vanilla extract
– Zest of one lemon (brightens the whole thing!)
For the Filling:
– 8 oz cream cheese, softened
– 1/2 cup powdered sugar (or more if you like it sweeter)
– 1 teaspoon vanilla
– A squeeze of lemon juice (or a dash more vanilla if lemon isn’t your thing)
For the Glaze:
– Powdered sugar mixed with a dash of lemon juice or milk to desired consistency
– You can add a sprinkle of cinnamon or a drizzle of honey if you want to change it up
Step-by-Step Instructions
Step 1: Preheat & Prep Pan
I always start by heating the oven to 350°F (175°C). Grease your favorite loaf pan or cake pan and line it with parchment for easy removal. Trust me on this — nothing worse than struggling to get a sticky cake out. Once prepared, set aside and get your ingredients ready.
Step 2: Mix Dry Ingredients
In a medium bowl, whisk together the flour, baking powder, and a pinch of salt. I like doing this first to ensure everything’s evenly distributed, especially if I’m adding spices later. It’s all about that even rise.
Step 3: Mix Wet Ingredients
In a large bowl, beat together the eggs, sugar, oil, vanilla, and lemon zest until everything is nice and fluffy. I usually do this with a whisk or hand mixer — the batter should look glossy and feel smooth.
Step 4: Combine
Gradually add the dry ingredients into the wet, mixing just until combined. Overmixing can make the cake dense, so I fold it gently with a spatula. Then, fold in the grated zucchini — it’s okay if the mixture looks a little speckled; that’s all the goodness!
Step 5: Prepare Filling
In a small bowl, beat the cream cheese with powdered sugar and vanilla until smooth. I like to taste it here and adjust the sweetness — trust me, a well-balanced filling makes all the difference. For a little extra zing, I sometimes add lemon juice or zest.
Step 6: Layer & Swirl
Pour half the batter into your prepared pan. Spread the cream cheese mixture carefully over the batter, then top with the remaining batter. Using a knife or skewer, swirl through the layers to create that marbled look. A gentle back-and-forth motion is best — no need to overdo it. That swirl pattern makes each slice so pretty!
Step 7: Bake
Pop it into your preheated oven and bake for about 45-50 minutes. The top should be golden and a toothpick inserted in the center comes out clean. If your edges brown too fast, tent it loosely with foil. Every oven varies, so keep an eye on it around the 45-minute mark.
Step 8: Cool & Glaze
Let the cake cool in the pan for about 15 minutes, then transfer to a wire rack. Once cooled slightly, drizzle on the glaze. I don’t like rushing this step — the glaze sets better when the cake is just warm but not hot.
Step 9: Slice & Serve
Use a sharp serrated knife for clean slices. I love serving this slightly warm or at room temperature, maybe with a cup of tea or a dollop of whipped cream. It looks beautiful on a platter — each slice a little work of art, thanks to that swirl.
What to Serve It With
This cake pairs beautifully with so many things, depending on the mood and occasion. For breakfast or brunch, I like pairing it with a strong coffee or an iced latte — the bitterness balances out that sweet, moist crumb. My family enjoys it with a splash of fresh cream or a dollop of Greek yogurt for an extra creamy touch. If you’re serving it as a dessert, a scoop of vanilla ice cream or a drizzle of honey is divine. It’s also fantastic with a cup of herbal tea on a cozy afternoon.
At parties, I’ve sliced it into mini squares and garnished with mint leaves or edible flowers. Kids love the marbled look and the fact that it’s not overly sweet. I’ve even made it into muffins for easy grab-and-go snacks — just cut the baking time a little shorter and use paper liners. Honestly, this cake just feels like a hug you can eat!
Top Tips for Perfecting Your Zucchini Swirl Cake
After making this so many times, I’ve learned a few tricks that help make it foolproof. First, squeezing out excess moisture from the zucchini is key. If it’s too wet, the batter can be gloopy and won’t bake up as fluffy. I’ve tested this with different zucchinis — the fresher, the better, but don’t worry if you only have a slightly older one; just give it a good squeeze!
Mixing technique matters. I always fold the dry ingredients into the wet, gently, to keep the batter light. Overmixing can make it dense and heavy, which no one wants. When you layer and swirl, don’t be timid — a gentle swirl creates those beautiful marbled patterns that make every slice Instagram-worthy, but you don’t want to overmix the batter once it’s layered in the pan.
Customizing the swirl is fun! I’ve experimented with adding tiny blueberries, swirls of lemon curd, or even swirls of cinnamon sugar. Each time, I end up with a slightly different, yet equally delicious, version. And don’t forget the glaze — I tested this with different citrus juices, and trust me, a splash of lemon really brightens everything.
In terms of baking, oven hot spots can be sneaky. I recommend placing the cake in the middle rack and checking its progress around the 40-minute mark. If the top browns too quickly, a quick tent with foil saves the day. Every oven is different, but with a little attention, you’ll get perfectly baked slices every time.
Lastly, I learned that patience is a virtue when it comes to glazing and cooling. Letting the cake sit for at least 15 minutes after removing it from the oven allows the center to set up just right. When glazing, drizzle slowly and evenly for the best look. That’s how you get that professional finishing touch.
This cake has definitely become my go-to dessert, especially because it’s so forgiving and endlessly adaptable. I encourage you to experiment a little — add your own favorite spices or nuts. The trick is, as always, to have fun — after all, baking should be joyful!
Storing and Reheating Tips
This cake stays lovely for a couple of days if stored properly. If you’re planning to keep it overnight, wrap it tightly in plastic wrap or store it in an airtight container. It tastes just as good the next day — maybe even better, as the flavors meld together. If the cake is decorated with glaze, I recommend adding that just before serving to keep it shiny and fresh.
To store in the refrigerator, pop it into a covered container or wrap it well. It’ll last about 3-4 days while staying moist. For longer storage, freezing works great: wrap slices individually in plastic wrap and then place in a freezer bag. When you’re ready to eat, just thaw at room temperature or microwave for a few seconds. It’s wonderful to have a stash for those rainy days when all you want is a quick sweet fix.
If you need to reheat, a brief stint in the microwave works perfectly. I usually set it to 15-20 seconds and check — it warms up without drying out. Just remember, if your cake has the glaze on top, adding that fresh on serving keeps it looking irresistible. A little reheating makes the cake soft and comforting, especially if you’re craving that warm, cake-y hug in the middle of the afternoon.
Frequently Asked Questions
Final Thoughts
Honestly, I can’t count how many times I’ve made this zucchini swirl cake — it’s become my little baking sanctuary on busy weekends or when I need a moment of joy. The combination of moist, tender crumb and that beautiful swirl of cream cheese feels both indulgent and nourishing in a way that makes me think of home. I love seeing friends’ faces when I cut into it, revealing that marbled pattern — it’s like a little piece of art to enjoy with tea or coffee. And because it’s so adaptable, I encourage you to play around with flavors and add your own personal touches. This cake is more than just a dessert; it’s a reminder of how simple ingredients and a little love in the kitchen can brighten your day. So, grab that zucchini from your garden or fridge, and let’s get baking — I can’t wait to hear how yours turns out! Happy baking!
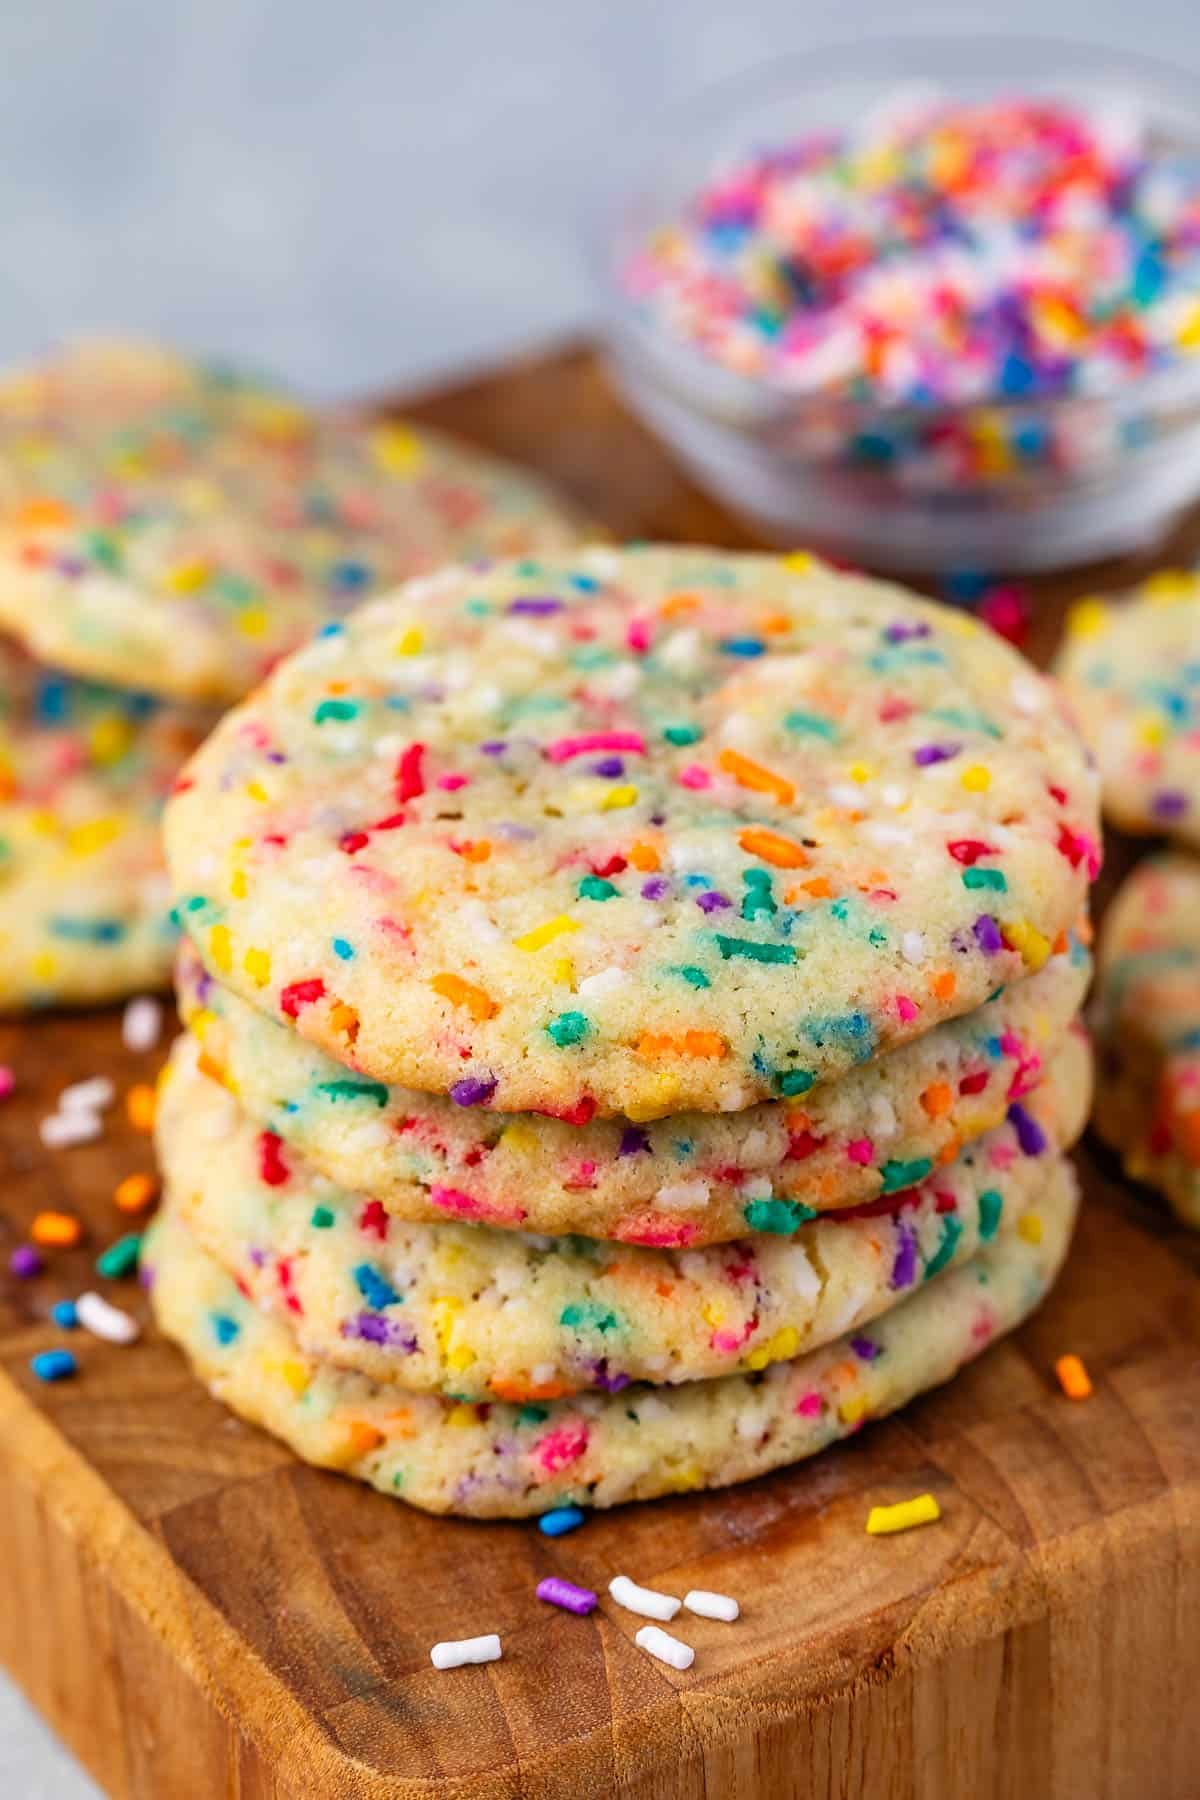
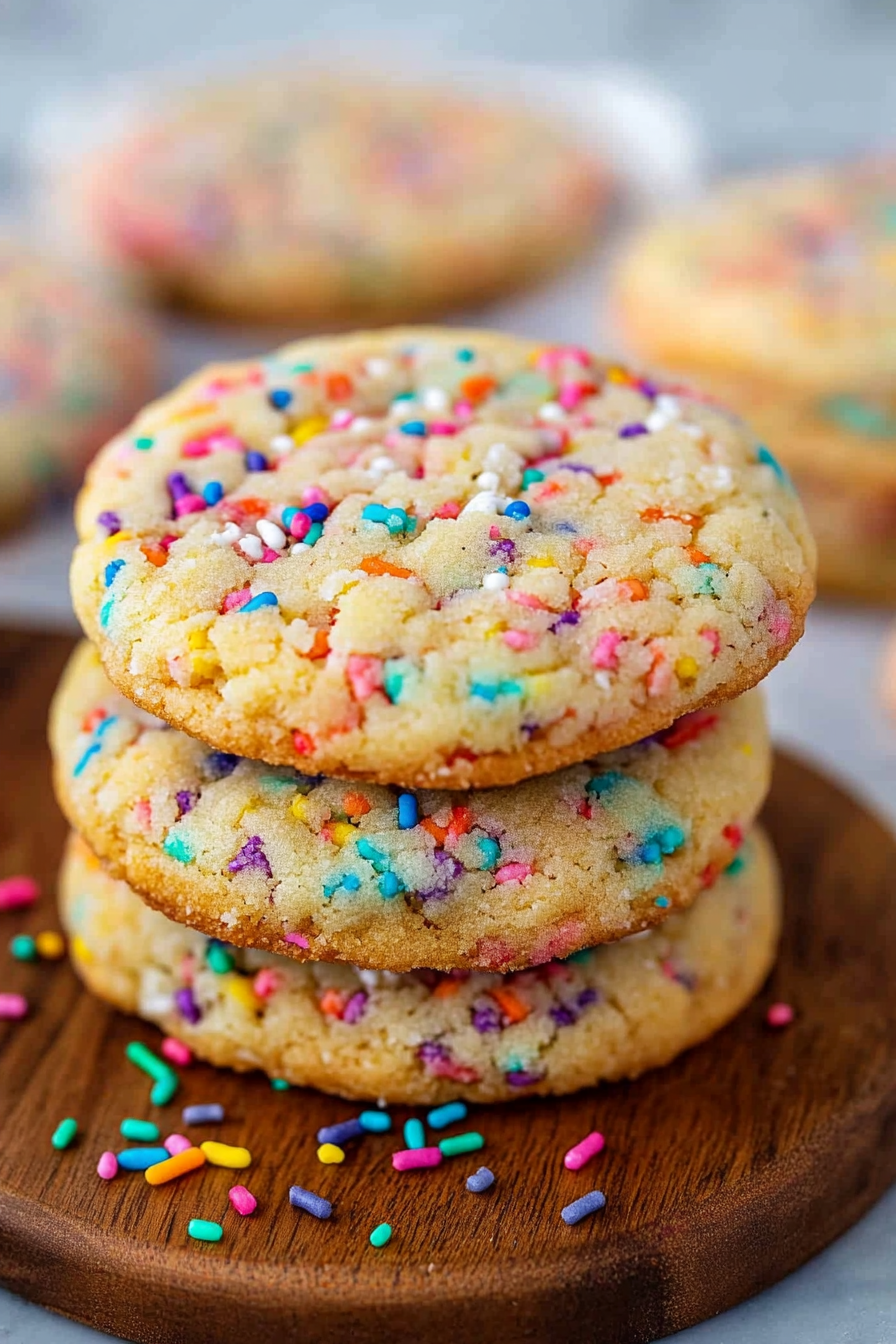
Sprinkle Cookies
Ingredients
Method
- Preheat oven to 350°F. Line two cookie sheets with parchment paper or silpat baking mats.
- Whisk together flour, baking soda, cream of tartar, and salt in a medium bowl. Set aside.
- Cream butter and sugar with a stand mixer fitted with the paddle attachment until fluffy, about 2-3 minutes. Mix in egg, vanilla, and almond extracts until combined. Gradually add dry ingredients, then stir in sprinkles.
- Scoop 2-tablespoon balls of cookie dough, and place them 2 inches apart on prepared cookie sheets. Bake for 9-11 minutes until edges are just golden. Let cool for 5 minutes on sheets before transferring.
- Store in an airtight container for up to 3 days or freeze for up to 1 month.
Love this recipe—my kids always help roll the dough and it brings back such sweet memories of baking with my grandma during the holidays.
Love this recipe! The smell of warm sugar cookies baking always brings back such sweet memories.
So comforting! I love baking these every year—the house always smells amazing. Do you let them cool before decorating?