
Easy Peanut Butter Cookie Dip Recipe
If you’d told me five years ago that I’d be smitten with a zucchini coffee cake, I’d have raised an eyebrow. But here I am, baking this up on lazy Sunday mornings, and honestly, it’s one of those recipes I keep coming back to—especially when I want something sweet but not overly indulgent. I always do this when my kids have friends over or on mornings when I crave that cozy smell of cinnamon and sweet batter filling the house. It’s honestly like a warm hug with a little bit of surprise—because hidden inside that tender crumb is zucchini, giving it moisture and a sneaky healthy twist. Trust me, it’s basically the secret weapon in my baking arsenal. And the best part? It’s so easy to whip up, you’ll have it in the oven before you even finish your second coffee. This zucchini coffee cake has become our family’s go-to, especially when I want to impress but keep it simple. It disappears in minutes at my house—I bet it will at yours, too.
What is Zucchini Coffee Cake?
Think of zucchini coffee cake as a beautiful mix between a tender breakfast bread and a cozy dessert. It’s essentially a sweet, spiced cake, layered with a crumbly streusel topping, and often finished with a glaze or dusting of powdered sugar. The name might throw you off—why ‘coffee’? Well, it’s just that kind of cake ‘to go with’ your morning coffee, or even as a comforting afternoon snack. This one’s a lifesaver on busy nights, since it’s pretty forgiving and you get that perfect balance of moist crumb and crispy topping. What makes it special is how the zucchini disappears into the batter, keeping everything incredibly moist and tender without weighing it down. My favorite part? The cinnamon-sugar swirl I usually add, and the fact that I can make it ahead of time—trust me, it’s just as good the next day (if it lasts that long!). It’s like a little secret inside each slice, and everyone always asks for seconds.
Why you’ll love this recipe?
What is the secret behind this zucchini coffee cake?
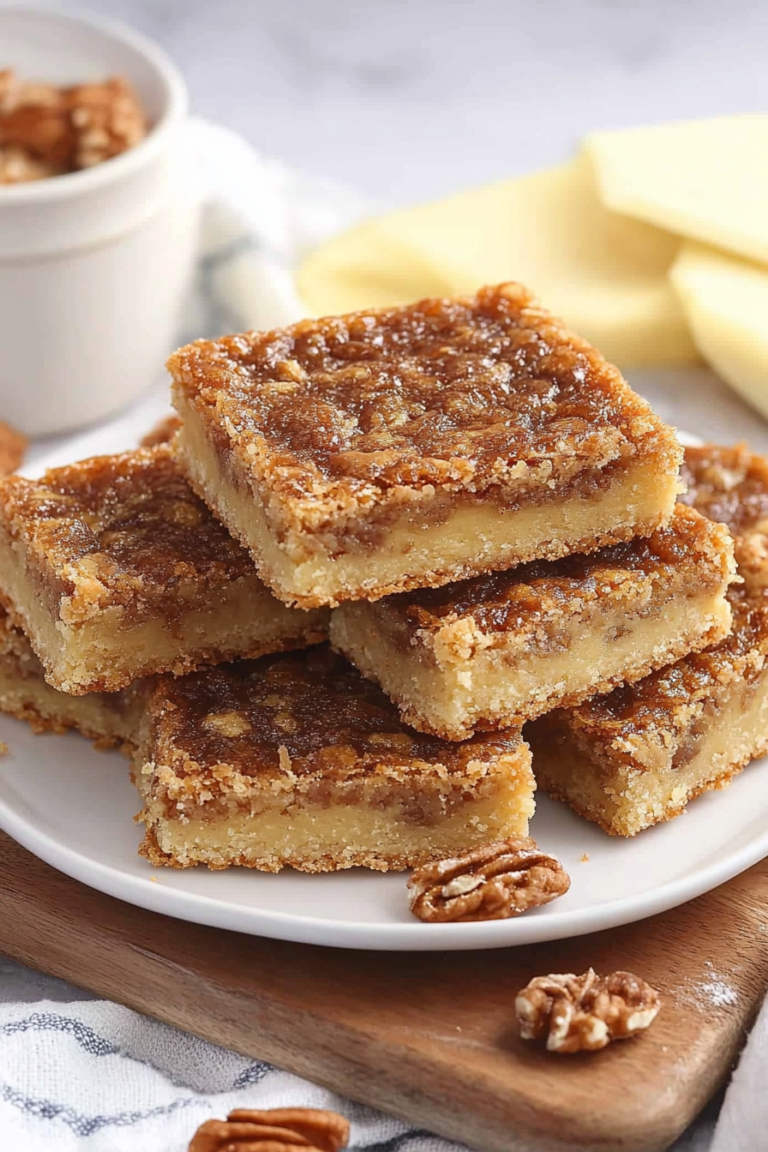
- Flavor: The cinnamon, nutmeg, and a touch of vanilla make each bite smell and taste like a warm grandma’s hug. Add a handful of walnuts or pecans if you’re feeling extra fancy—I do that sometimes and it’s divine.
- Simplicity: No complicated techniques here. Just mix, layer, and bake. The batter comes together so fast that I often do this on a weekday evening as a treat. Plus, the ingredients are usually staples in my pantry, so no special shopping trips.
- Cost-efficiency: What is the best way to measure cost-efficiency? Using simple zucchini (which I always have from my garden!) and pantry staples keeps the cost low, but the result is totally gourmet-looking.
- Versatility: Love customizing? Use fruit preserves swirl, swap out nuts, or even add chocolate chips for a fun twist. Plus, it’s perfect for breakfast, brunch, or dessert.
What I love most about it is how adaptable it is. My kids adore this warm and sweet, but I’ve also had friends rave about it as an elegant brunch offering. Trust me, once you get the hang of this, it becomes part of your baking repertoire. It’s cozy, reliable, and downright addictive. Plus, it makes my kitchen smell like a bakery, and that smell alone brings everyone to the table.
How to Make Zucchini Coffee Cake
Quick Overview
This cake is super straightforward. You start by grating zucchini and mixing a simple batter with warm spices. Then, you layer it in your pan with a crumb topping, swirl some cinnamon-sugar inside for a pretty marbled look, and bake until golden and fragrant. The magic is in how moist and tender it turns out—almost like a soft bread but with the delightful crunch of streusel on top. It’s one of those recipes I keep in my back pocket because it’s reliable and tastes like a fancy bakery treat, minus the fuss.
Ingredients
For the Main Batter:
- 1 ½ cups all-purpose flour (I always opt for unbleached if I have it)
- 1 teaspoon baking powder
- ½ teaspoon baking soda
- 1 teaspoon ground cinnamon
- ¼ teaspoon salt
- ⅓ cup neutral oil (like canola or vegetable)
and/or ¼ cup melted butter for richness - ¾ cup granulated sugar (trust me, sweetness is just right)
- 2 large eggs
- 1 teaspoon vanilla extract
- 1 cup grated zucchini (squeezed dry to remove excess moisture)
For the Filling:
- ¼ cup brown sugar or coconut sugar
- 1 teaspoon ground cinnamon
- Optional: a handful of chopped nuts or chocolate chips
For the Glaze:
- ½ cup powdered sugar
- 1-2 teaspoons milk or cream
- Optional: a splash of vanilla or lemon zest for extra flavor
Step-by-Step Instructions
Step 1: Preheat & Prep Pan
Preheat your oven to 350°F (180°C). Grease a 9-inch round or square baking pan—I use parchment paper for easy removal. This cake bakes best in a moderate oven that ensures even cooking without burning the topping.
Step 2: Mix Dry Ingredients
In a medium bowl, whisk together the flour, baking powder, baking soda, cinnamon, and salt. I always do this first—it helps distribute everything evenly. This step prevents clumps and makes mixing the batter smoother.
Step 3: Mix Wet Ingredients
In a large bowl, beat the eggs then stir in oil or melted butter, vanilla, and sugar until well combined. I always test the temperature of the eggs—cold eggs right from the fridge are fine, but I find room temperature eggs blend better and make a lighter batter.
Step 4: Combine
Add the dry ingredients gradually to the wet, folding gently with a spatula. Don’t overmix—just until no streaks remain. Overmixing here can make the cake dense, which is the opposite of what we want. It’s okay if the batter is a little lumpy.
Step 5: Prepare Filling
Mix the brown sugar and cinnamon in a small bowl. Feel free to throw in chopped nuts or chocolate chips—my kids ask for this with mini chocolate chips, and it’s a game-changer for them.
Step 6: Layer & Swirl
Pour half the batter into your prepared pan. Sprinkle half of the cinnamon-sugar mixture evenly across. Carefully add the remaining batter, and then sprinkle the rest of the cinnamon sugar. For a pretty swirl, take a butter knife or skewer and swirl gently through the batter—it creates pretty marbled patterns inside.
Step 7: Bake
Bake for 40–45 minutes. The top should be golden, and a toothpick inserted in the center should come out clean. Ovens vary—if your cake browns too quickly, tent it with foil after 30 minutes. I always start checking around 38 minutes to avoid overbaking.
Step 8: Cool & Glaze
Let the cake cool in the pan for about 15 minutes before transferring to a wire rack. Meanwhile, mix your powdered sugar and milk until smooth. Drizzle over the slightly warm cake—it soaks in just right, adding a lovely sweetness and shine.
Step 9: Slice & Serve
Slice with a serrated knife for clean cuts. This cake is best enjoyed warm or at room temperature. It pairs beautifully with a cup of coffee or a glass of cold milk. And don’t forget—the smell alone makes the whole house smell like a cozy bakery!
What to Serve It With
This zucchini coffee cake is so versatile, it practically lends itself to any occasion. For breakfast, I love pairing it with a strong black coffee and a dollop of Greek yogurt—simple but satisfying. It’s perfect for brunch, dressed up with a little whipped cream or fresh berries, and makes a lovely dessert served warm with vanilla ice cream or a drizzle of caramel sauce. I also serve it as an afternoon snack with herbal tea—seriously, it’s a family favorite.
In my family, we’ve added a dollop of sour cream or cream cheese frosting on top for extra richness. When I want to make it feel more festive, I sprinkle a little granulated sugar and cinnamon on the top before baking—it creates this beautiful, crispy topping. The secret here? It’s all about the cozy, homey vibe. Bake it, slice it, and enjoy every bite—this cake is comfort in every sense of the word.
Top Tips for Perfecting Your Zucchini Coffee Cake
Here are some tricks I’ve learned over the years to make every batch perfect:
- Zucchini Prep: Always squeeze out excess moisture after grating—otherwise, your cake might turn out soggy. I use a clean dish towel or cheesecloth for a good squeeze. Fresh zucchini makes a huge difference—it adds moisture without watering down the batter.
- Mixing Advice: Avoid overmixing the batter once you add the dry ingredients. It leads to a dense crumb. I prefer folding gently with a spatula; you want just combined, not smooth and paste-like.
- Swirl Customization: For a prettier look, I use a toothpick or skewer to create delicate swirls in a figure-eight pattern—that way, every slice has a bit of surprise cinnamon goodness inside.
- Ingredient Swaps: Want to make it healthier? Swap out all-purpose flour for whole wheat or use coconut sugar. For dairy-free, substitute coconut oil and almond milk. The texture stays nice, though I do think the original version has the best tender crumb.
- Baking Tips: Keep an eye on your cake during the last 10 minutes. Ovens vary widely, so a toothpick test is best—just make sure it comes out with a few moist crumbs, not wet batter. If your top gets too dark too fast, tent with foil and finish baking.
- Glaze Variations: Instead of powdered sugar glaze, try a lemon glaze or a dash of vanilla extract in the glaze for different flavor profiles.
Honestly, I’ve tested this recipe with so many tweaks—adding bananas, switching nuts, even trying it gluten-free—and each time, it turns out delicious. My biggest lesson? Keep the moisture level just right, and don’t overmix. That’s what makes every slice soft, moist, and full of cozy flavor.
Storing and Reheating Tips
This cake keeps surprisingly well. If you’re planning to enjoy it across a couple of days, here’s what I do:
- Room Temperature: Wrap tightly with plastic wrap or store in an airtight container. It stays fresh for 2-3 days—if it even lasts that long.
- Refrigerator Storage: Keep in an airtight container for up to a week. It actually tastes even better the next day—like leftovers that get even more tender.
- Freezer Instructions: Wrap slices individually in plastic wrap, then place in a freezer bag. It keeps up to 3 months. To reheat, pop in a 350°F oven for about 10–15 minutes or microwave for 30 seconds per slice—just enough to warm through.
- Glaze Timing: I usually add the glaze after cooling completely, but if you’re freezing, add it when serving for that fresh, shiny look.
Just a tip: if you notice the cake drying out after a few days, a quick reheat with a splash of milk keeps it moist and delicious. This cake honestly ages well, which makes it perfect for batch baking and meal prep.
Frequently Asked Questions
Final Thoughts
If you’re looking for a way to bring cozy, home-baked warmth into your kitchen, this zucchini coffee cake might just become your new favorite. It’s forgiving, flexible, and really. really good. I love how the zucchini keeps it so moist, and the cinnamon swirl makes each bite special. This recipe reminds me of lazy weekend mornings with my family, where the house smells incredible, and everyone gathers around with their plates. Once you’ve made it a few times, you’ll realize how simple and satisfying it is—a true comfort food that’s just as good for breakfast as it is for dessert. Try it, tweak it, love it—and please come back and tell me how yours turned out! Happy baking, friends!
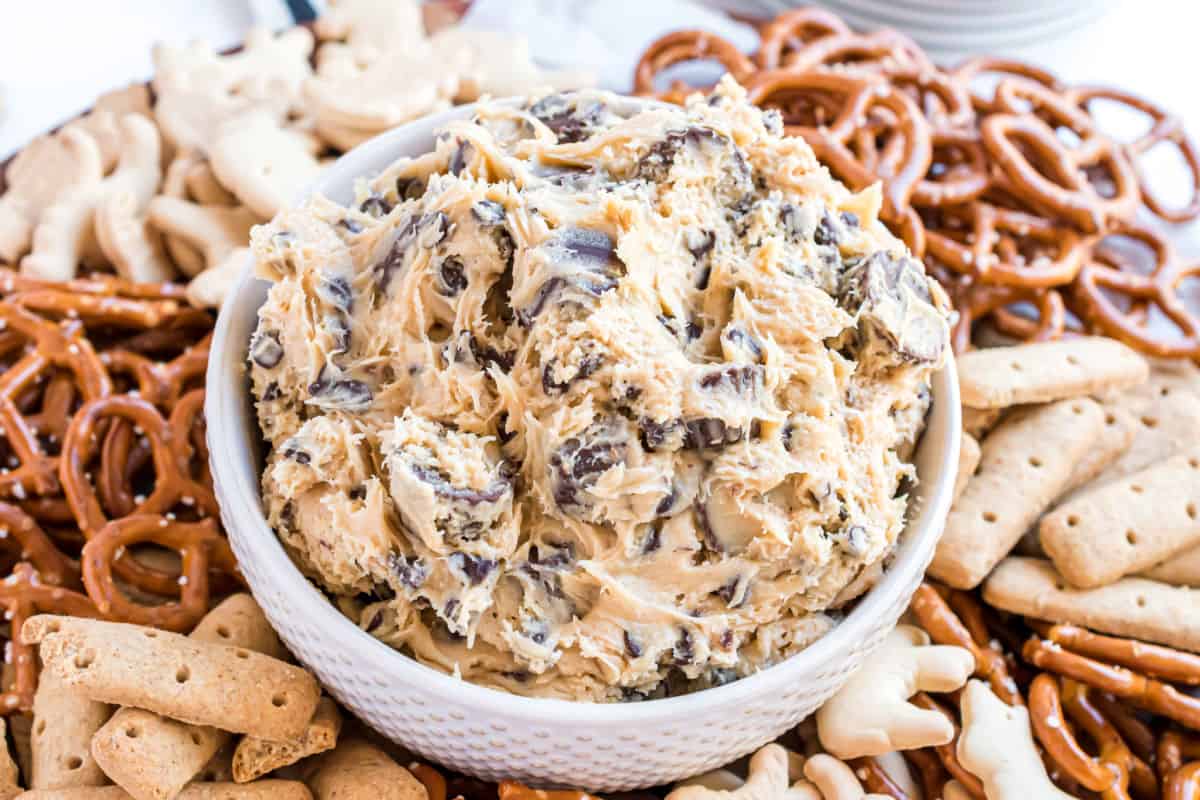
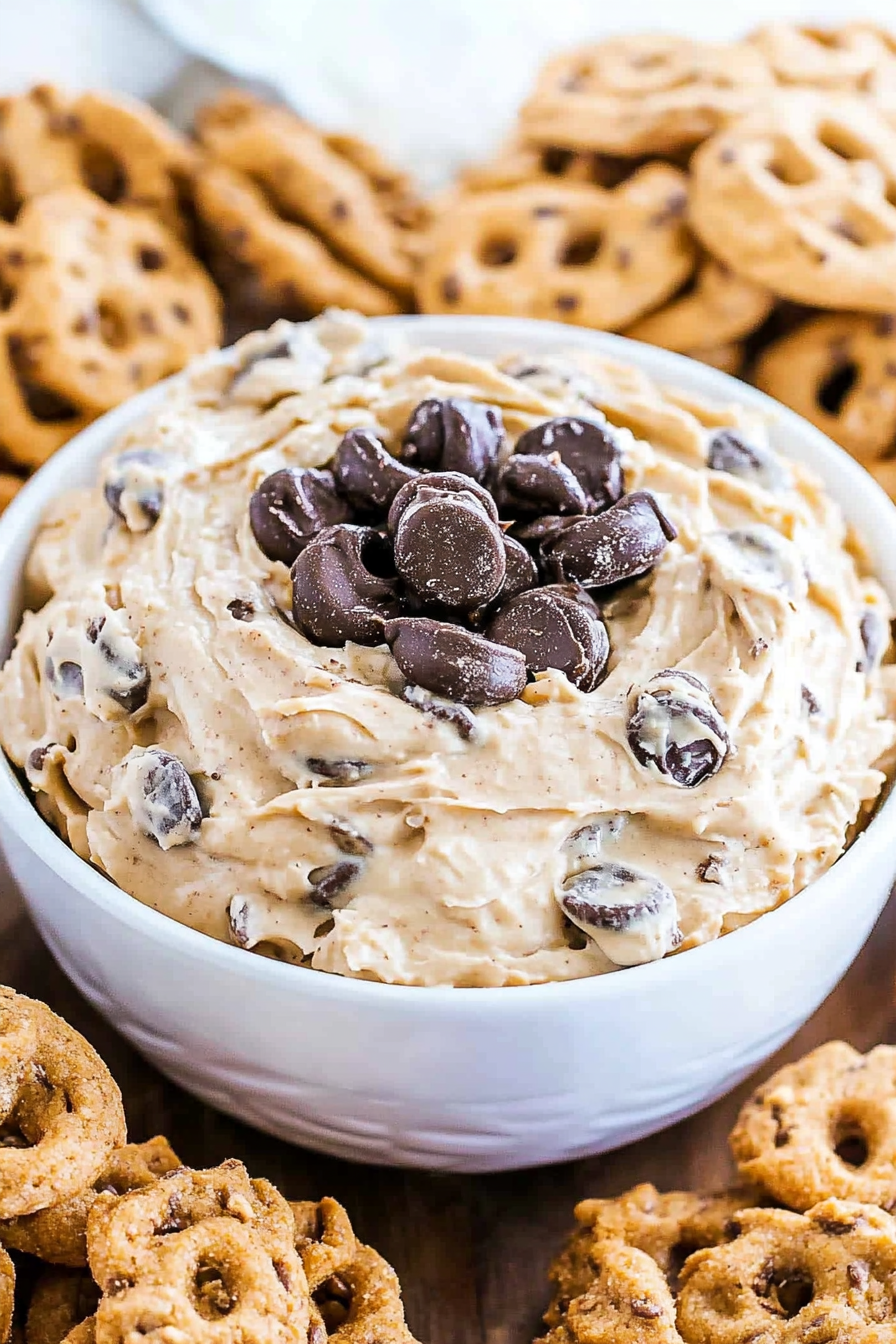
Peanut Butter Cookie Dip
Ingredients
Method
- In a small saucepan over medium heat, melt butter and whisk in the brown sugar and peanut butter. Heat until sugar dissolves (about one minute). Remove from heat immediately and allow to cool to room temperature.
- In a large mixing bowl, beat cream cheese with powdered sugar until creamy (about 3-4 minutes). On low, add in cooled brown sugar mixture and mix until combined.
- Fold in mini chocolate chips and mini Reese's cups. Serve immediately or store in refrigerator until ready. Enjoy with pretzels, animal crackers, or graham sticks.


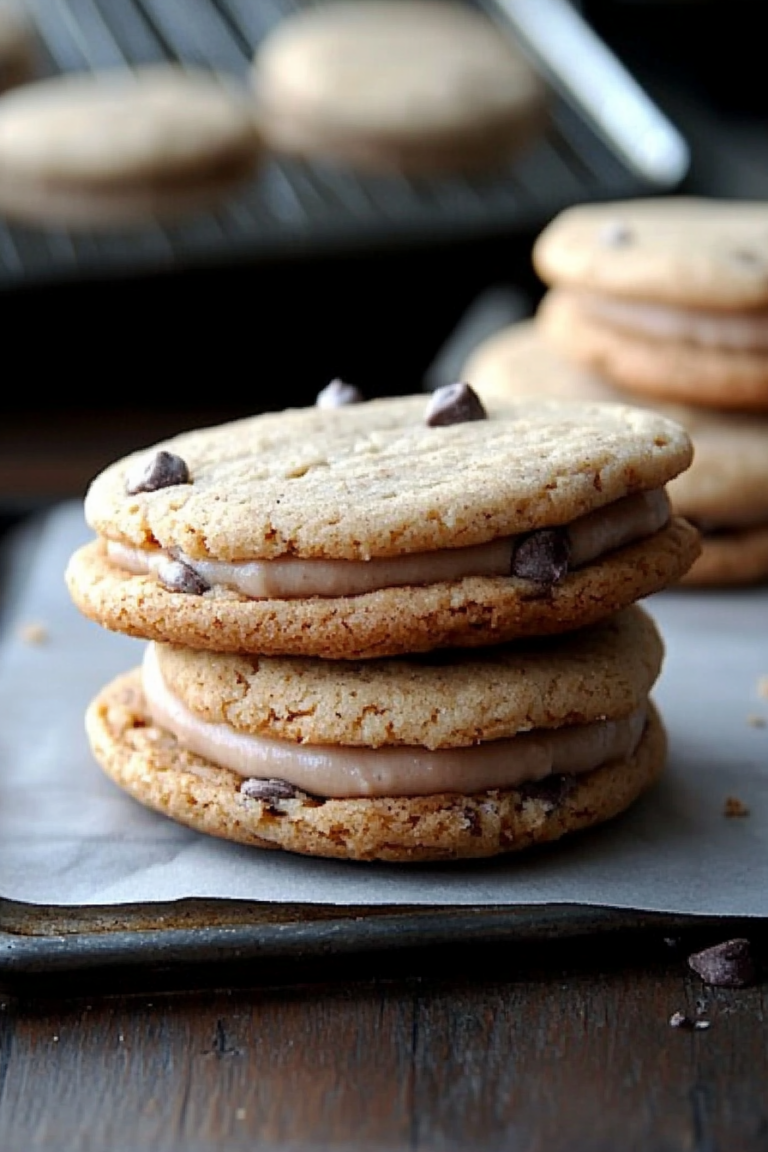
I just tried this recipe and it’s amazing! Perfect for snacking or dipping cookies—definitely a keeper.