

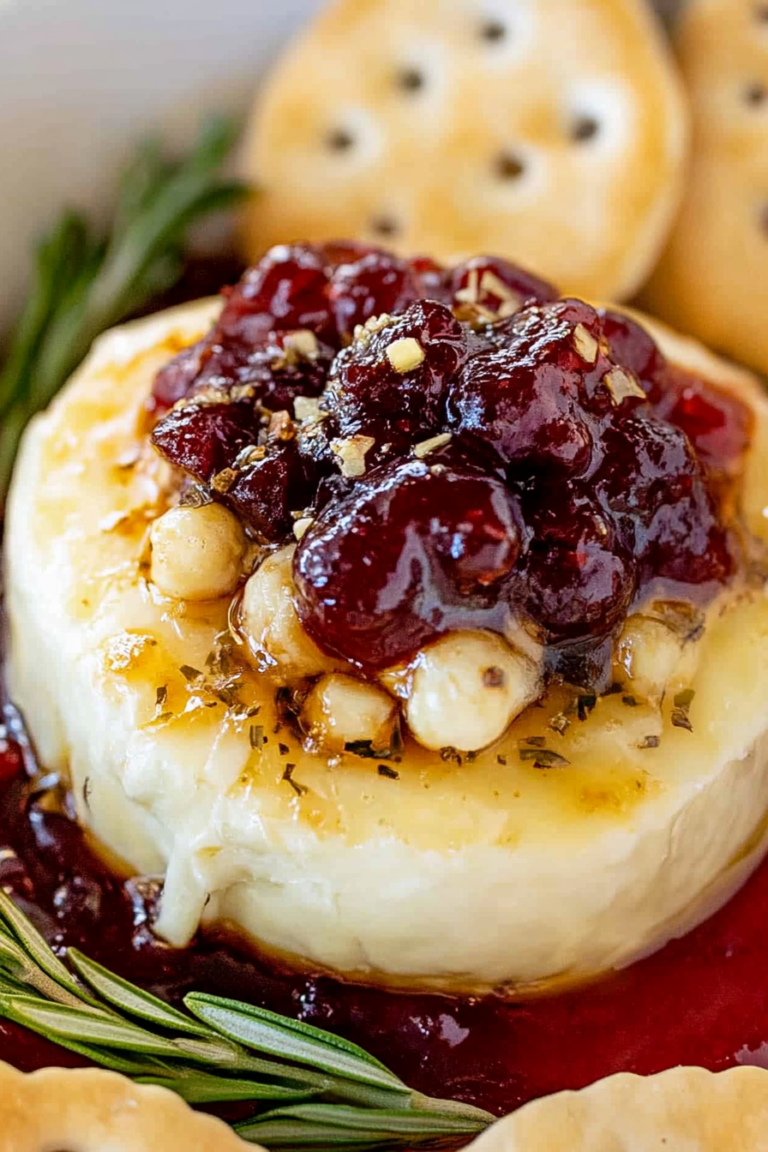
Easy Chili Cheese Bites How to Make Them
There’s just something about a warm slice of coffee cake that feels like a hug, isn’t there? I remember my grandma pulling out a loaf similar to this on lazy Sunday mornings, the smell of cinnamon wafting through the house as we all gathered around the kitchen table. Over the years, I’ve tinkered and played with that original recipe, trying to make it a little lighter, a little easier, but still just as cozy. Let me tell you, this zucchini swirl coffee cake is one I keep coming back to—not only because it tastes incredible but because it’s become a real family favorite. My kids ask for this all the time, and I swear, the smell alone brings everyone into the kitchen like clockwork. It’s perfect on a lazy weekend breakfast, a casual brunch, or even as a sweet but not-too-sweet dessert. Plus, it’s a sneaky way to get those veggies in without anyone batting an eye. Trust me on this one: you’re going to love how simple and satisfying this is.
What is Zucchini Swirl Coffee Cake?
This isn’t your typical coffee cake—think of it as a lovely hybrid of moist, tender cake with a surprise swirl of sweet zucchini filling. The name comes from that beautiful marbled effect, where the zucchini mixture swirls into the batter before baking, creating pockets of flavor and moisture. It’s essentially a quick, frugal way to turn the humble zucchini into something special, and the swirl adds an artistic touch that makes it look fancy but is honestly super easy to do. The flavor is warm and comforting, with hints of cinnamon, vanilla, and that subtle sweetness from the zucchini. The best part? It’s a one-bowl batter, so cleanup’s a breeze. Think of it as a cross between a coffee cake and zucchini bread, but topped with a crumble that’s crunchy and just the right amount of sweet. I love making this when I want something cozy but don’t want to fuss too much in the kitchen.
Why you’ll love this recipe?
What I love most about this zucchini swirl coffee cake is how it strikes the perfect balance between comforting and sneaky healthy—trust me, even the pickiest eaters won’t realize they’re eating zucchini! The flavor profile is rich with warm cinnamon, vanilla, and just a hint of sweetness that makes it irresistible alongside a mug of coffee or tea. It’s ridiculously easy to make: no fancy equipment needed, just a mixing bowl and a spoon. Plus, it’s budget-friendly since zucchini is usually super cheap, especially in the summer. This cake is versatile, too—it works beautifully for breakfast, brunch, or even as a casual dessert because, let’s be honest, a slice of something this good is never out of place. It’s one of those recipes I keep in my back pocket, especially on busy mornings or when I want to impress friends without stressing in the kitchen. And the crumble topping? It’s a lifesaver on busy nights—I always do this when I want a quick treat that tastes fancy.
How do I make Zucchini Swirl Coffee Cake?
Quick Overview
This coffee cake comes together in one bowl—seriously! You’ll mix up a simple, moist batter, prepare a sweet zucchini filling that beams with cinnamon, then layer and swirl everything together before baking. The crumble on top takes only minutes but gives it that crunchy, golden finish. It’s perfect when you want a homemade treat without hours of work or complicated steps. You can prep it the night before and bake it fresh in the morning, or whip it up in under 45 minutes for last-minute guests. The trick is not overmixing the batter—trust me, a gentle fold keeps it tender and crumbly. Once it’s out of the oven, let it cool just a little so the flavors meld, then glaze or dust with powdered sugar if you’re feeling fancy. It’s a foolproof, cozy recipe that I hope becomes a staple in your kitchen, too.
Ingredients
For the Main Batter:
– 2 cups all-purpose flour (I like swiping unbleached for a little extra flavor)
– 1 cup granulated sugar
– 1 teaspoon baking powder
– 1/2 teaspoon baking soda
– 1/2 teaspoon salt
– 1 teaspoon ground cinnamon (because everything’s better with cinnamon)
For the Filling:
– 1 1/2 cups grated zucchini (squeeze out as much moisture as possible, or it’ll mess with your batter)
– 1/2 cup brown sugar
– 1 teaspoon ground cinnamon
– 1 teaspoon vanilla extract
– 2 tablespoons melted butter or coconut oil
For the Crumble:
– 1/2 cup all-purpose flour
– 1/3 cup brown sugar
– 1/4 cup cold butter (cut into small pieces, like you’re making pie crust)
– 1/2 teaspoon cinnamon (for that irresistible crunch)
– Pinch of salt
Step-by-Step Instructions
Step 1: Preheat & Prep Pan
Set your oven to 350°F (180°C). Grease a 9-inch round cake pan or a square baking dish with butter or non-stick spray. A parchment-lined pan works wonders for easy removal, too. I always do this first—nothing worse than a cake that sticks or breaks apart. Let’s get everything ready so we can jump right into the fun part.
Step 2: Mix Dry Ingredients
In a big mixing bowl, whisk together the flour, sugar, baking powder, baking soda, salt, and cinnamon. This keeps everything evenly distributed and makes for a tender cake. I’ve learned that sifting isn’t always necessary, but I do give it a quick whisk so that the baking soda and powder aren’t sitting in clumps.
Step 3: Mix Wet Ingredients
In a separate bowl, beat together the eggs, melted butter, vanilla, and a splash of milk or alternative milk if you want dairy-free. I tested this with almond milk and it actually made it even creamier—bonus! Mix until smooth, then add in the grated zucchini (don’t forget to squeeze out excess moisture). The zucchini is what keeps this cake moist and tender without extra fat. The smell of cinnamon and zucchini together—yes, it’s divine.
Step 4: Combine
Pour the wet mixture into the dry ingredients and gently fold with a spatula—don’t overmix! You want a lumpy, thick batter. Overmixing can make the cake dense, and that’s not what we’re after here. Think of it as folding in a delicate fabric—light and gentle.
Step 5: Prepare Filling
In a small bowl, toss the grated zucchini with brown sugar, cinnamon, vanilla, and melted butter. It should be chunky but spreadable. This is the star here—those pockets of sweet zucchini add so much flavor and moisture. If you like nuts or a little lemon zest, feel free to add those, too!
Step 6: Layer & Swirl
Pour about half the batter into your prepared pan. Spread the zucchini filling evenly over the batter, then pour the rest of the batter on top. Using a skewer or a butter knife, swirl through the batter to make beautiful marbled patterns—trust me, this part is almost as fun as eating it. The look of that marbling is worth the little extra effort.
Step 7: Bake
Pop it into your preheated oven and bake for about 35-40 minutes. Test doneness with a toothpick—if it comes out clean, you’re good. Every oven is different, so start checking at 35 minutes. The top should be golden and slightly cracked, and the smell will fill your kitchen with cinnamon and vanilla magic.
Step 8: Cool & Glaze
Let the cake cool in the pan for about 15 minutes then transfer to a wire rack. If you want to add a glaze—mix powdered sugar with a touch of milk or lemon juice—you can drizzle it over while still warm. That drizzle sets nicely as it cools, adding an extra layer of sweetness and shine.
Step 9: Slice & Serve
The best part? Cutting into this warm, fragrant cake. I like to wait until it’s just slightly cooled so it slices cleanly—I use a serrated knife and wipe it clean between cuts. Serve slices with a dollop of whipped cream or a splash of extra cinnamon if you’re feeling fancy. It’s even better slightly warmed up the next day—trust me, this one disappears in minutes at my house!
What to Serve It With
This zucchini swirl coffee cake isn’t just for breakfast. It’s a versatile little treat that pairs beautifully in different settings:
For Breakfast: Serve with a steaming mug of black coffee or a lightly brewed tea. A splash of cream or a dollop of yogurt is heavenly, especially if you want to balance the spiced sweetness.
For Brunch: Pair it with fresh berries and a drizzle of honey. Add a side of scrambled eggs or crisp bacon, and you’ve got a full, satisfying spread that feels fancy but is totally doable on a weekend morning.
As Dessert: Warm a slice and top with a scoop of vanilla ice cream or a dusting of powdered sugar. A caramel drizzle never hurts, and it’s just as wonderful after a hearty dinner as it is for a casual afternoon snack.
For Cozy Snacks: Break off a piece with your afternoon coffee or tea, wrap up leftovers for a quick mid-morning treat, or stash a slice in the freezer for a rainy day. My family loves sneaking slices for after-school snacks; they say it’s like having a little cake in their pocket!
Top Tips for Perfecting Your Zucchini Swirl Coffee Cake
Over the years, I’ve learned a few tricks that make this bake even better. Here are my top tips:
Zucchini Prep: Always squeeze out as much moisture as possible from the grated zucchini. I do this by wrapping it in a clean kitchen towel or cheesecloth and giving it a good squeeze—wet zucchini can make the batter too loose, and the cake can become soggy instead of tender.
Mixing Advice: When combining wet and dry ingredients, be gentle. Overmixing can lead to a dense cake, so fold until just combined. Look for a slightly lumpy batter; that’s the secret to fluffiness.
Swirl Customization: When layering and swirling, don’t overdo it—just a gentle swirl is enough to create pretty patterns. If you prefer a more uniform zucchini distribution, mix the filling directly into the batter before baking.
Ingredient Swaps: Want to make this gluten-free? Swap the wheat flour for a cup-for-cup gluten-free blend. For vegan friends, substitute eggs with flaxseed meal or applesauce, and use coconut oil instead of butter. The texture might change slightly, but it’s still delicious.
Baking Tips: Always keep an eye on the cake around the 35-minute mark. Ovens vary, and you don’t want it to overbake. Look for a golden top and a clean toothpick test. If your oven runs hot, tent it with foil halfway through baking.
Glaze Variations: For different flavor twists, add lemon zest to the glaze or sprinkle chopped nuts over the crumble before baking. You can even add a splash of liqueur to the glaze for an adult version.
Honestly, I’ve made this a hundred times, and I still find little ways to tweak and improve it. The key is to keep it simple and stay in the moment—baking should always feel like a cozy, creative adventure.
Storing and Reheating Tips
This cake is so good, it’s hard not to want to keep it for days. Here’s how I handle leftovers:
Room Temperature: Wrap it tightly with plastic wrap or store in an airtight container for up to 2 days. It’s best fresh, but it still tastes good the next day, especially if you warm it slightly before serving.
Refrigerator Storage: Keep it in a covered container for up to 5 days. It’s great cold or gently warmed in the oven or microwave. Just watch the glaze, so it doesn’t get soggy—consider adding it only once you’re ready to serve.
Freezer Instructions: Wrap individual slices tightly in plastic wrap and then foil. They’ll keep well for up to 3 months. Thaw at room temperature or warm gently in the microwave. The zucchini keeps everything moist, so it’s just as delicious on day one or three.
Glaze Timing Advice: If you plan to freeze, add the glaze after reheating to keep it looking glossy and fresh. Otherwise, drizzle it on just before serving for the prettiest presentation.
Frequently Asked Questions
Final Thoughts
This zucchini swirl coffee cake has become a bit of a family ritual around here. It’s a cozy, adaptable recipe that never fails to bring smiles, and I love knowing I’m sneaking in some veggies without anyone noticing. It’s great for mornings when you need something warm and comforting, or for lazy weekends when you want a bit of magic in the oven. The combination of tender cake, cinnamon-spiced zucchini, and crunchy crumble is irresistibly good—like a hug in every slice. Plus, it’s so forgiving; you can swap ingredients, add your own flair, or keep it simple, and it’ll still turn out divine. If you give it a try, I’d love to hear how it turns out and what little tweaks you make. Happy baking, and may your kitchen always be filled with warmth, smells, and good company!
chili cheese cups
Ingredients
Method
- Preheat oven to 400°F. Spray two muffin pans generously with cooking spray; set aside.
- In a large skillet, cook the ground beef over medium-high heat until browned. Crumble as it cooks. No need to drain excess fat.
- Add the kidney beans, tomato paste, onion flakes, chili powder, cumin, smoked paprika, and black pepper. Stir to combine.
- Cook for about 1 minute until fragrant. Turn off heat and set aside.
- Take one biscuit piece, stretch slightly, and press into muffin cavity to cover base and sides. Repeat with remaining dough.
- Add about 1 tablespoon of chili into each muffin cup. Do not overfill.
- Sprinkle each with about 1 teaspoon of cheese.
- Bake for 12 minutes. Remove and press cups down gently with the back of a spoon.
- Add more cheese on top and bake for an additional 8 minutes until melted and golden. Allow to cool slightly before serving. Garnish with parsley if desired.


I’ve made these chili cheese bites before and they’re always a hit—so much flavor in such a small bite!
I love how comforting this sounds—chili cheese bites are such a cozy treat! Reminds me of family gatherings.
I love how comforting these chili cheese bites sound—my grandma used to make something similar, and it always felt like home!
These chili cheese bites look amazing! I’ve never tried them before but they seem perfect for game day. Can’t wait to make a batch!
So good! I love how comforting these sound—perfect for cozy days. Thanks for sharing the recipe!